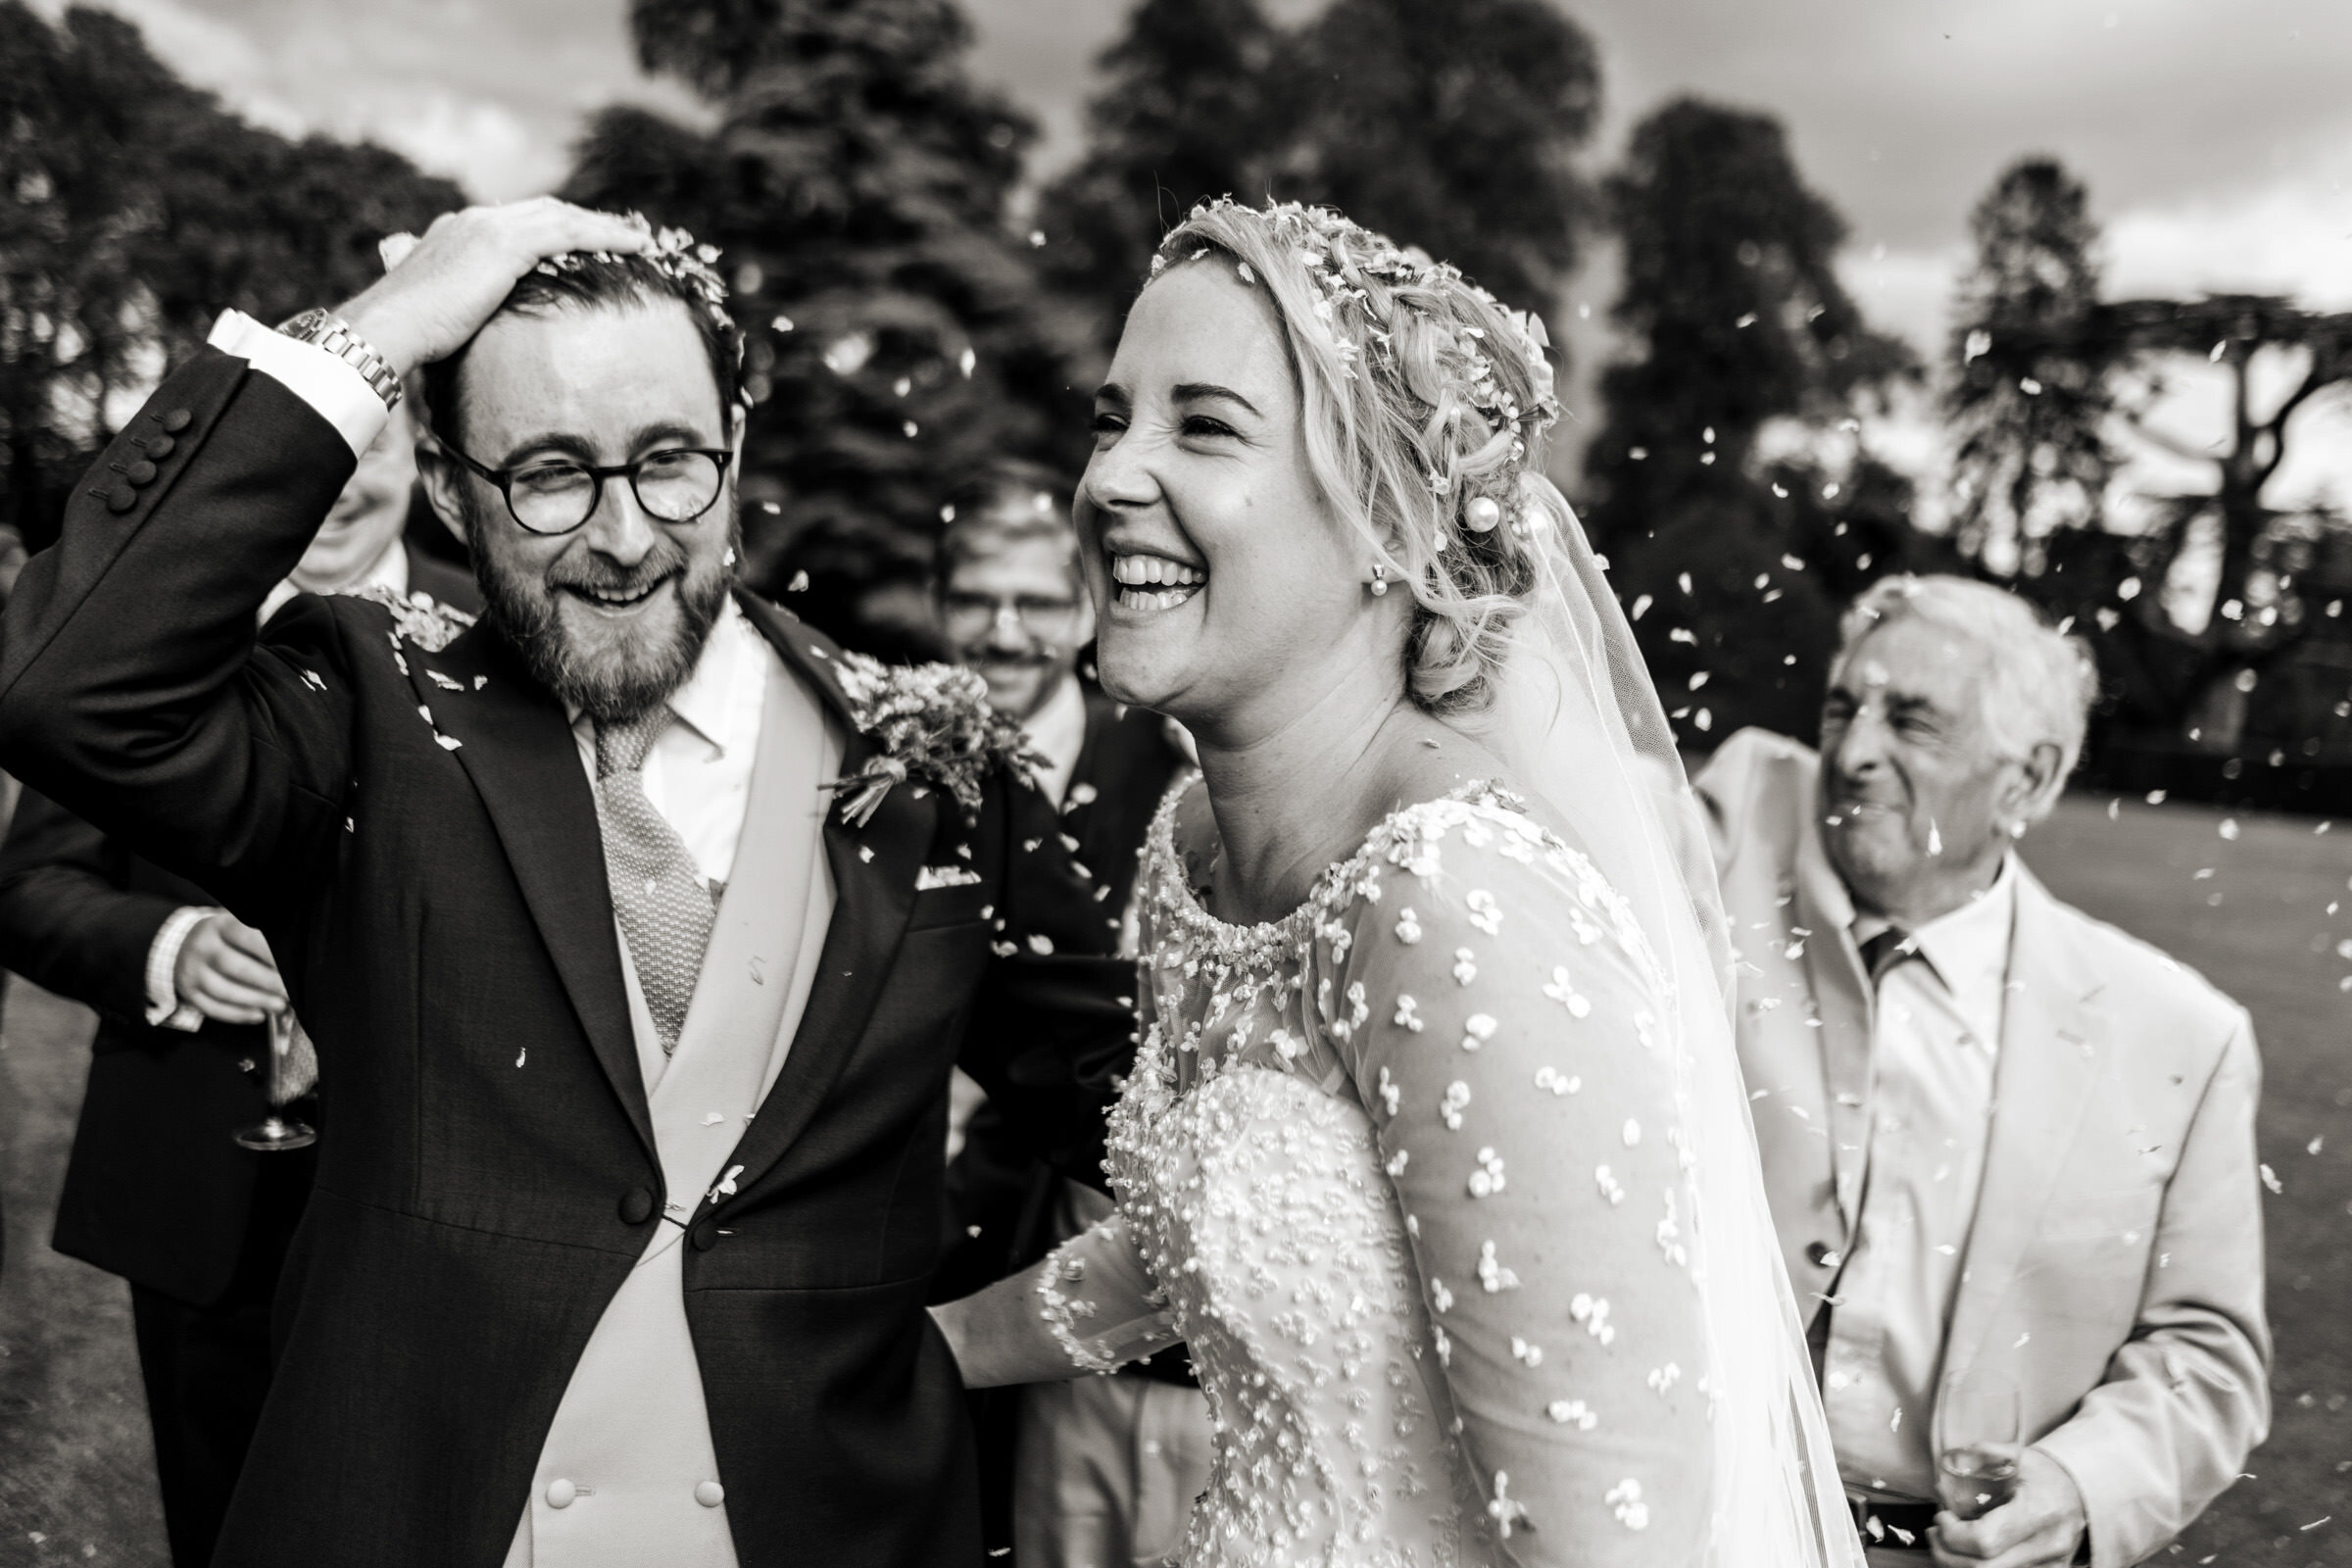
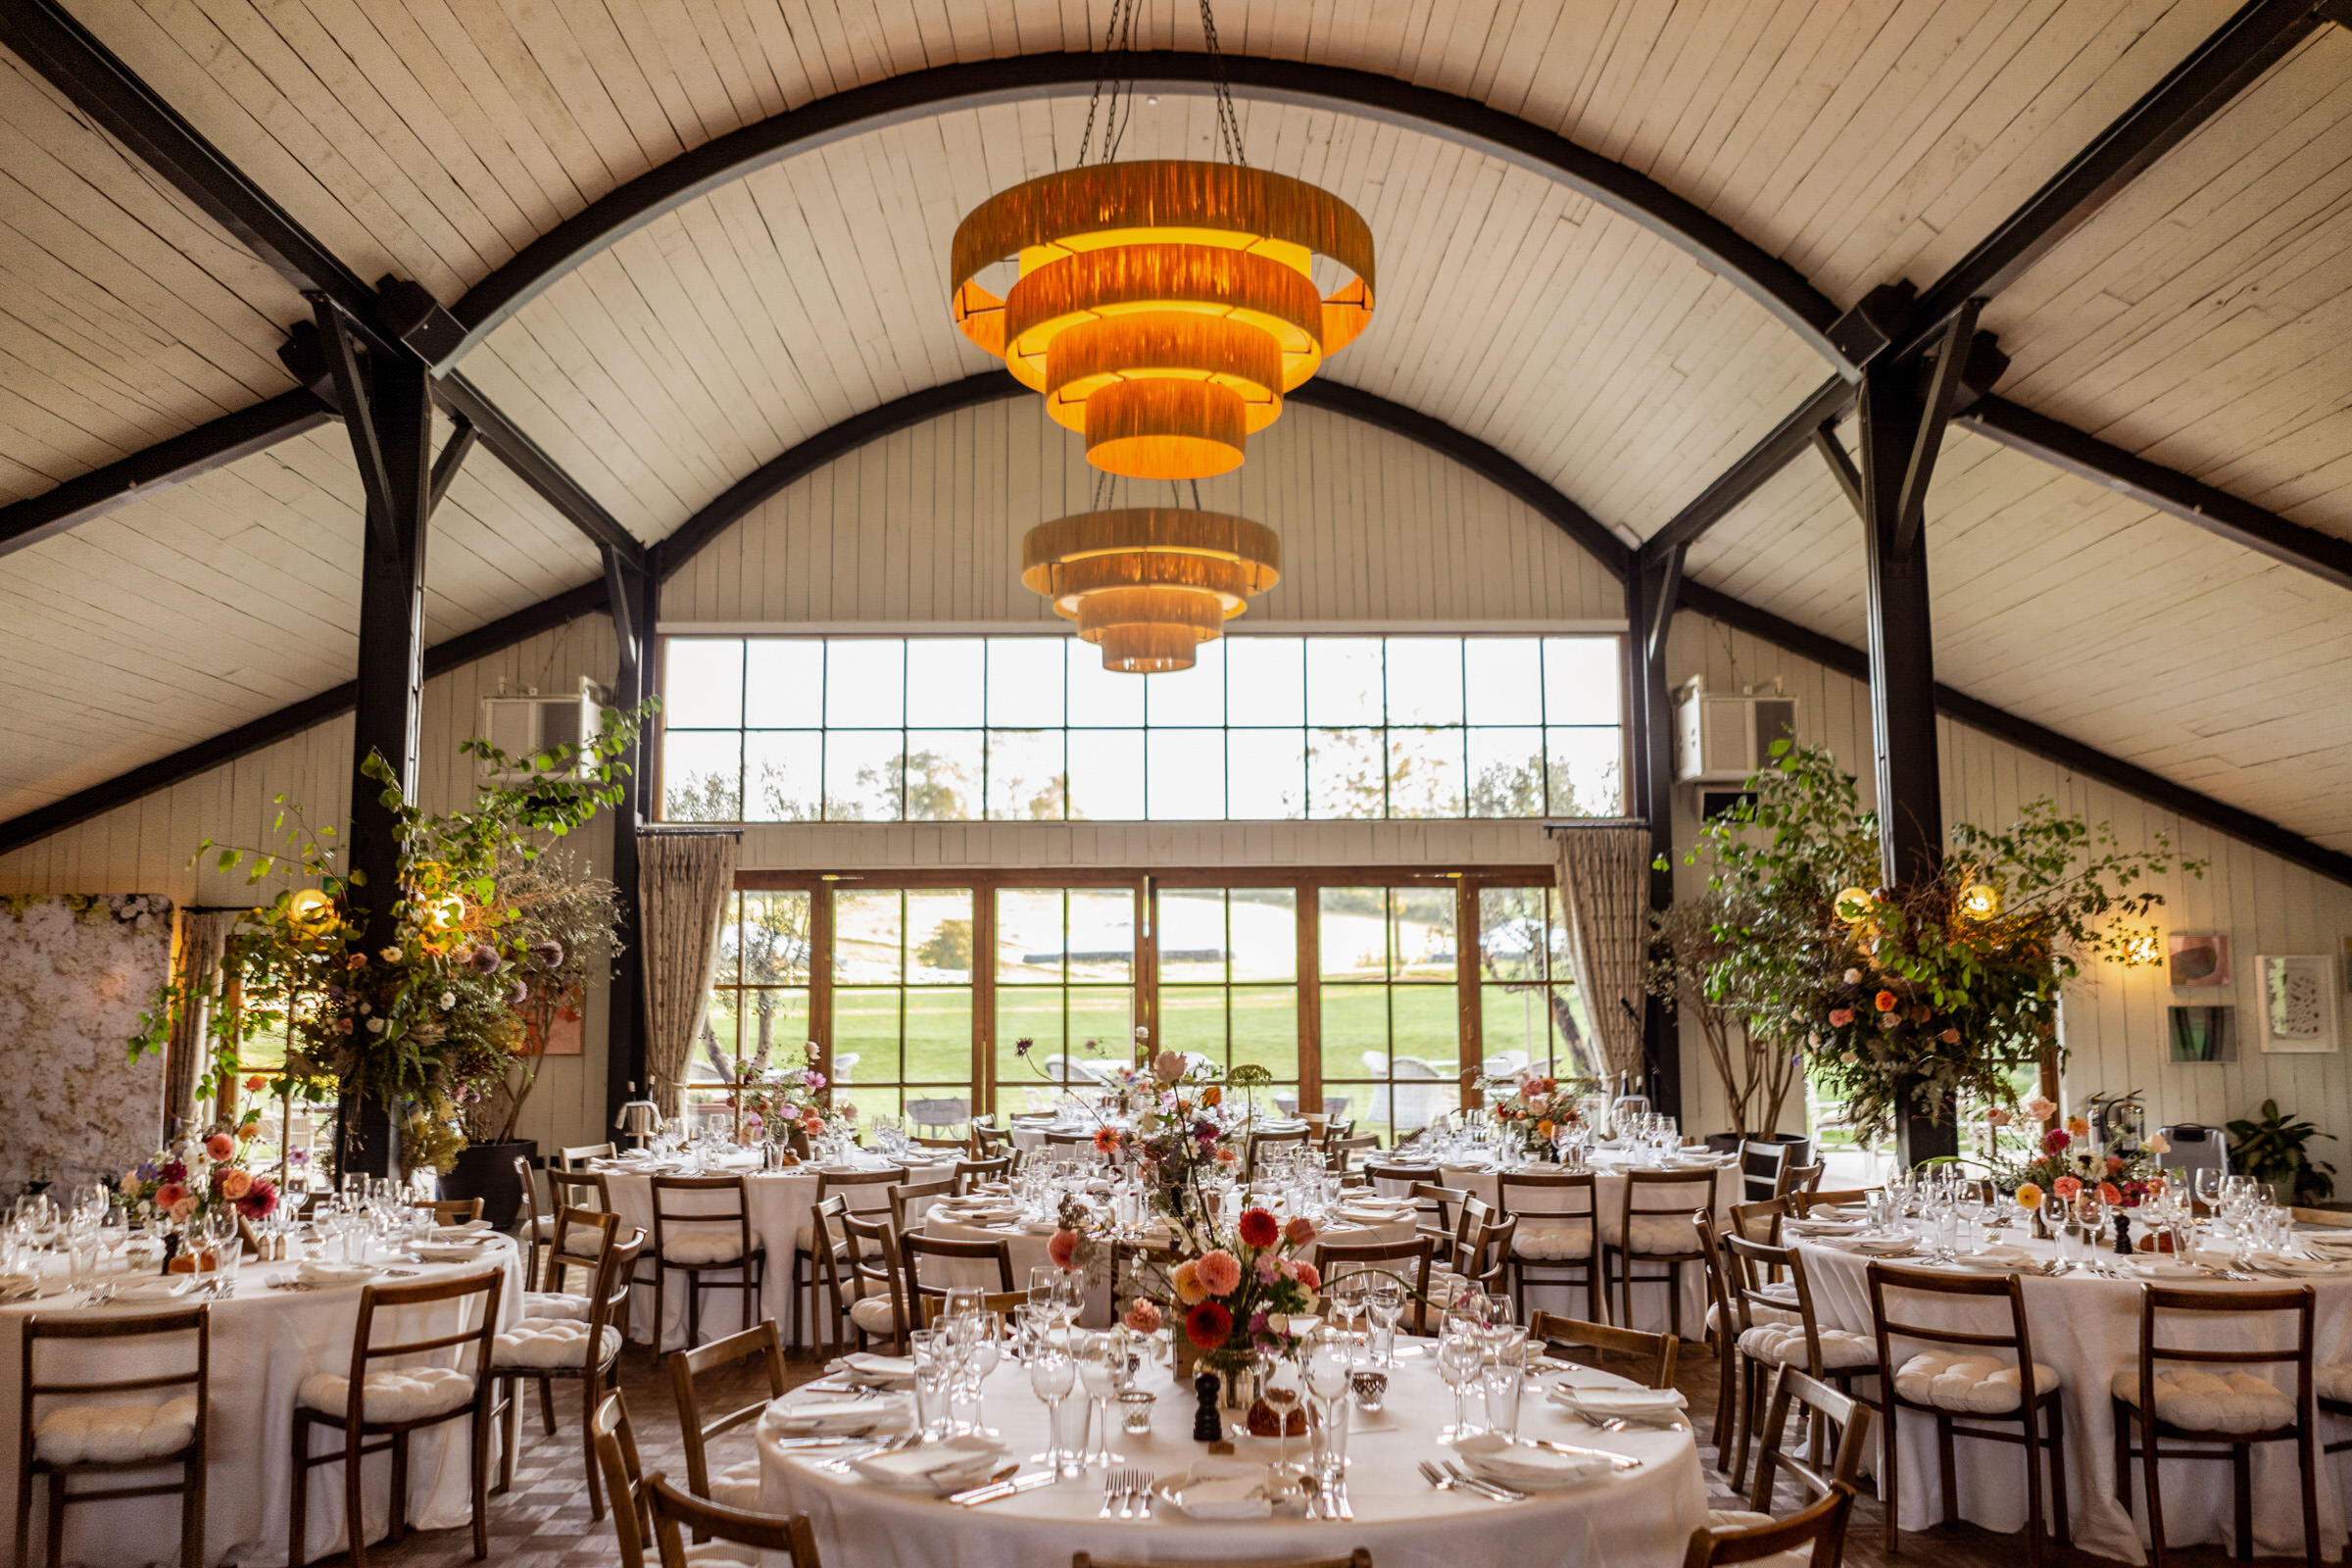
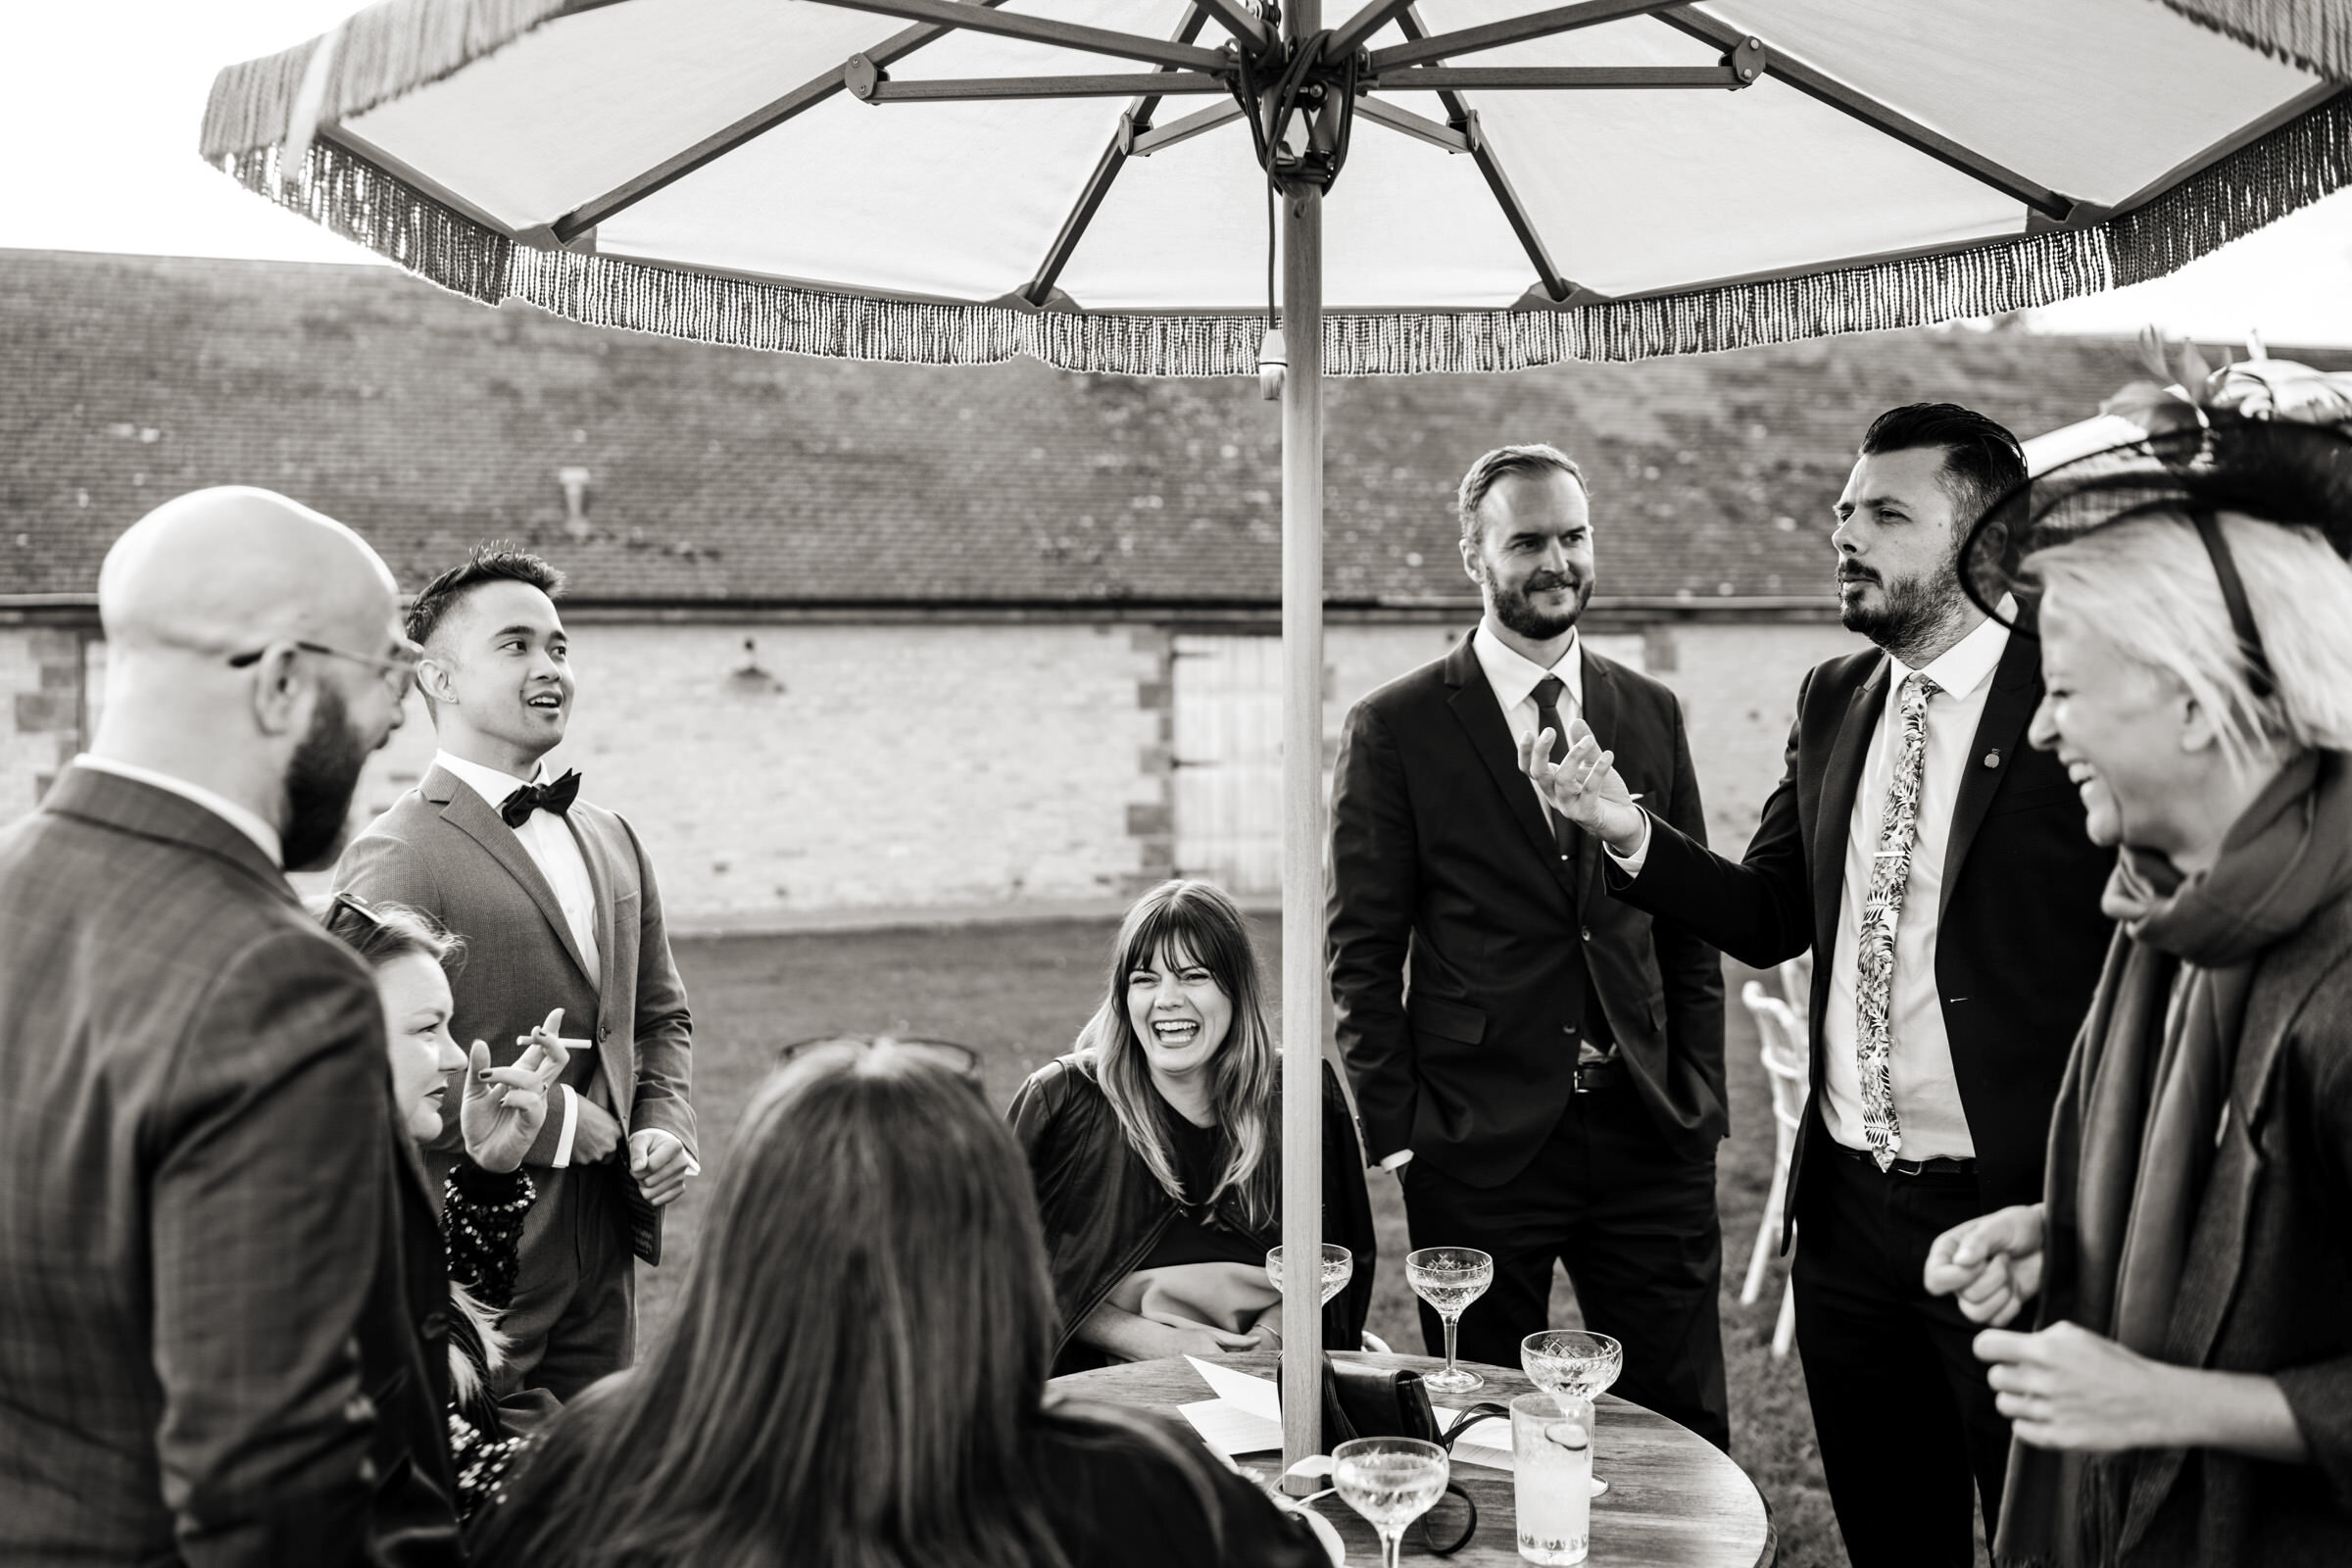
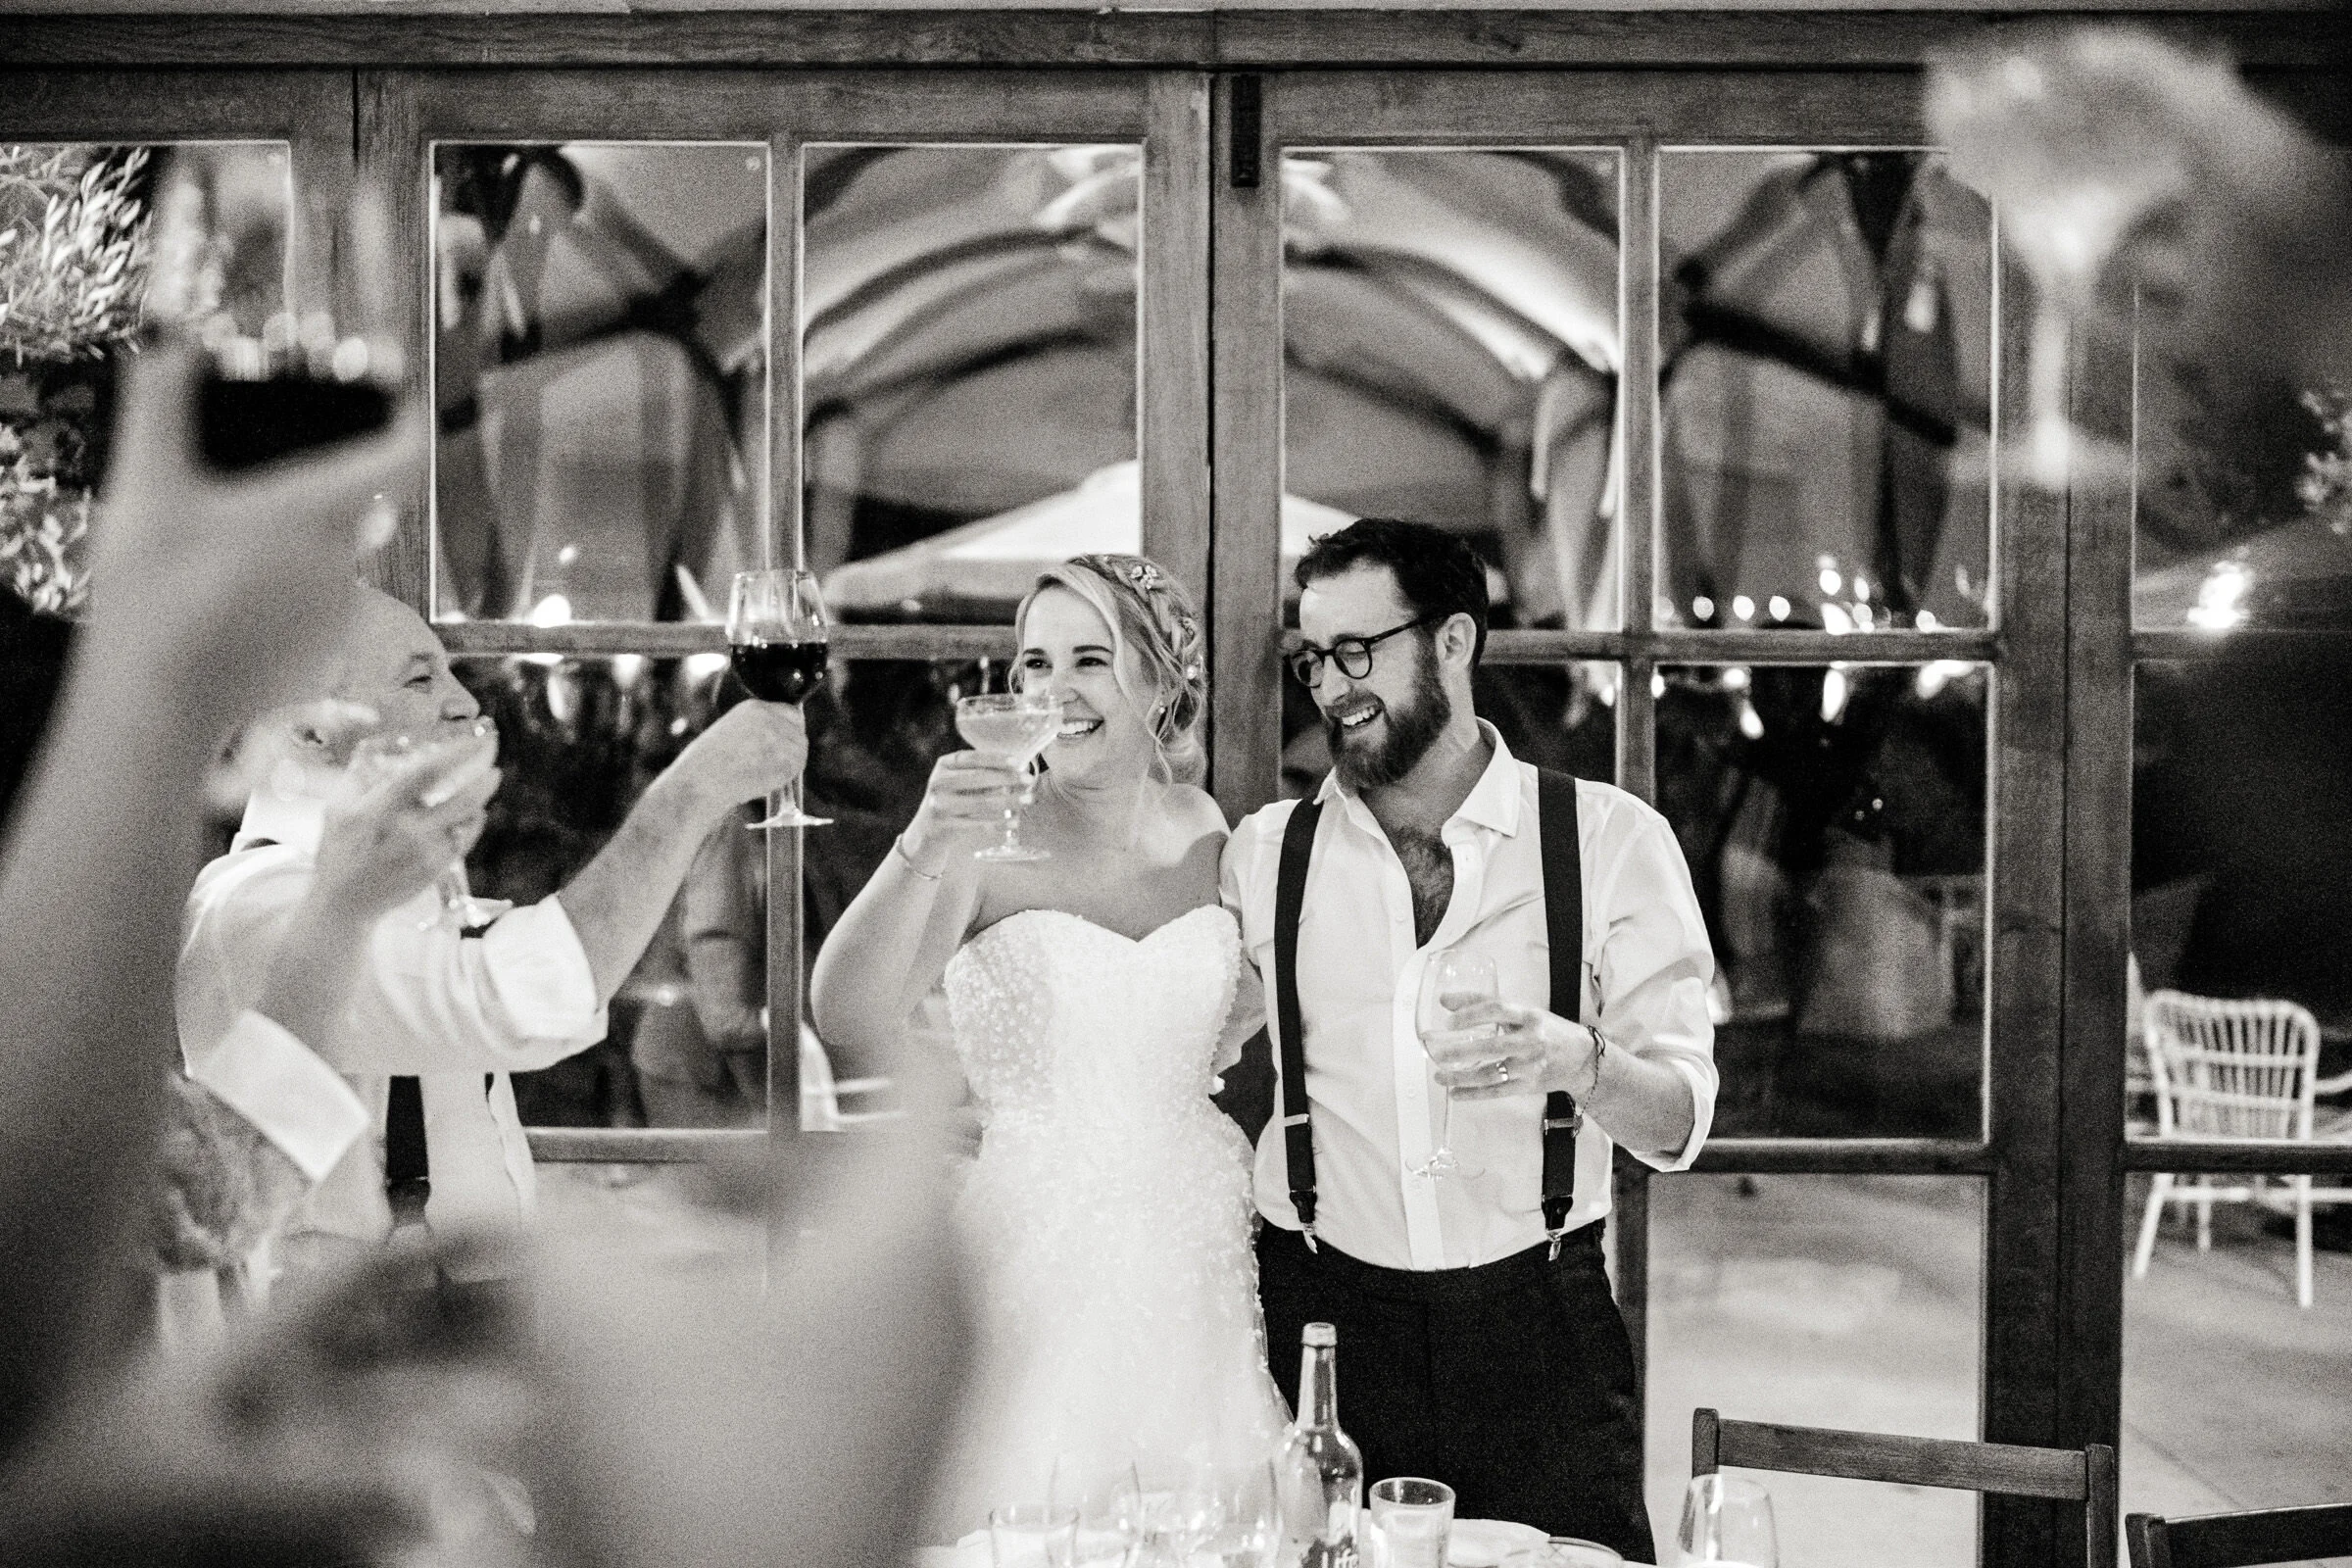
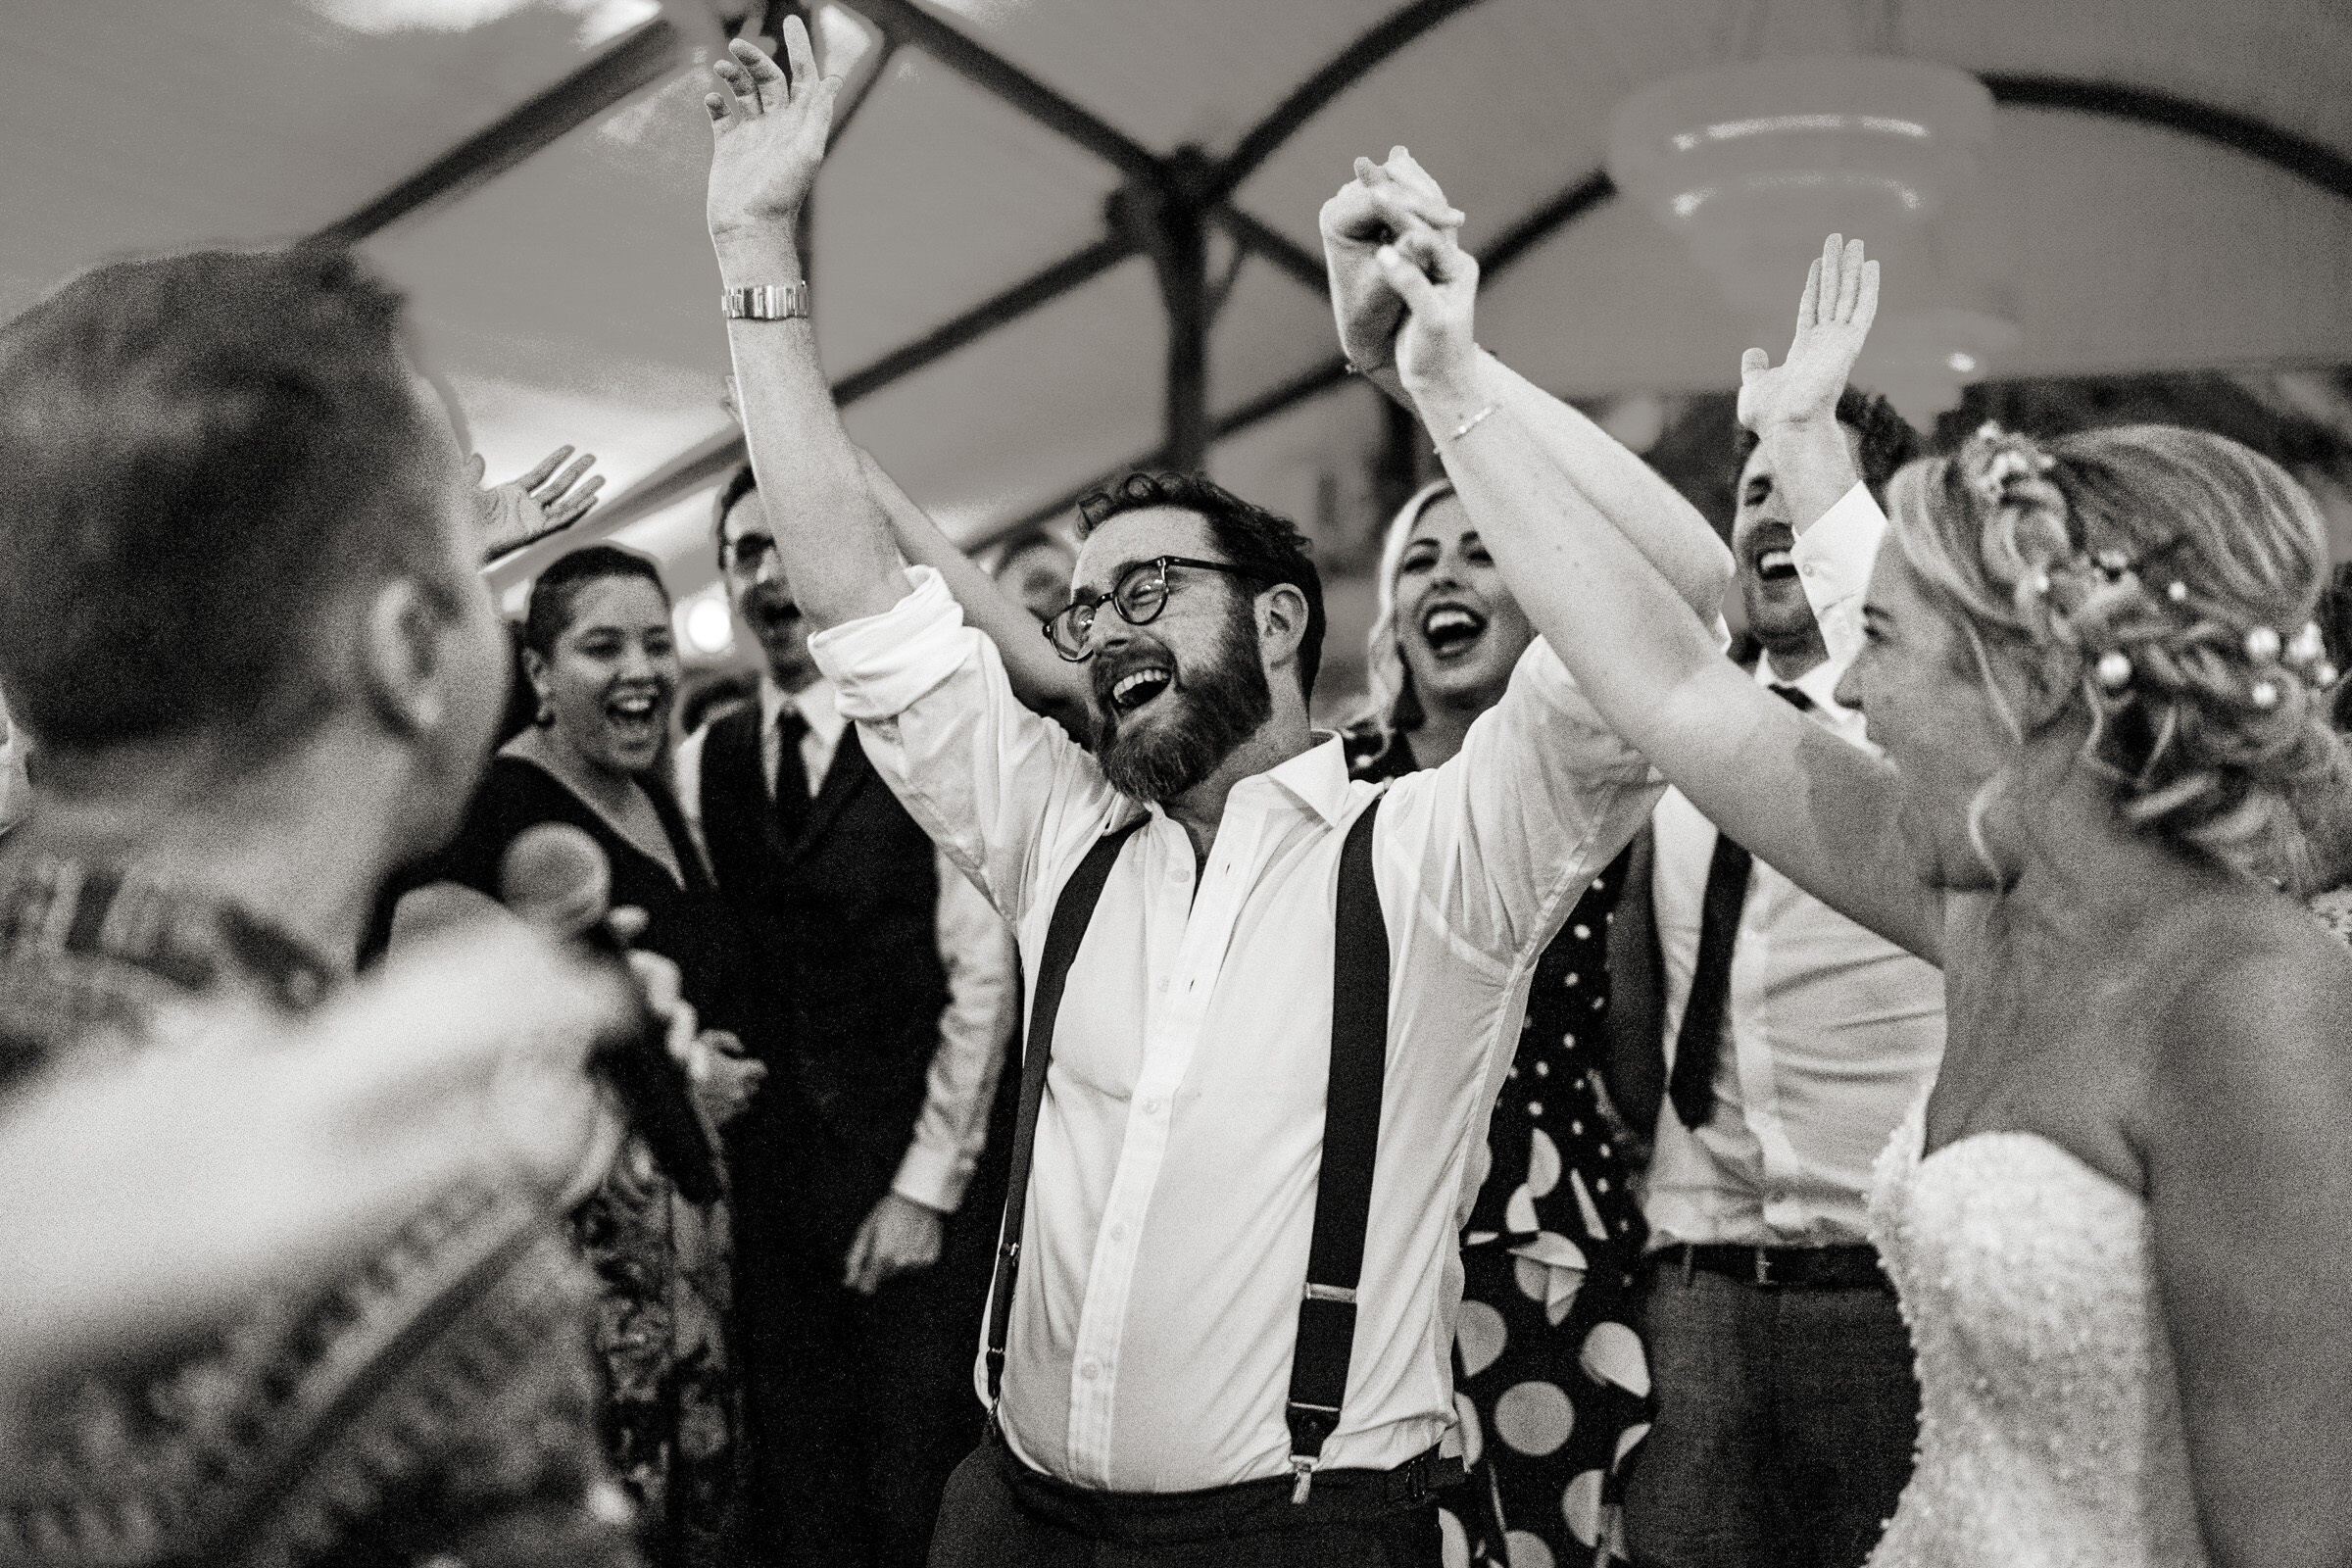
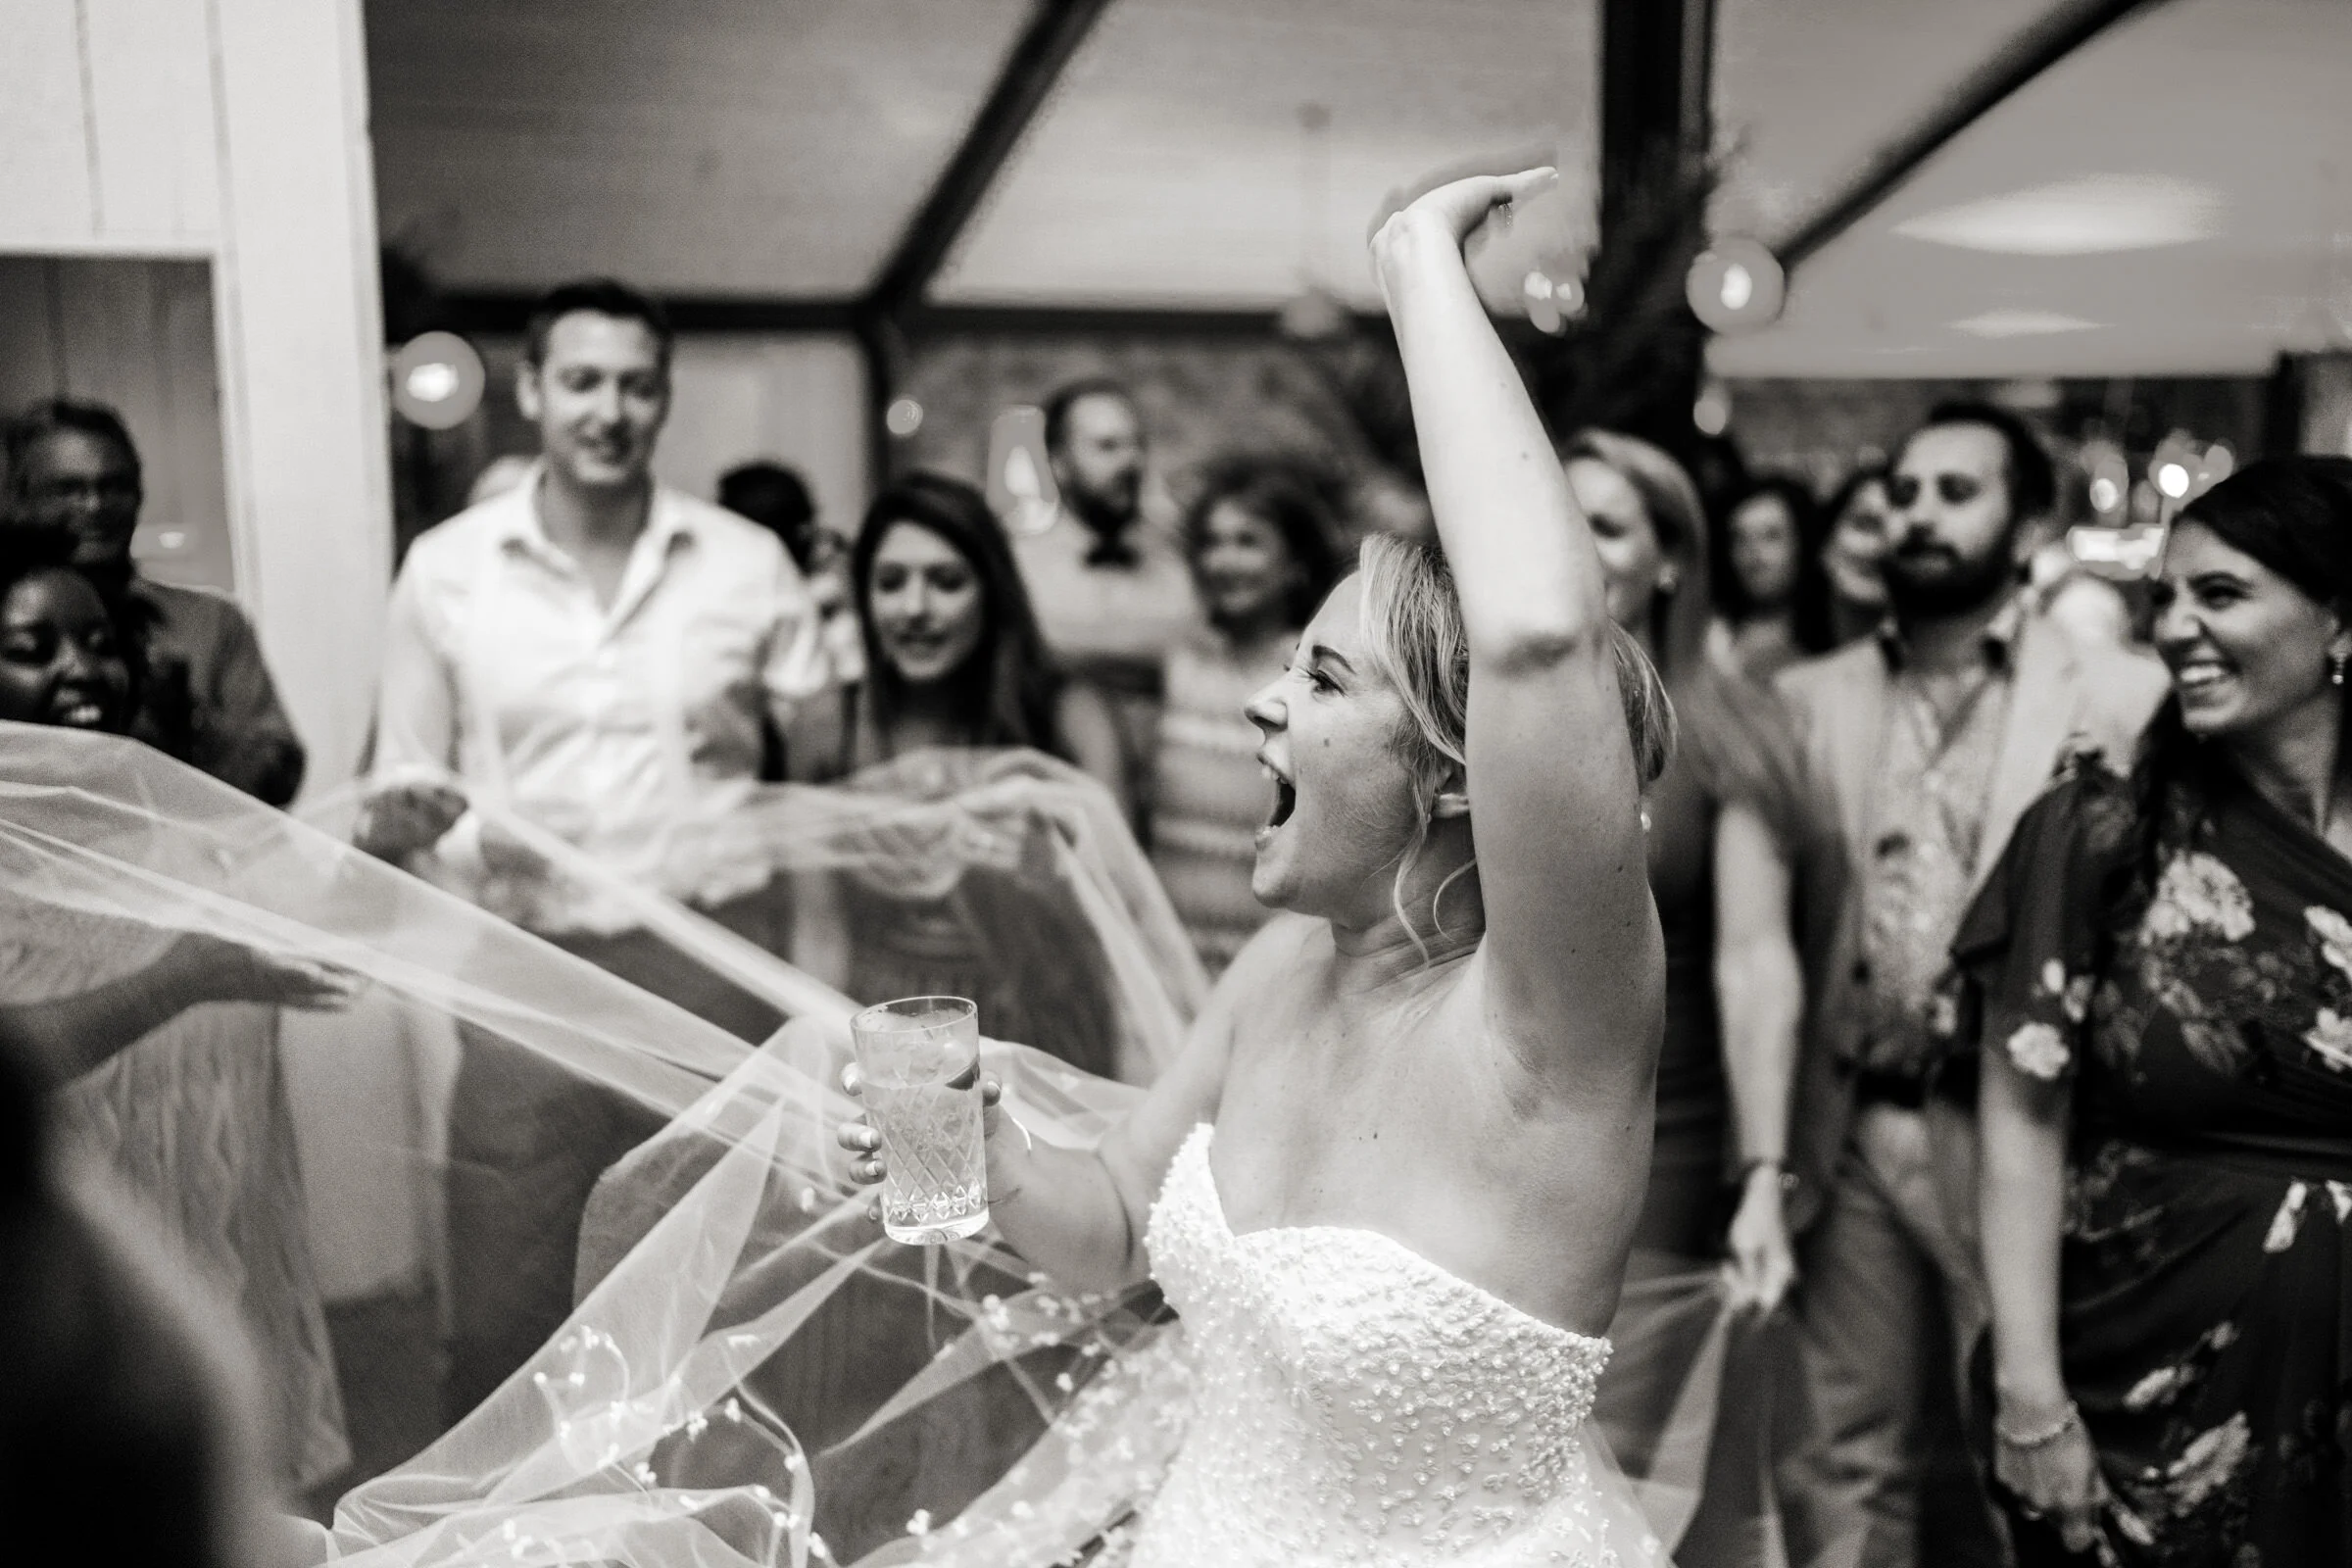
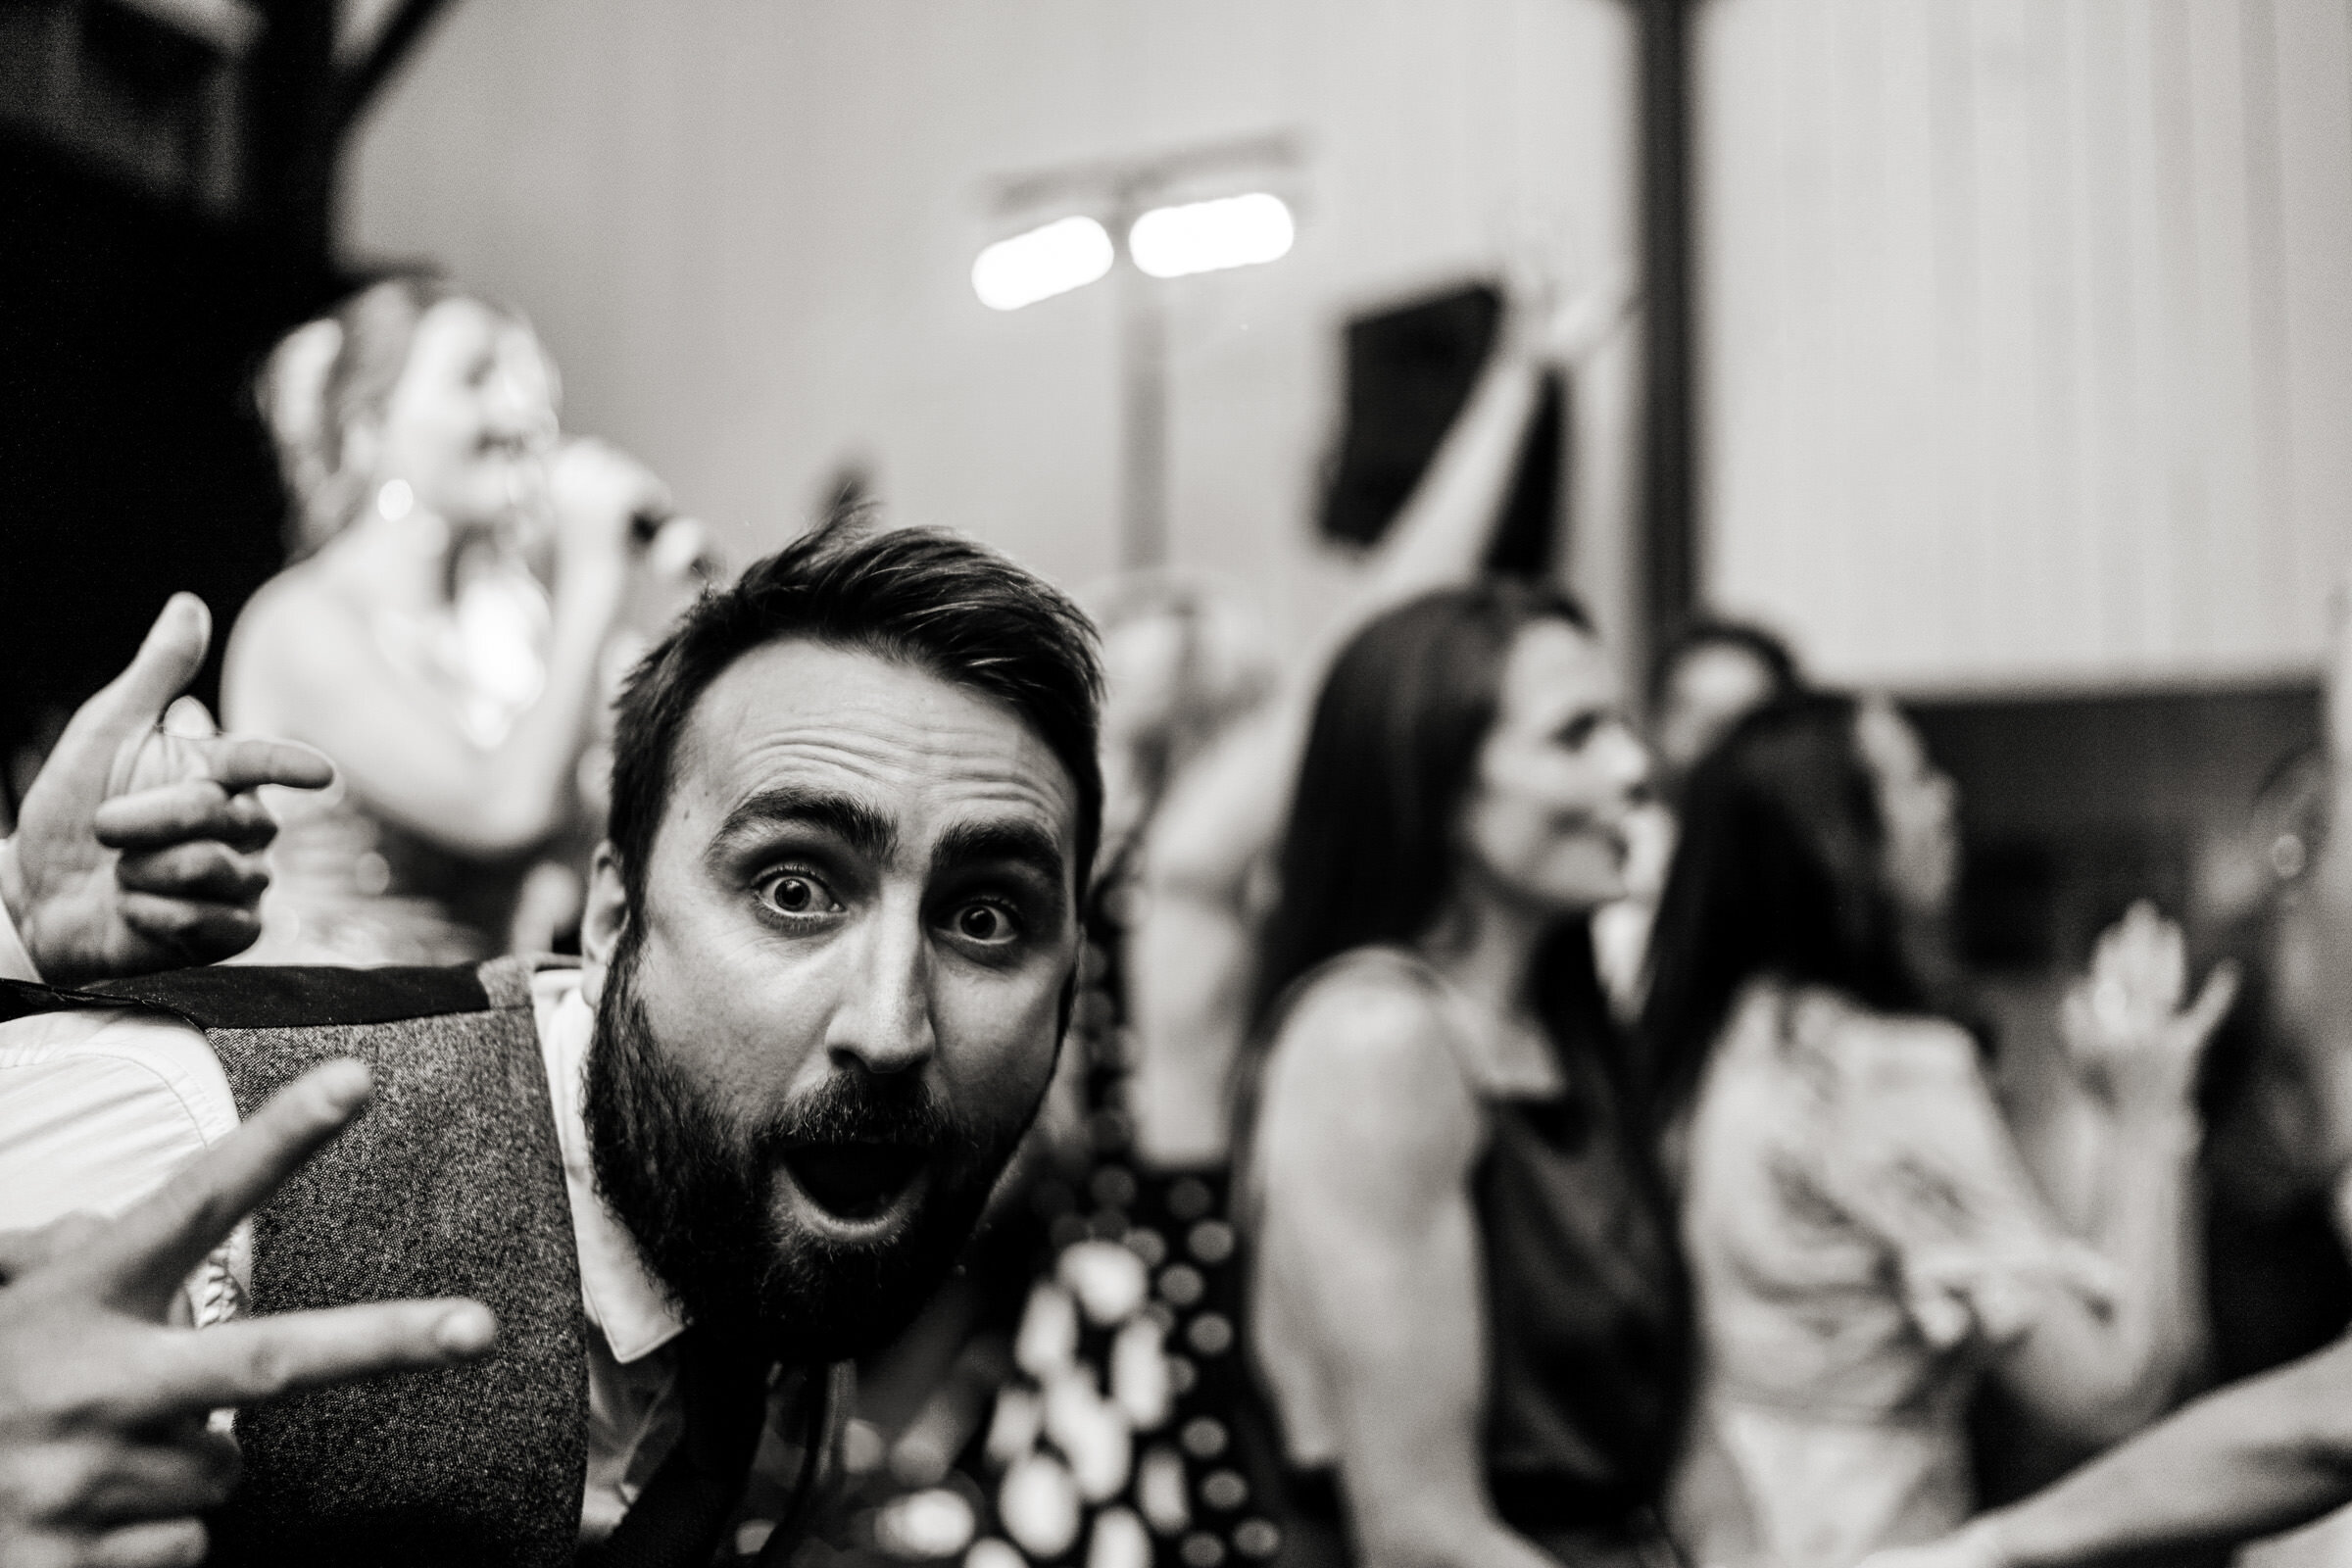
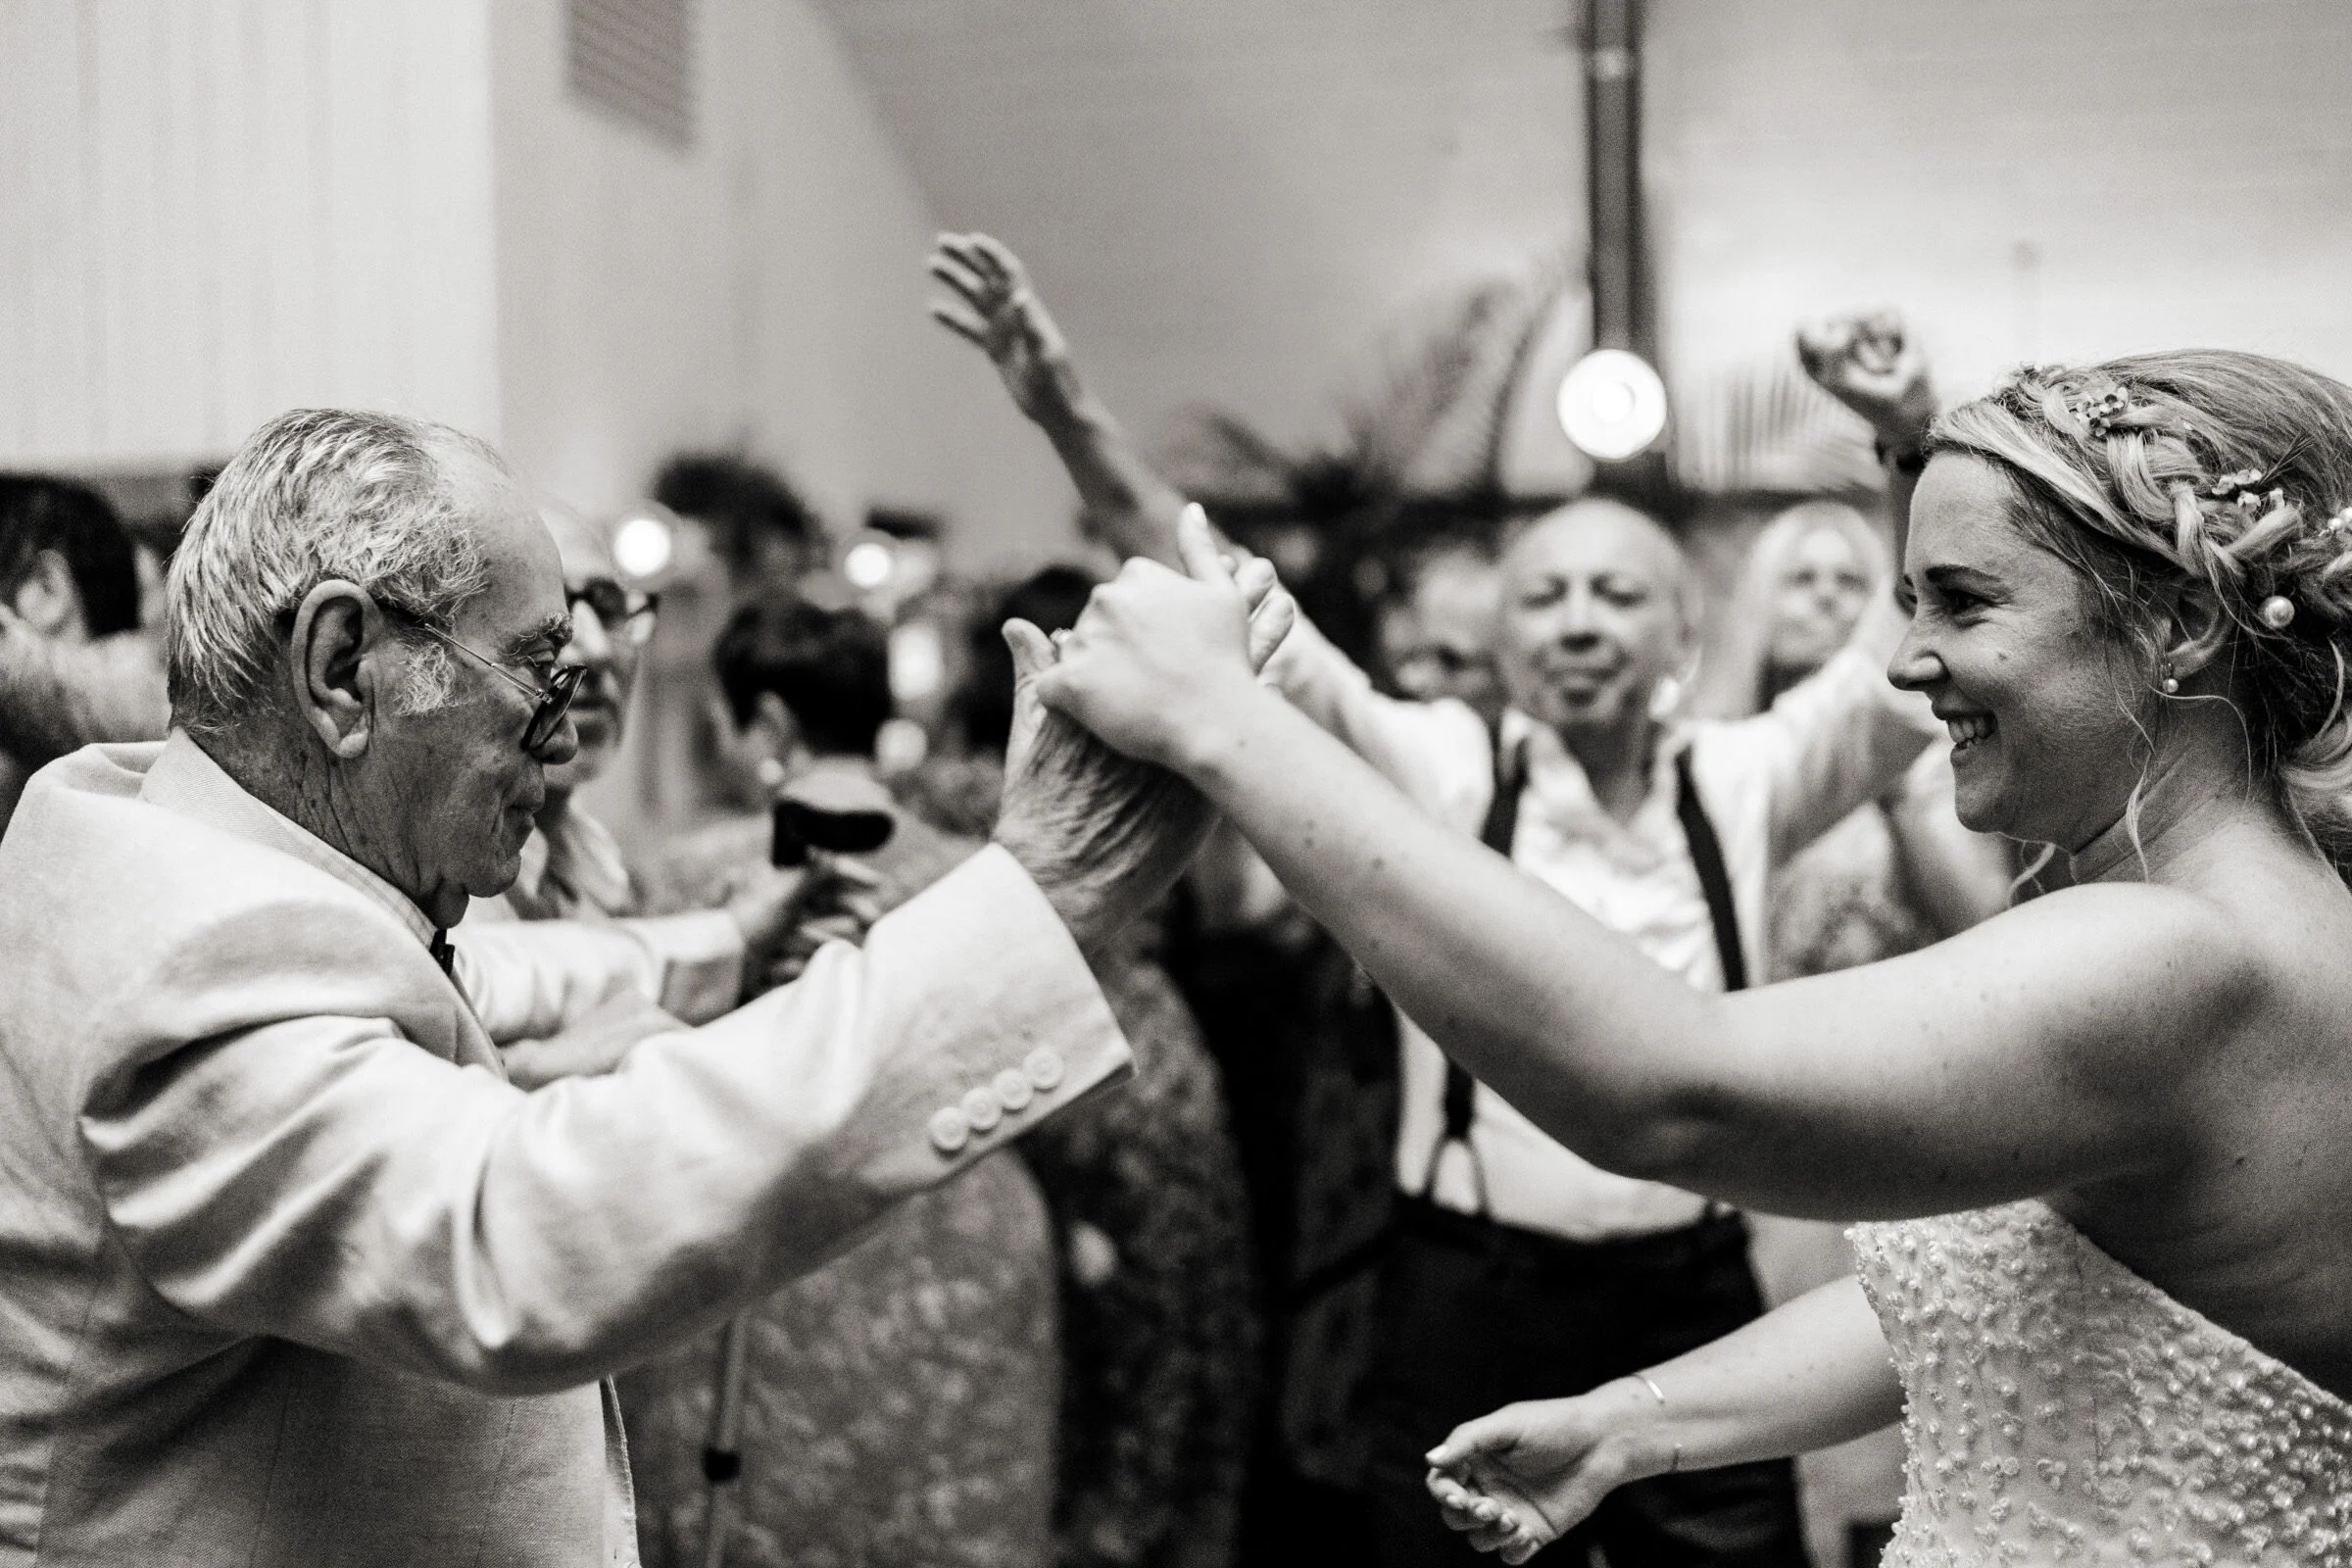
It was truly amazing working with and getting to know these two whilst creating their Soho Farmhouse wedding photos - such an amicable couple plus they really know how to throw an incredible knees-up!
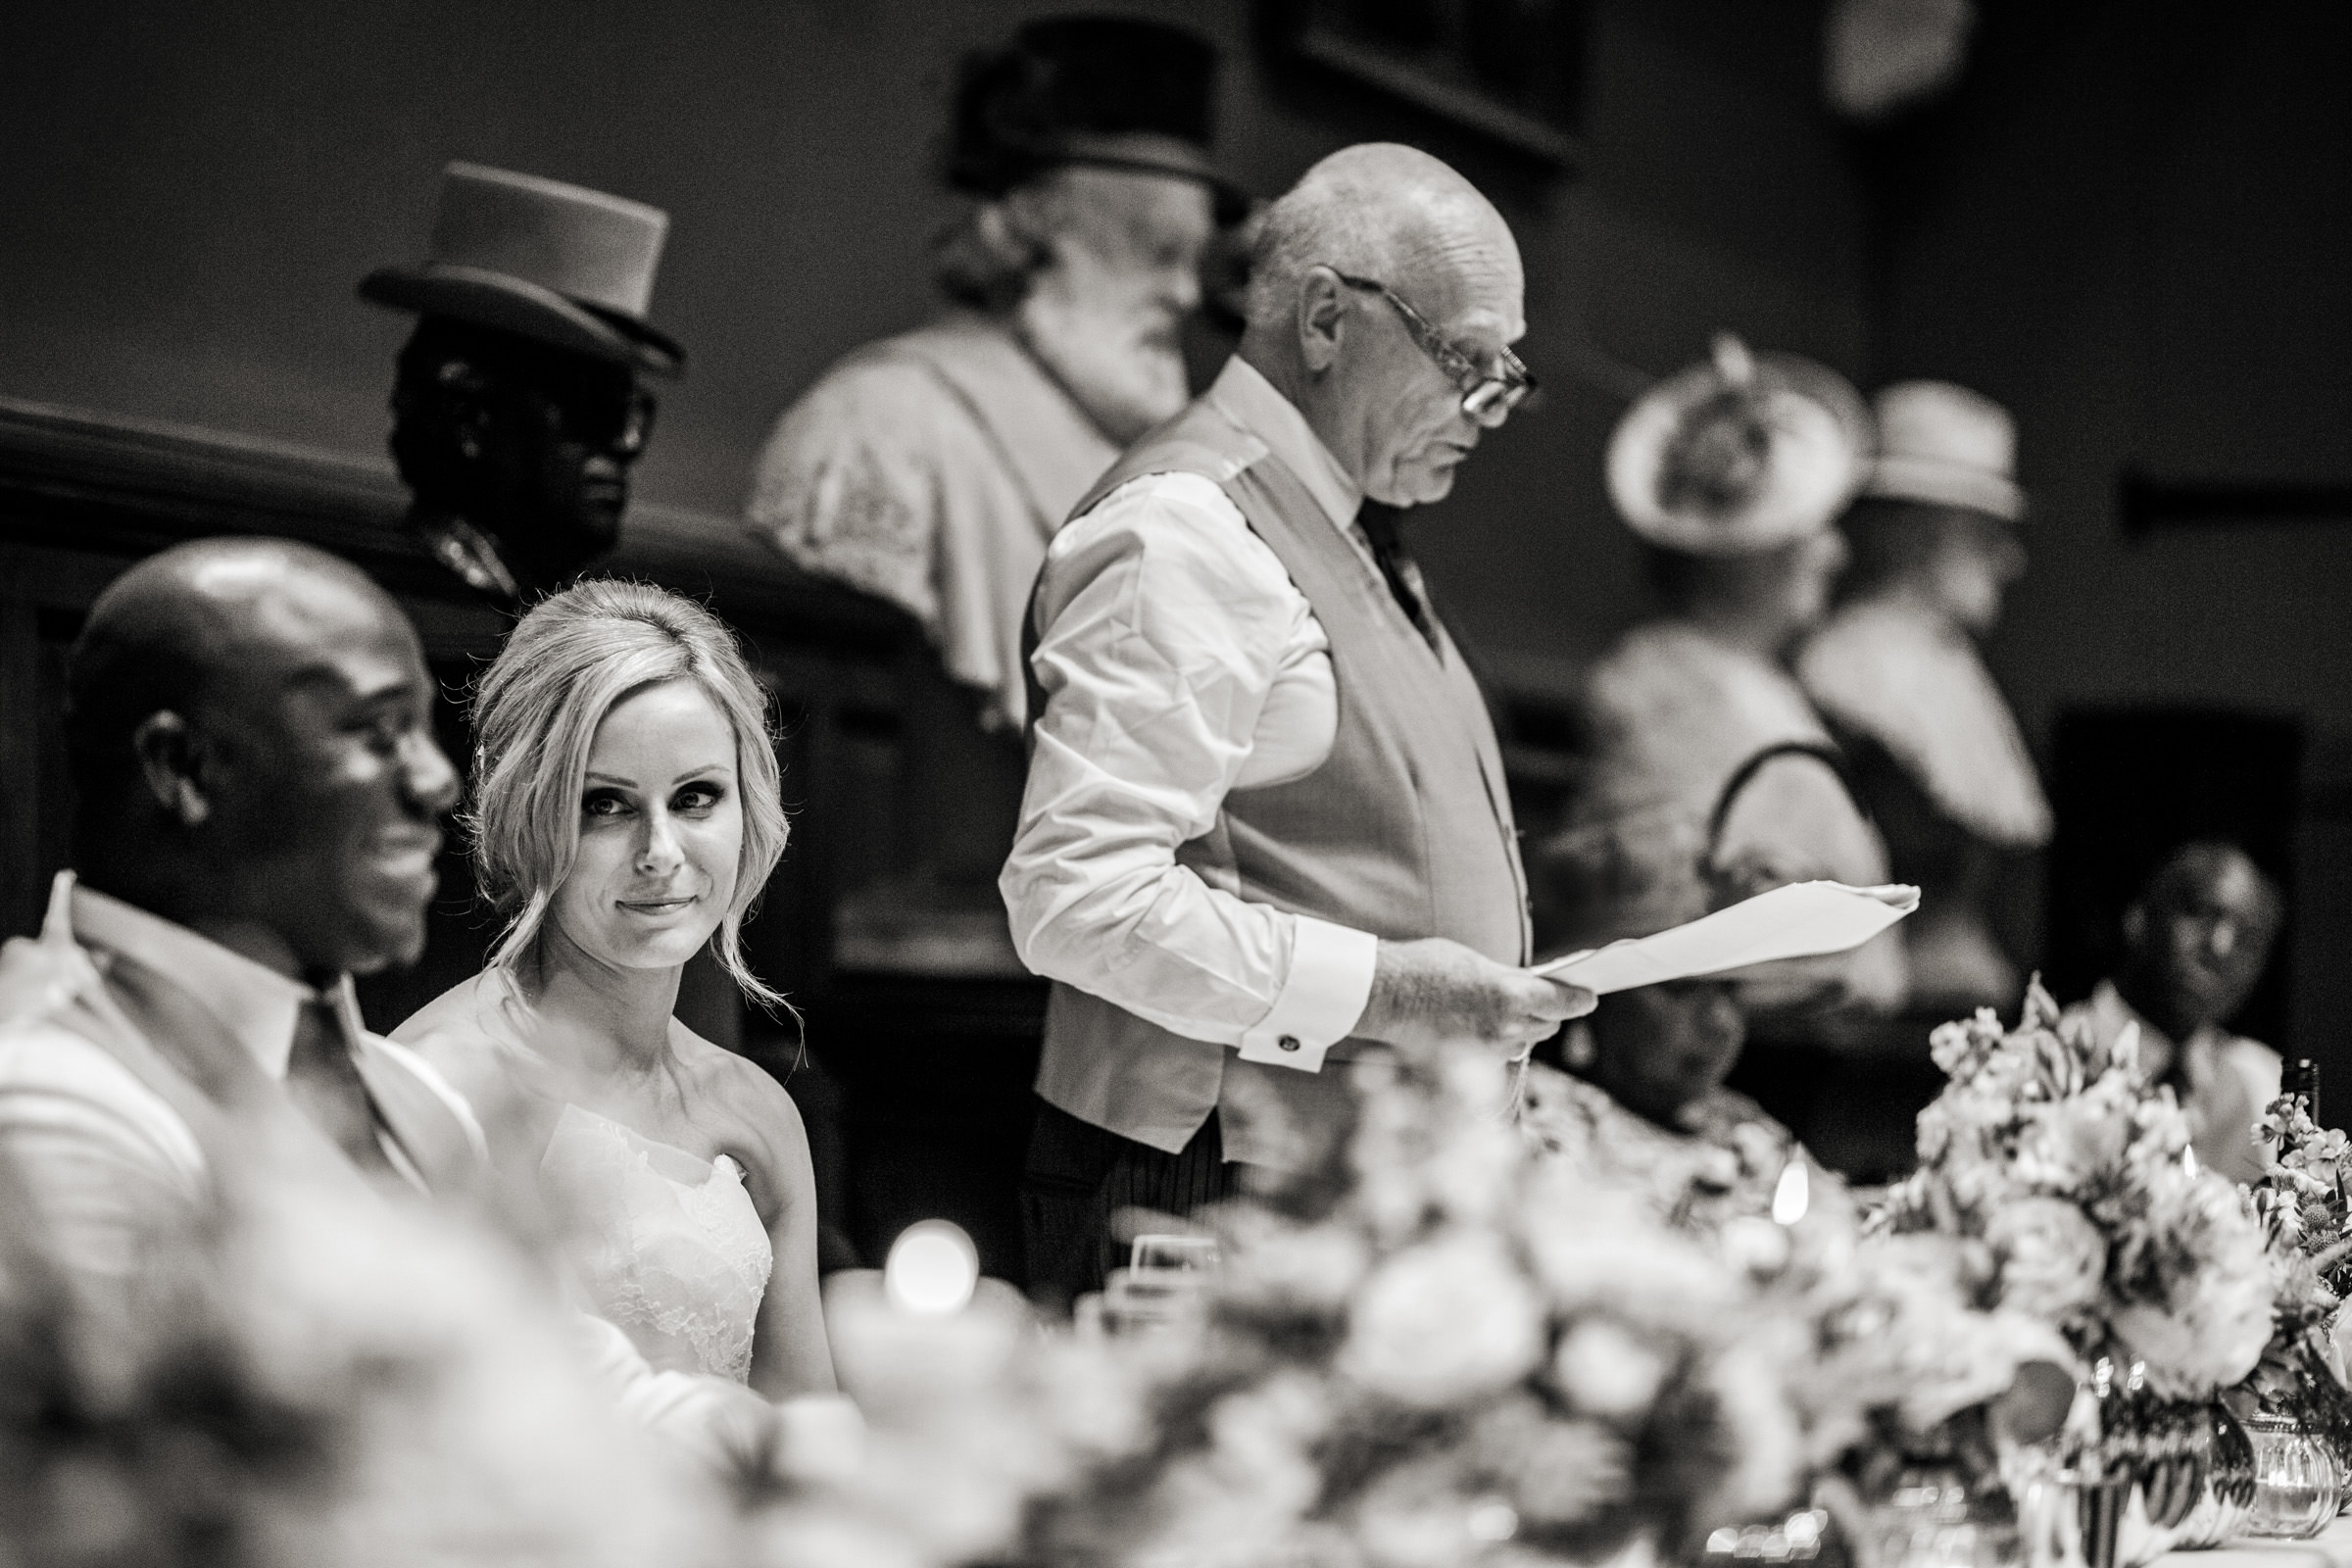
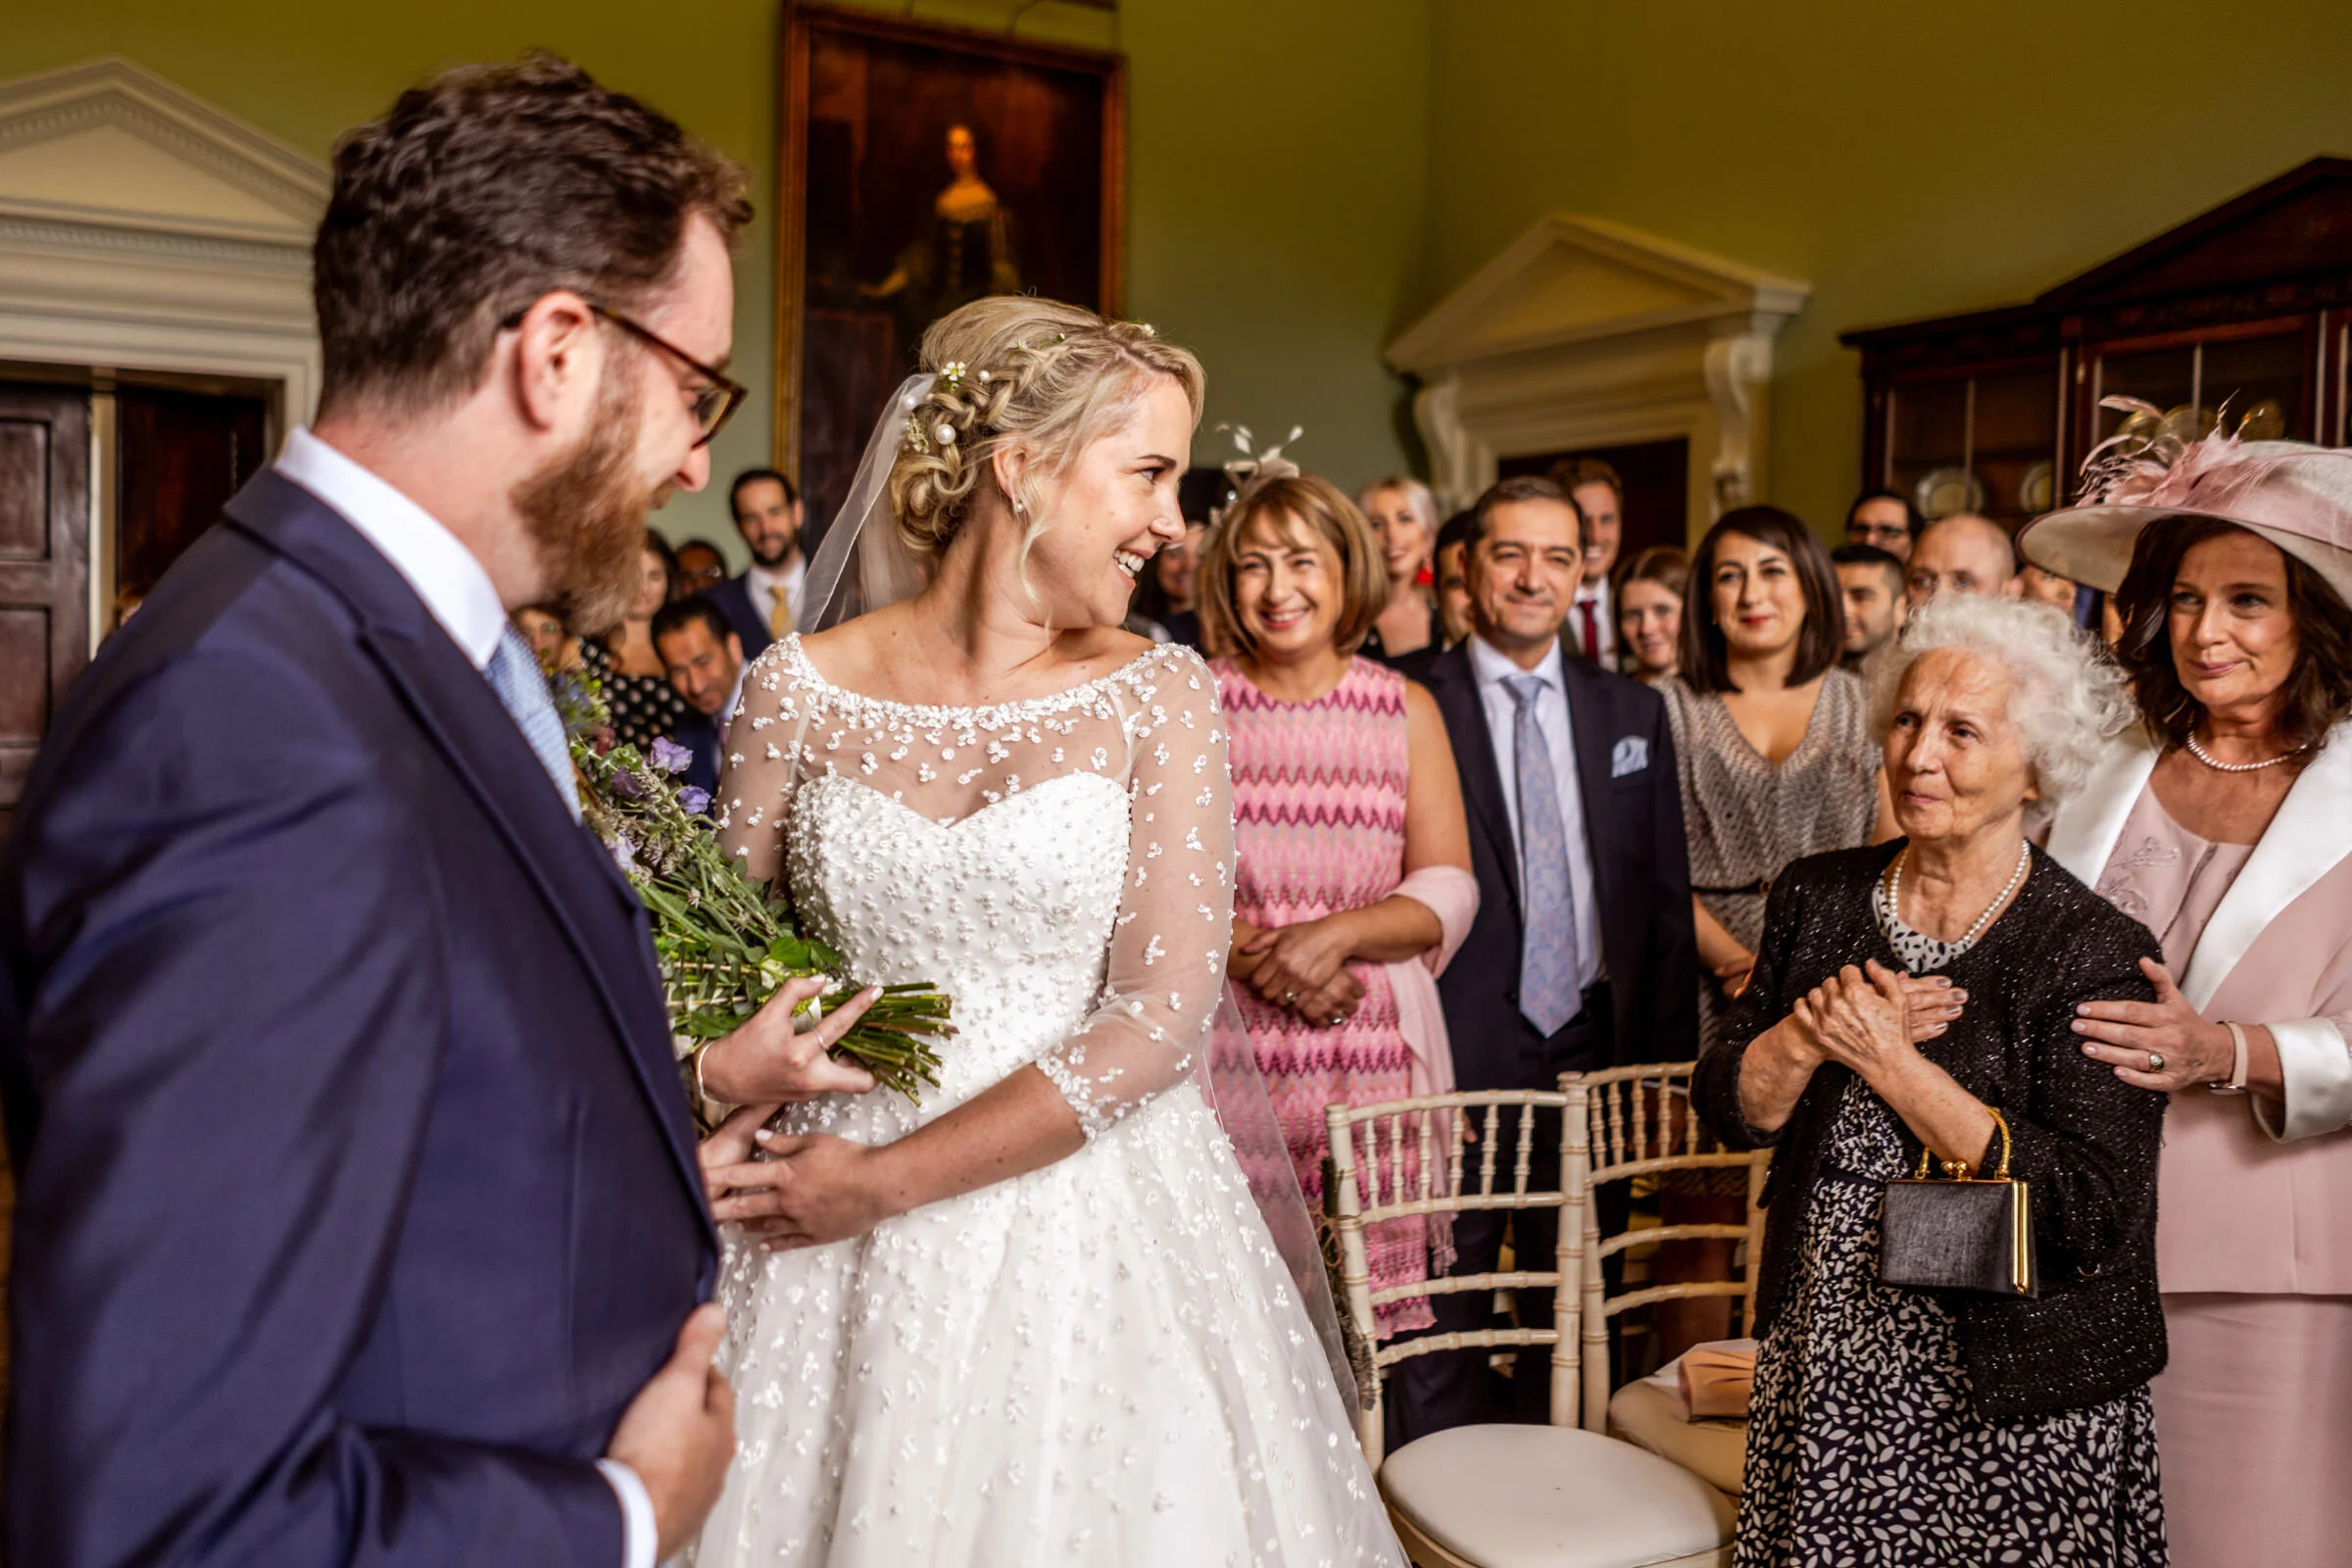
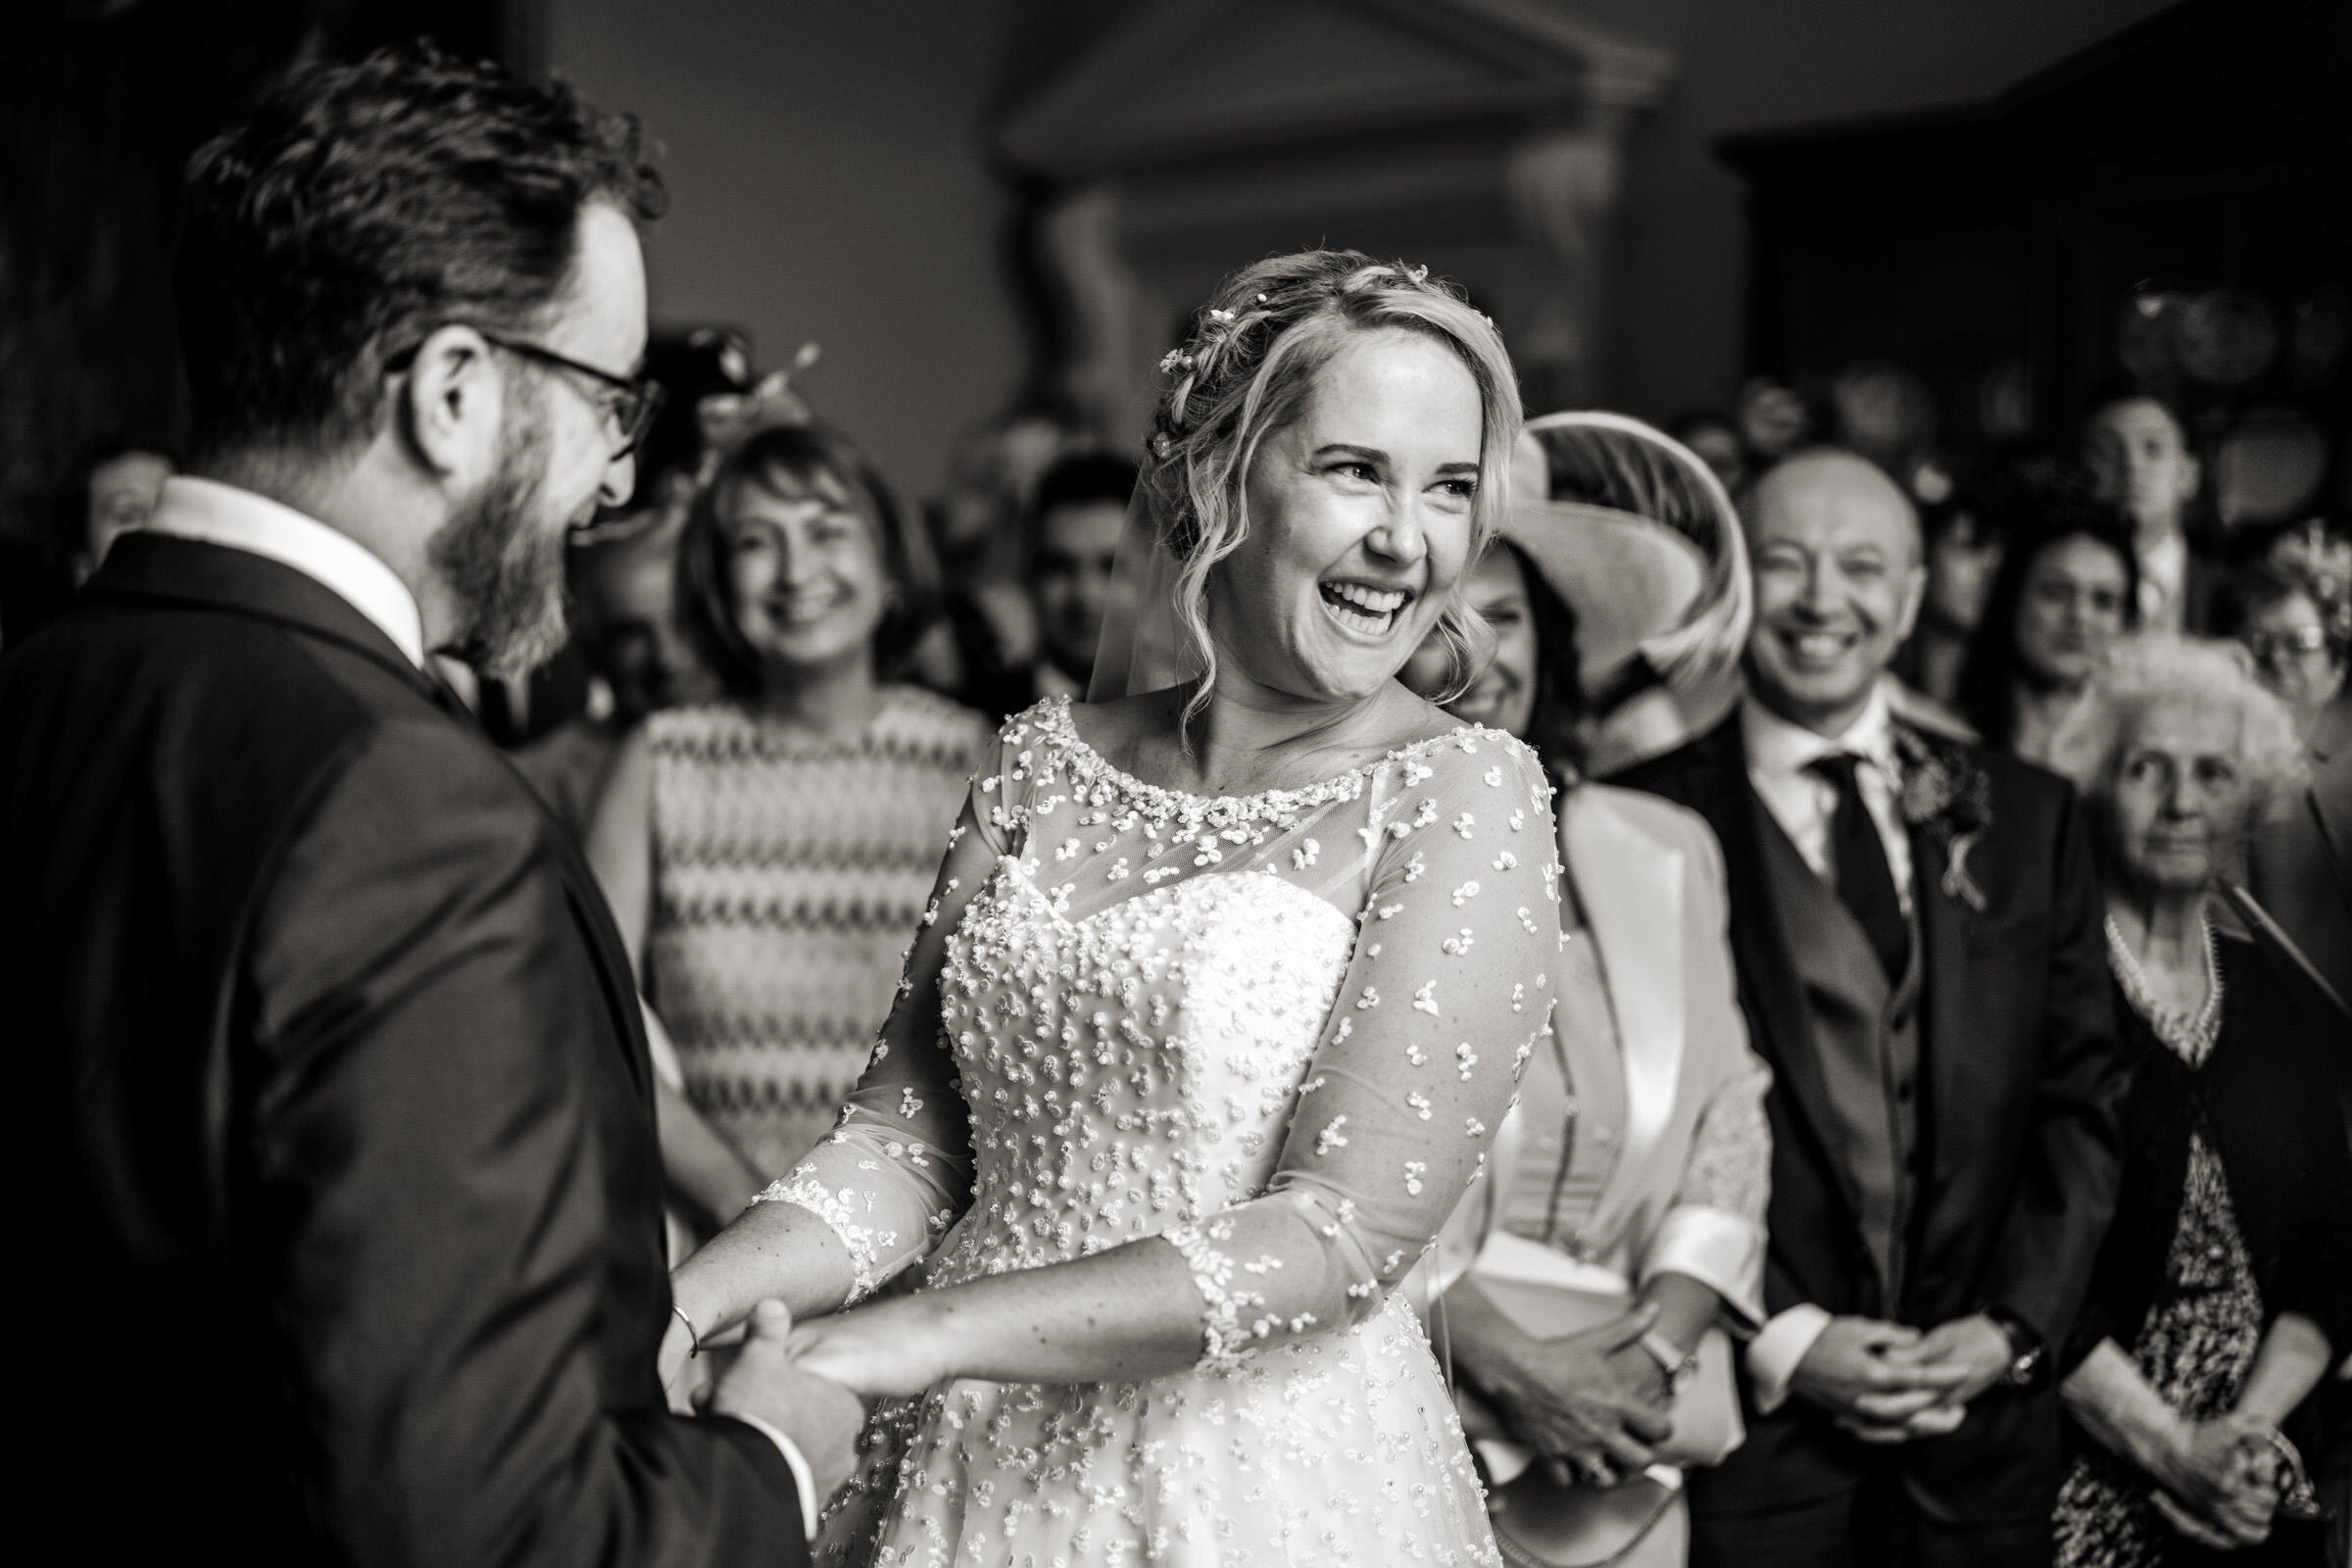
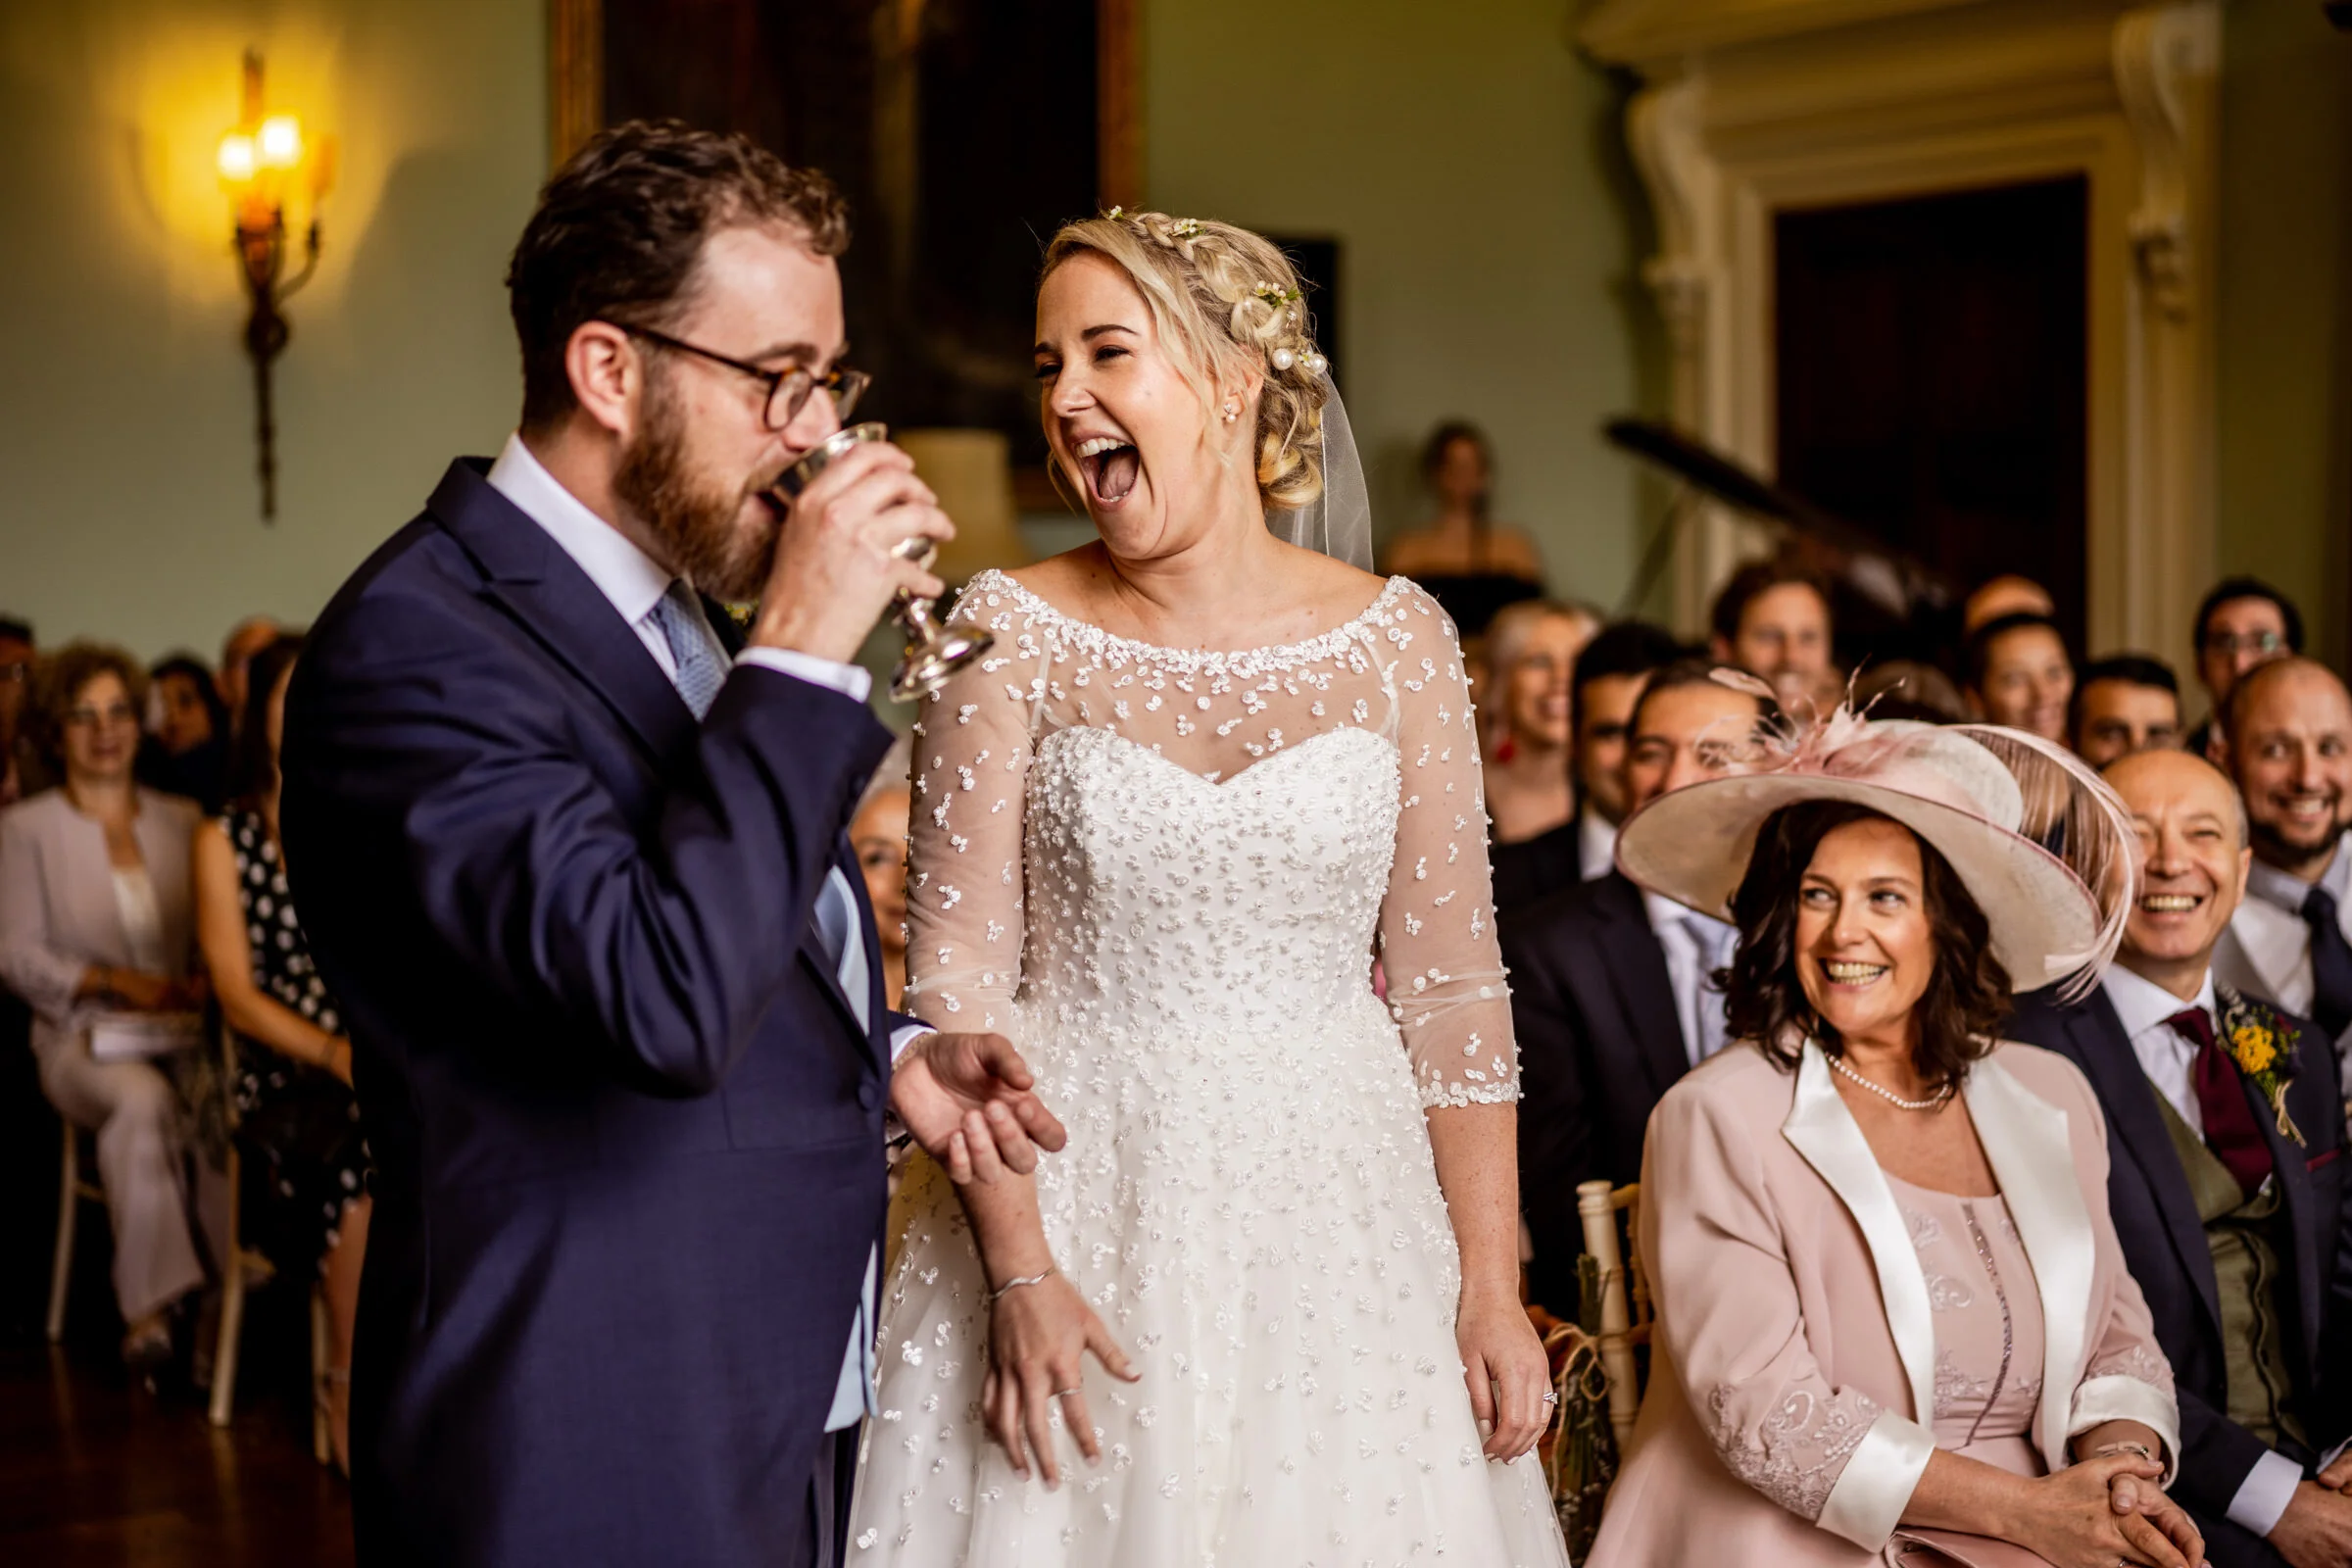
The whole day had a beautifully energetic flow with elements of Ben’s Jewish and Charmaine’s Iranian heritage throughout.
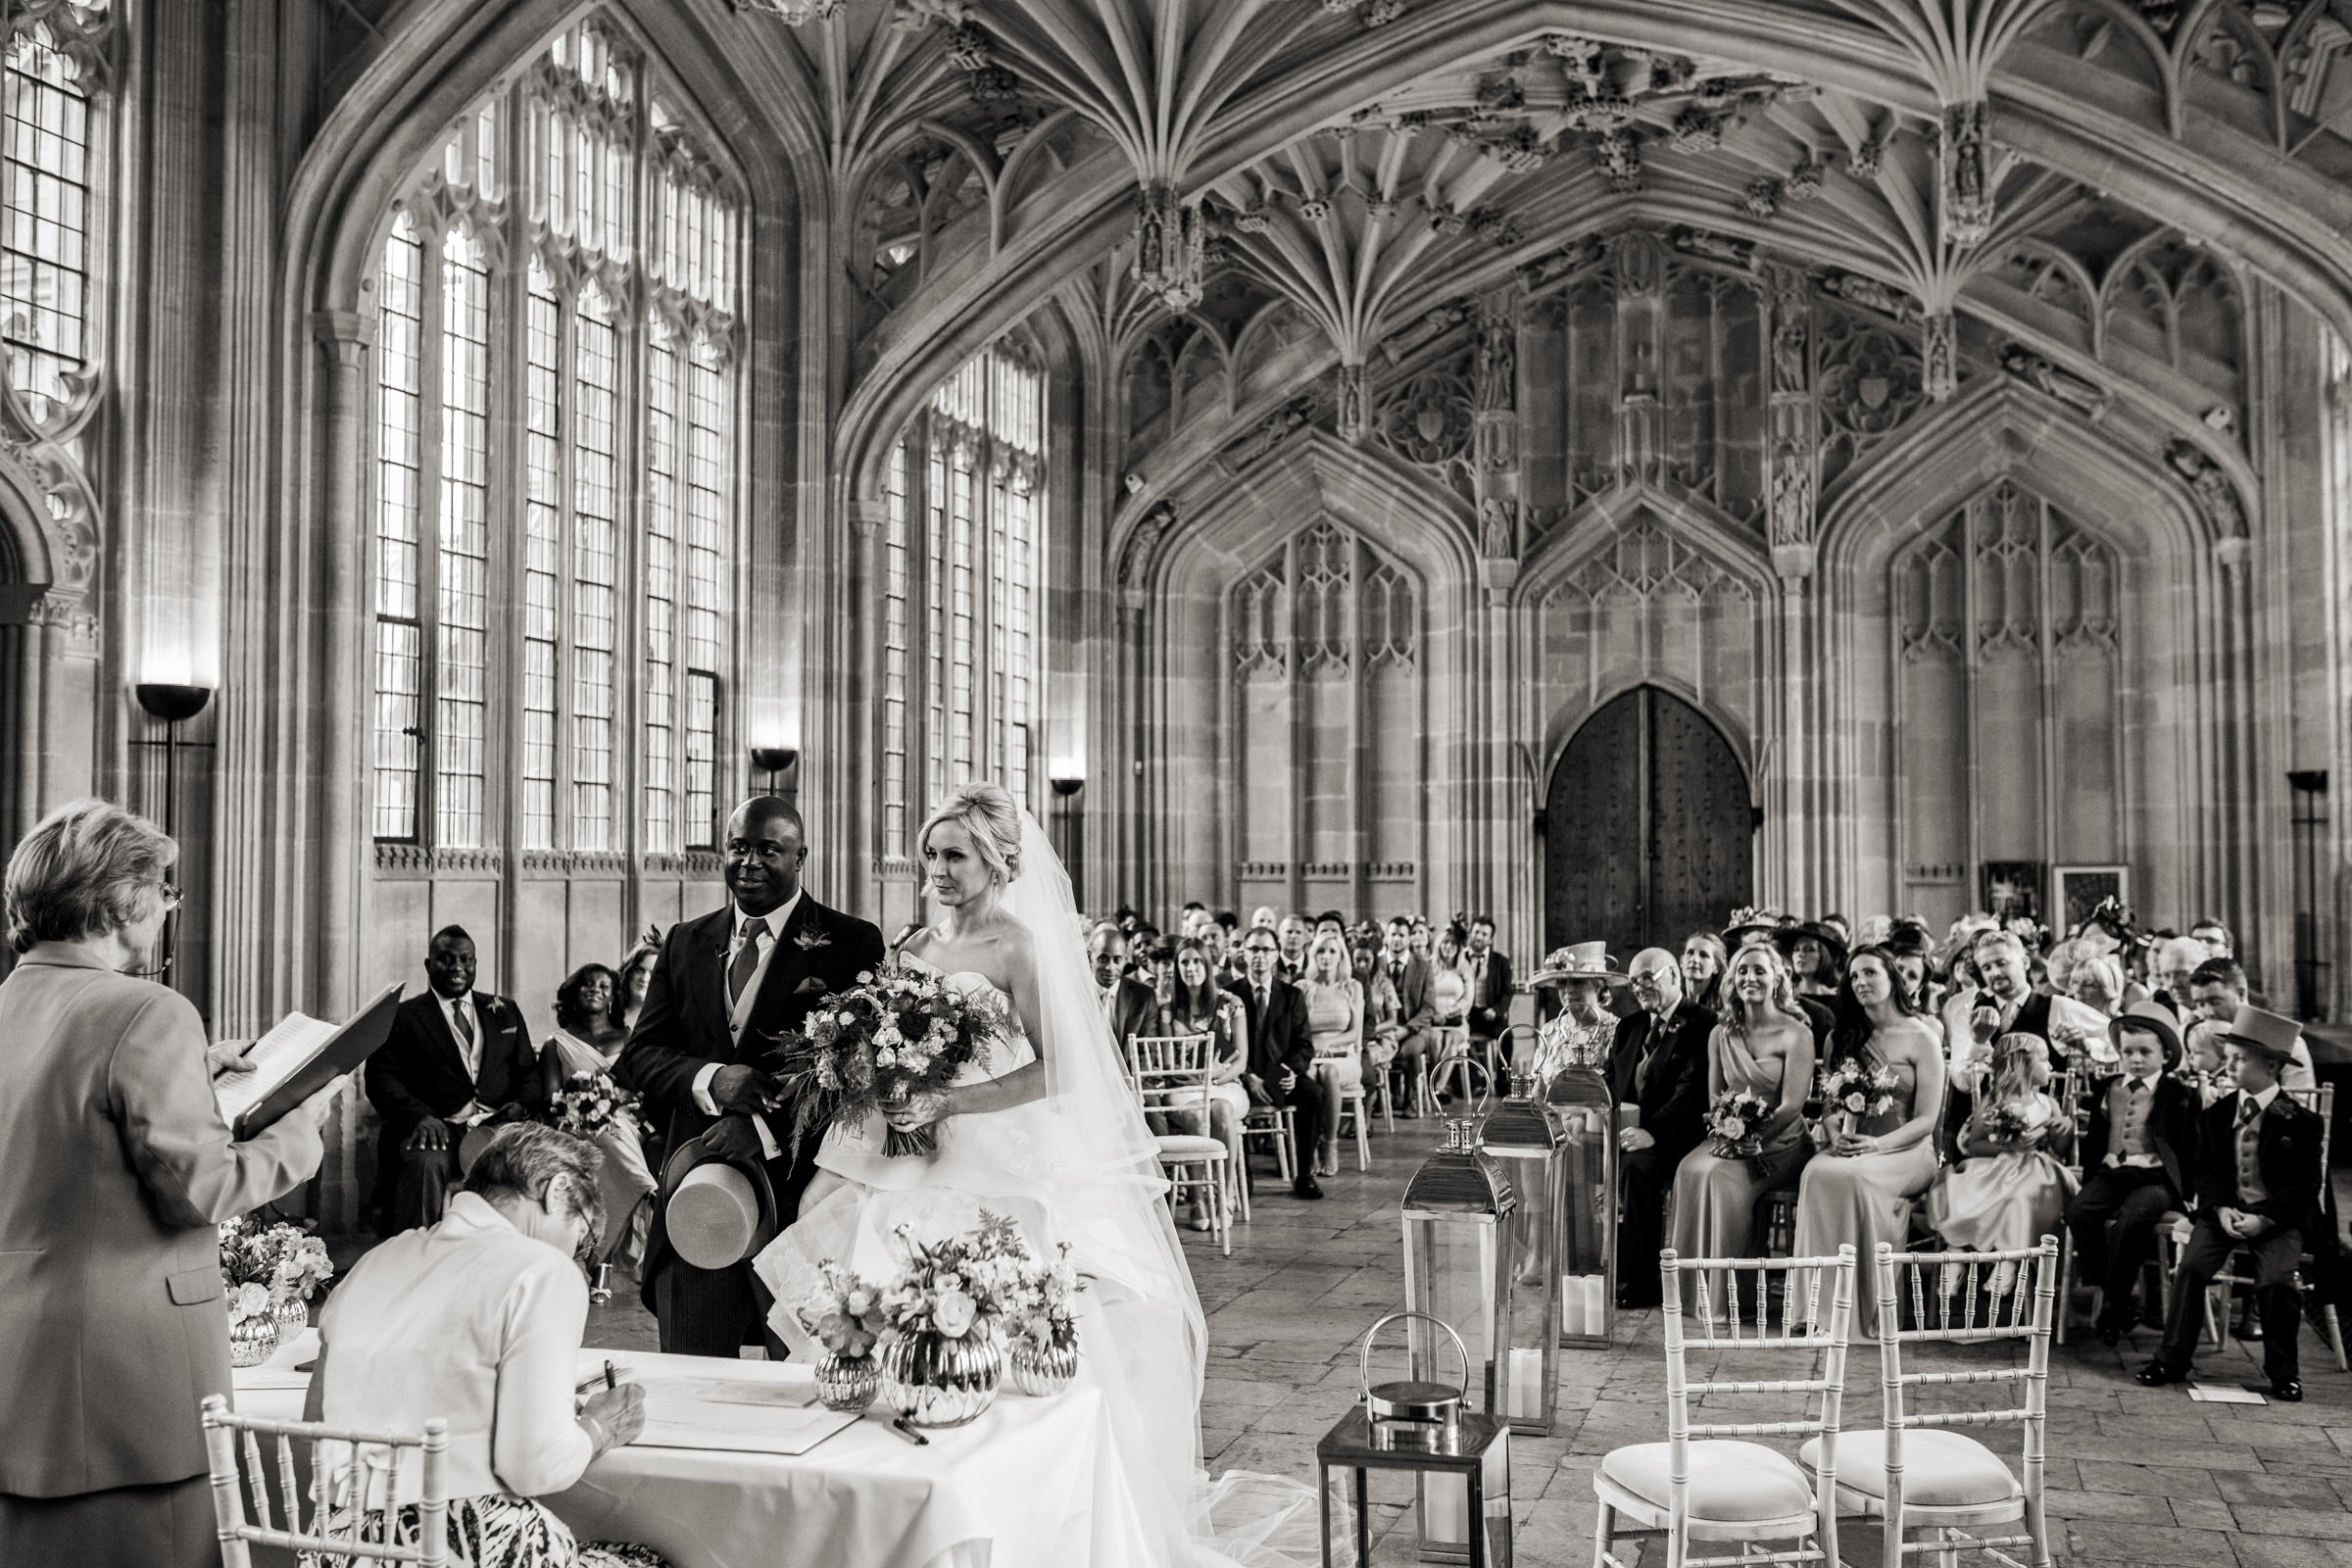
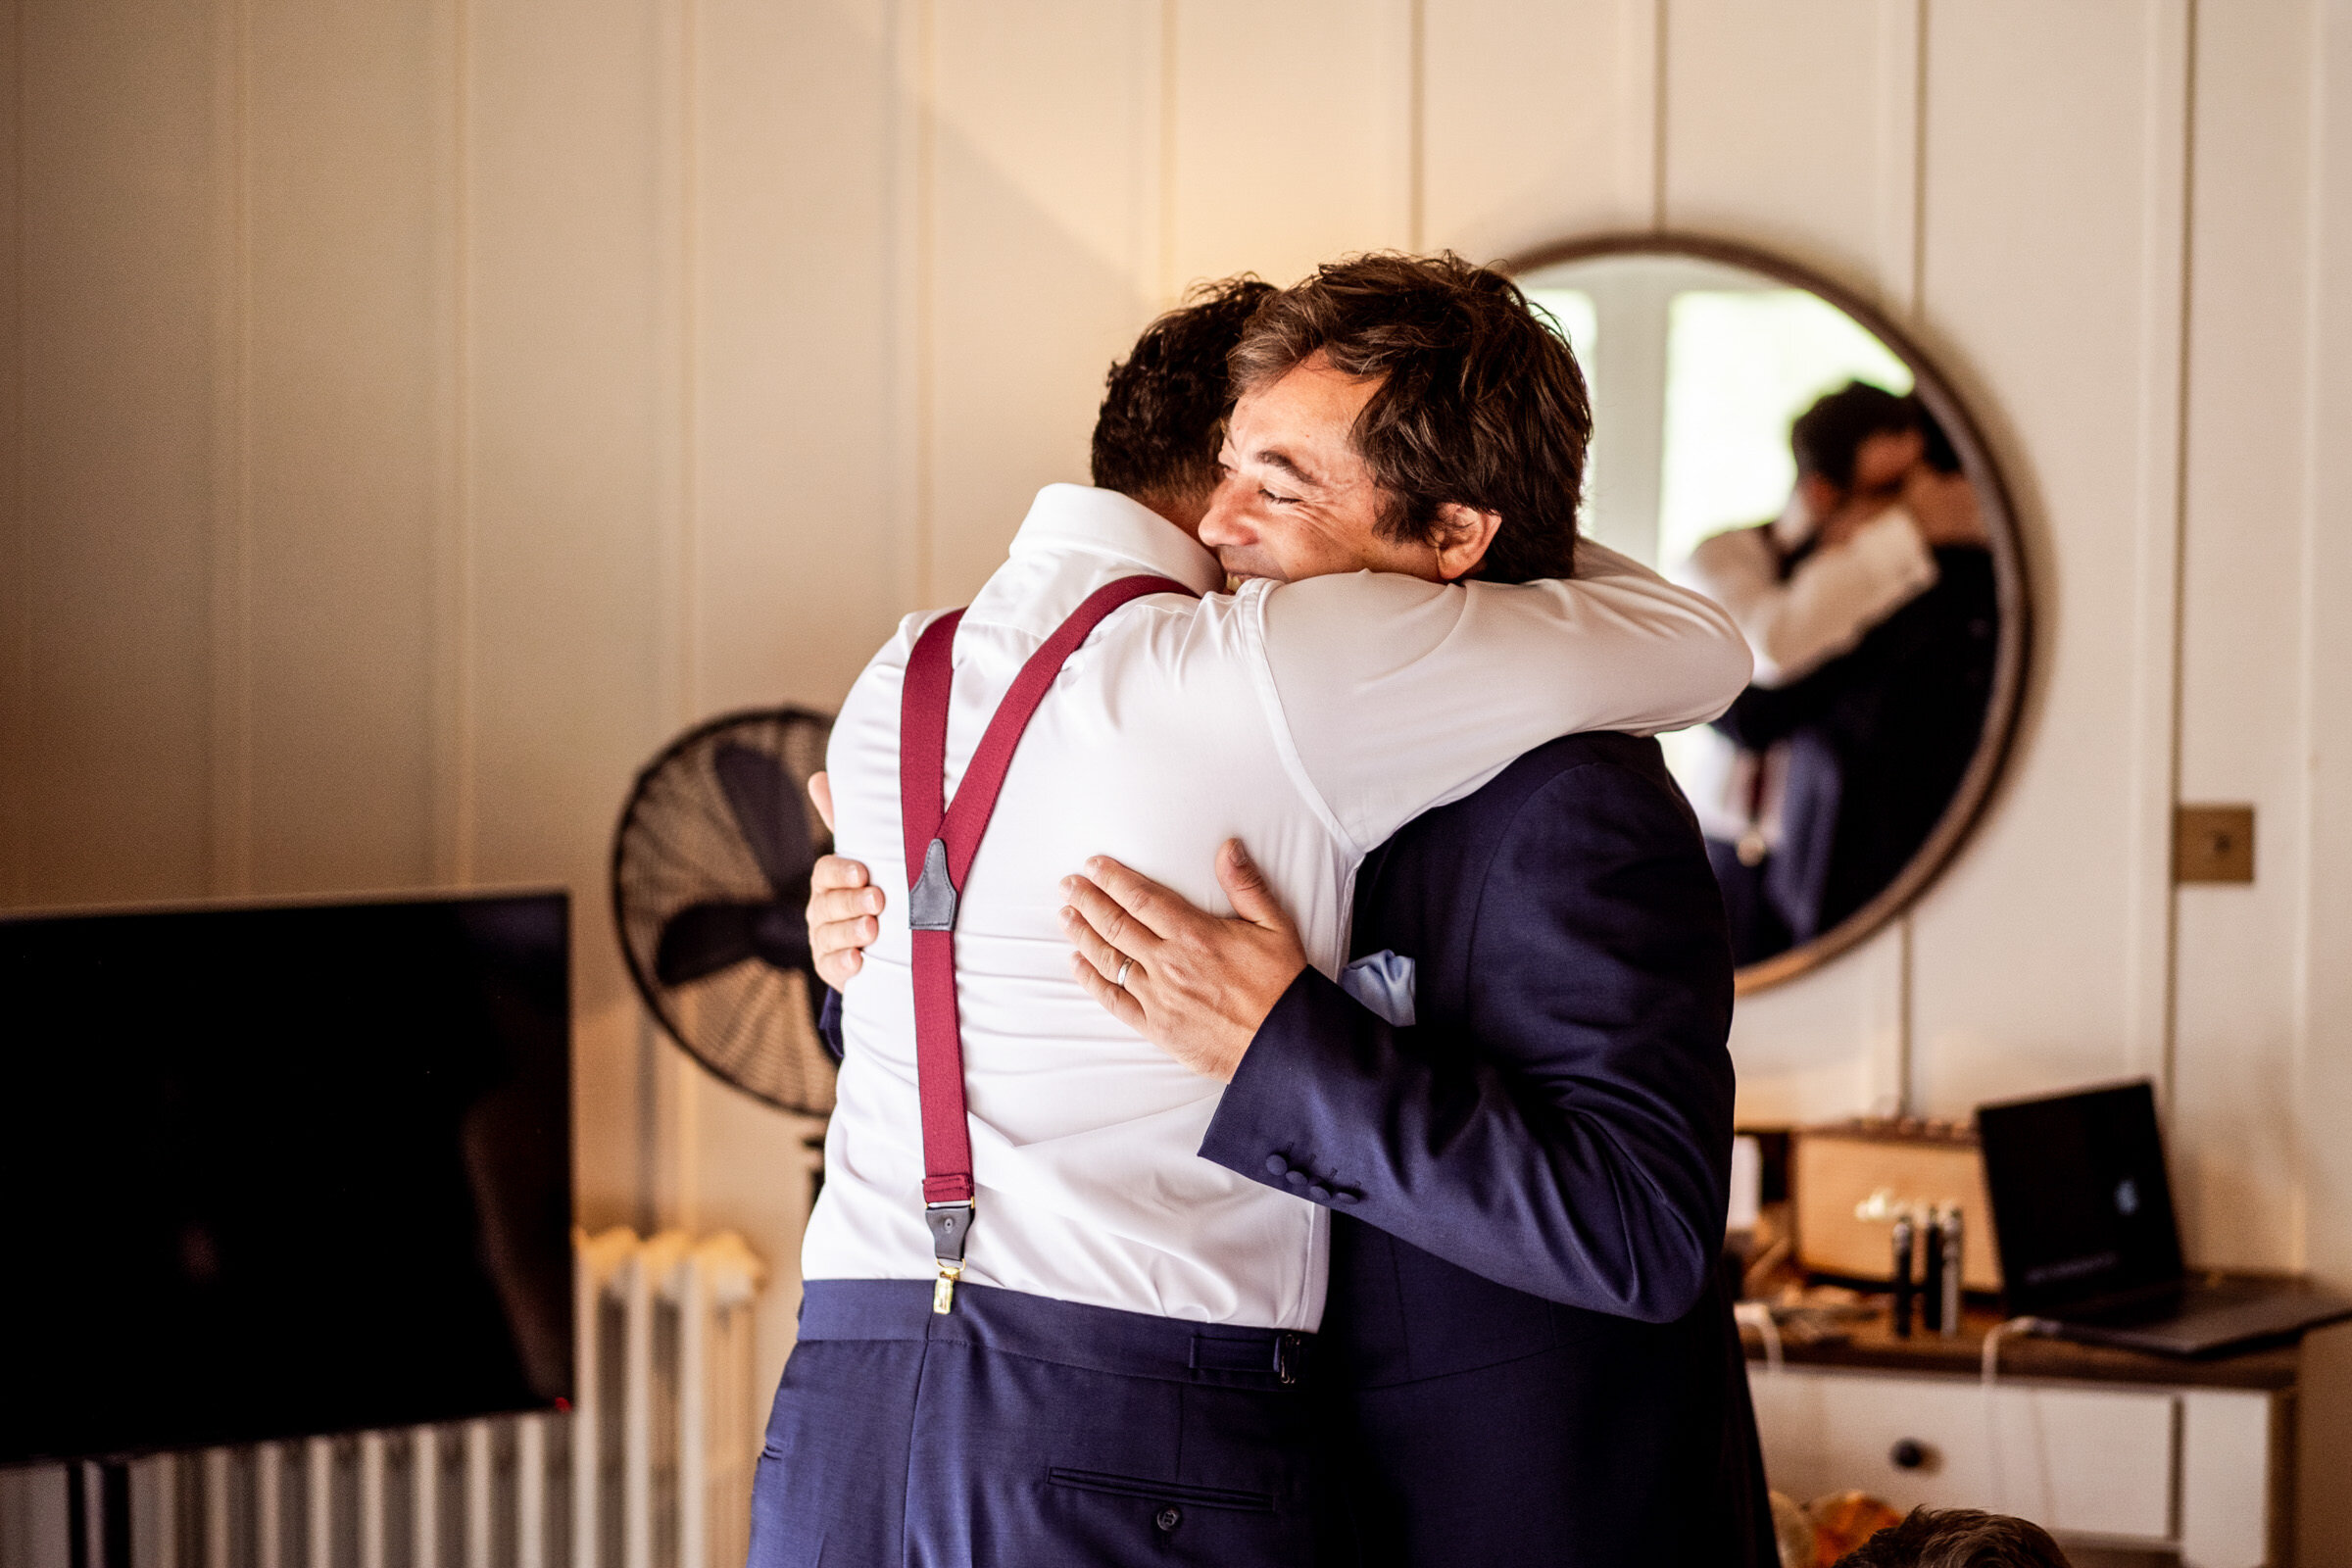
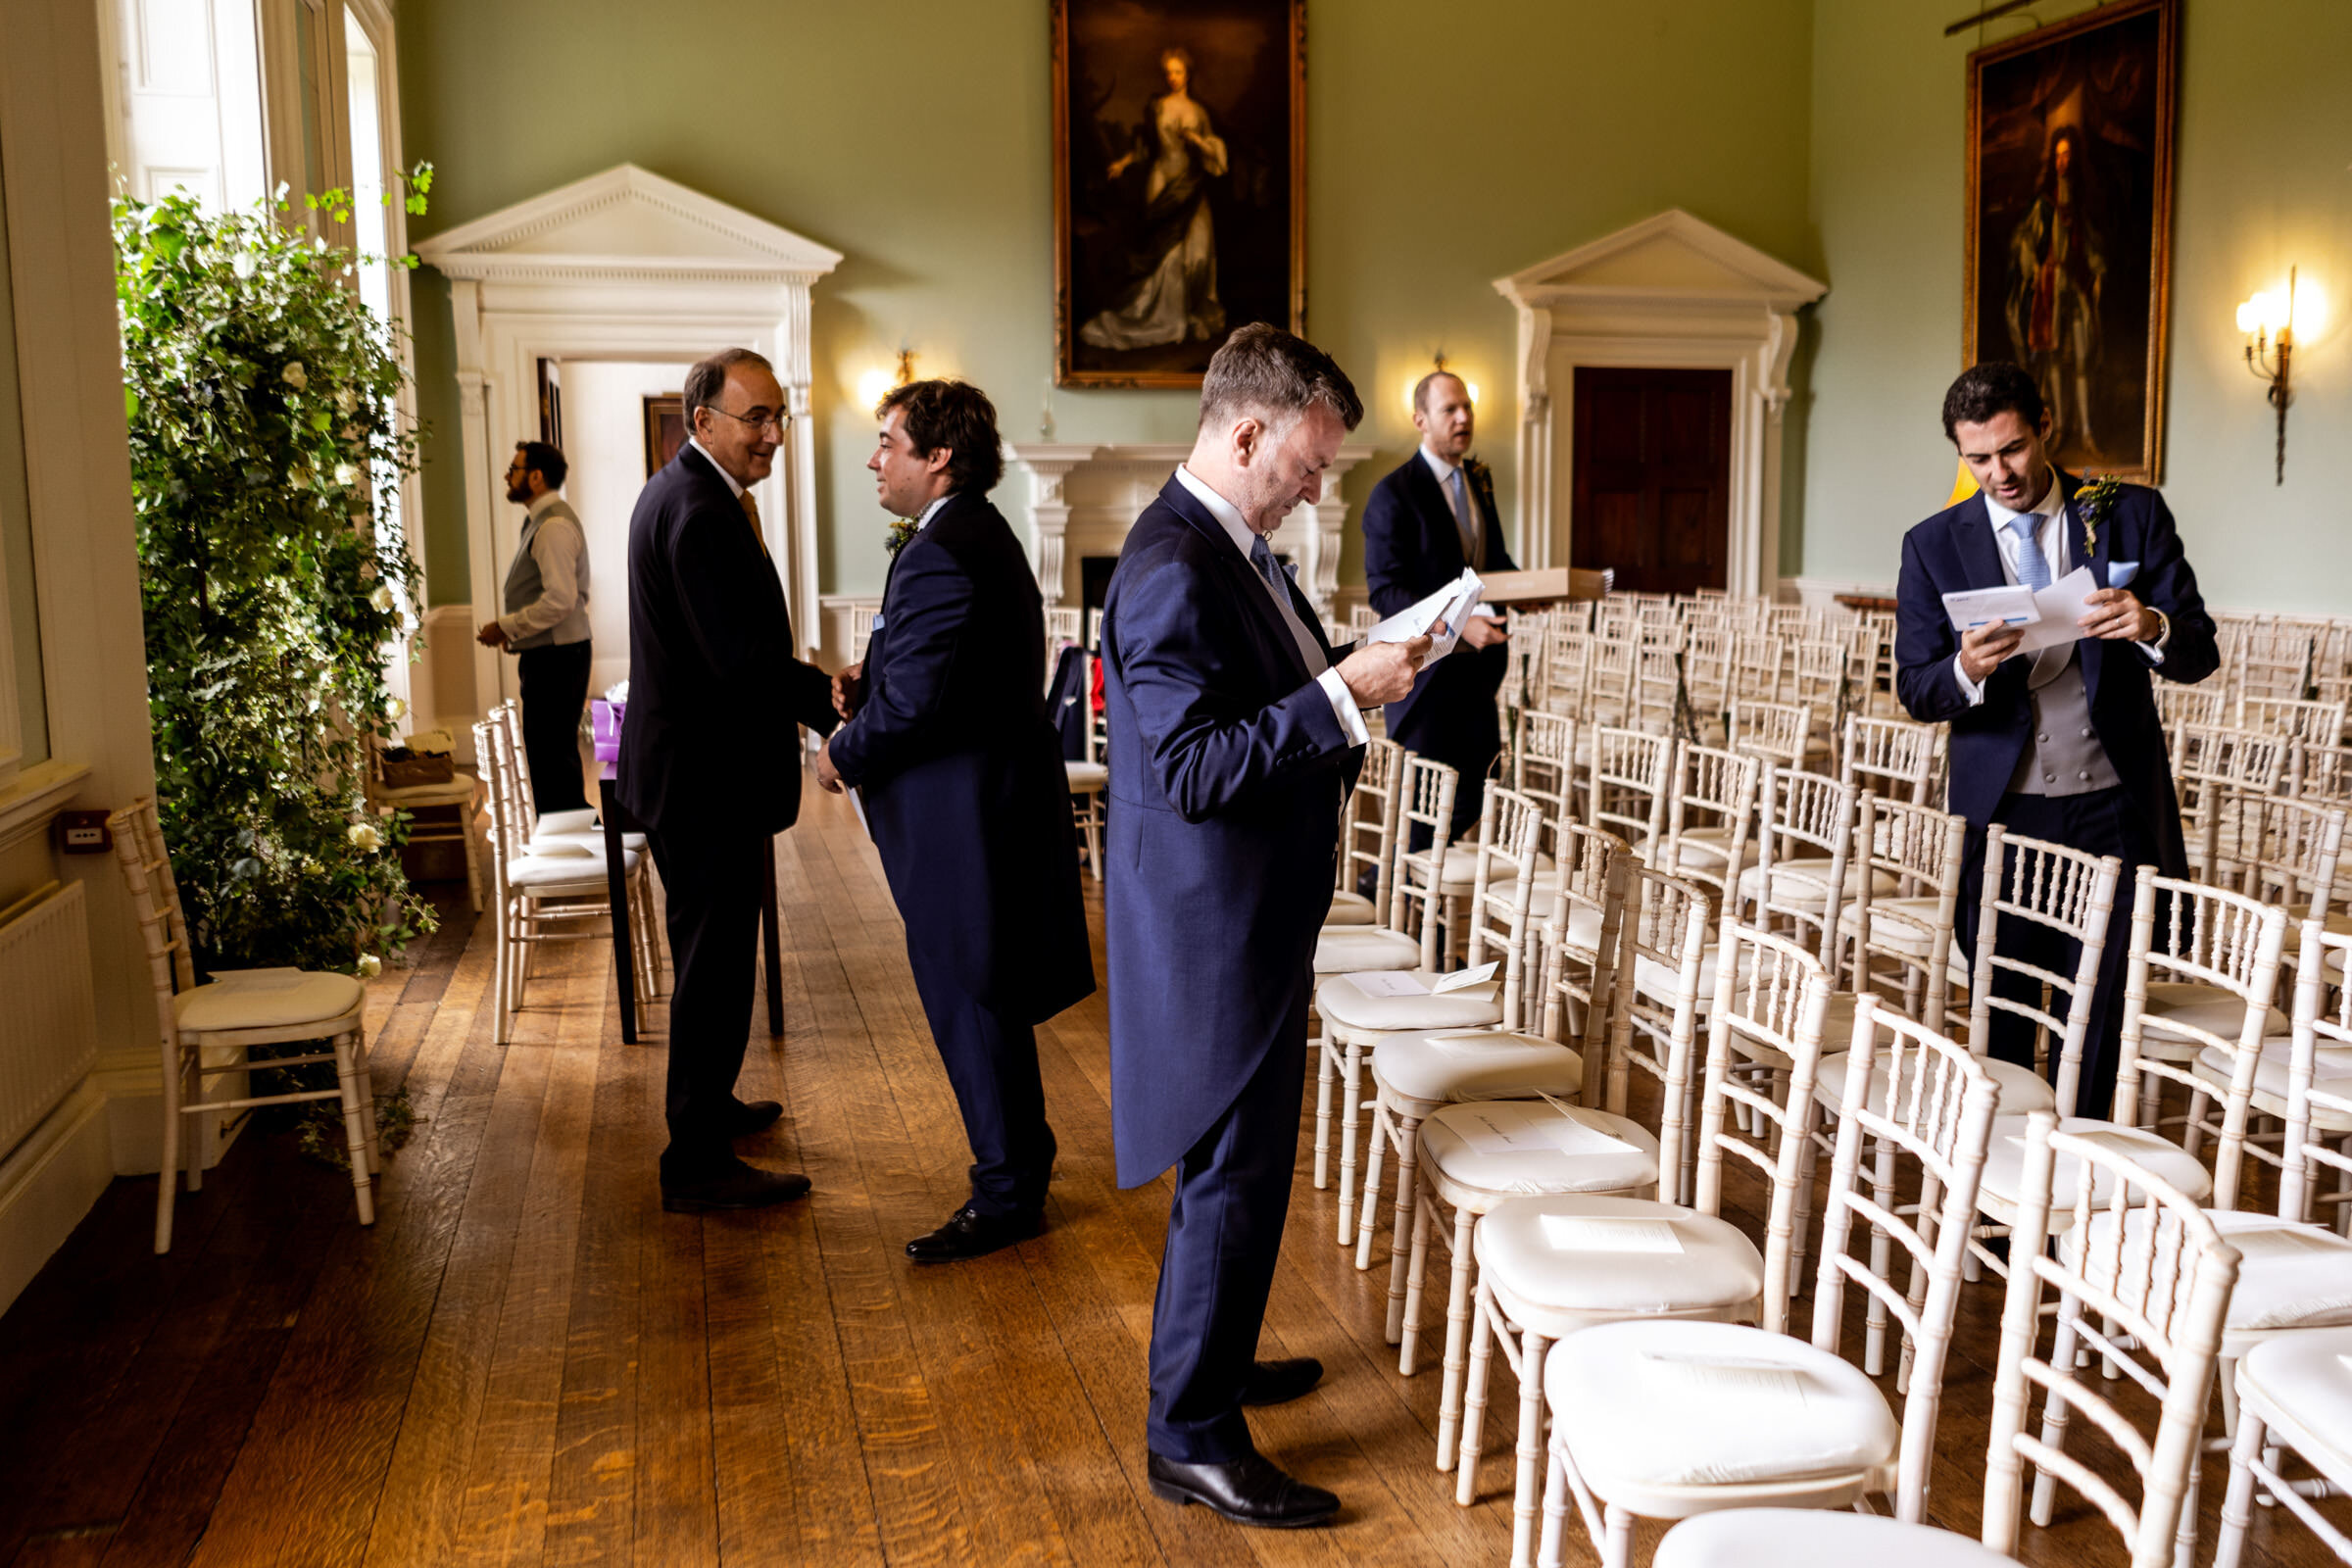
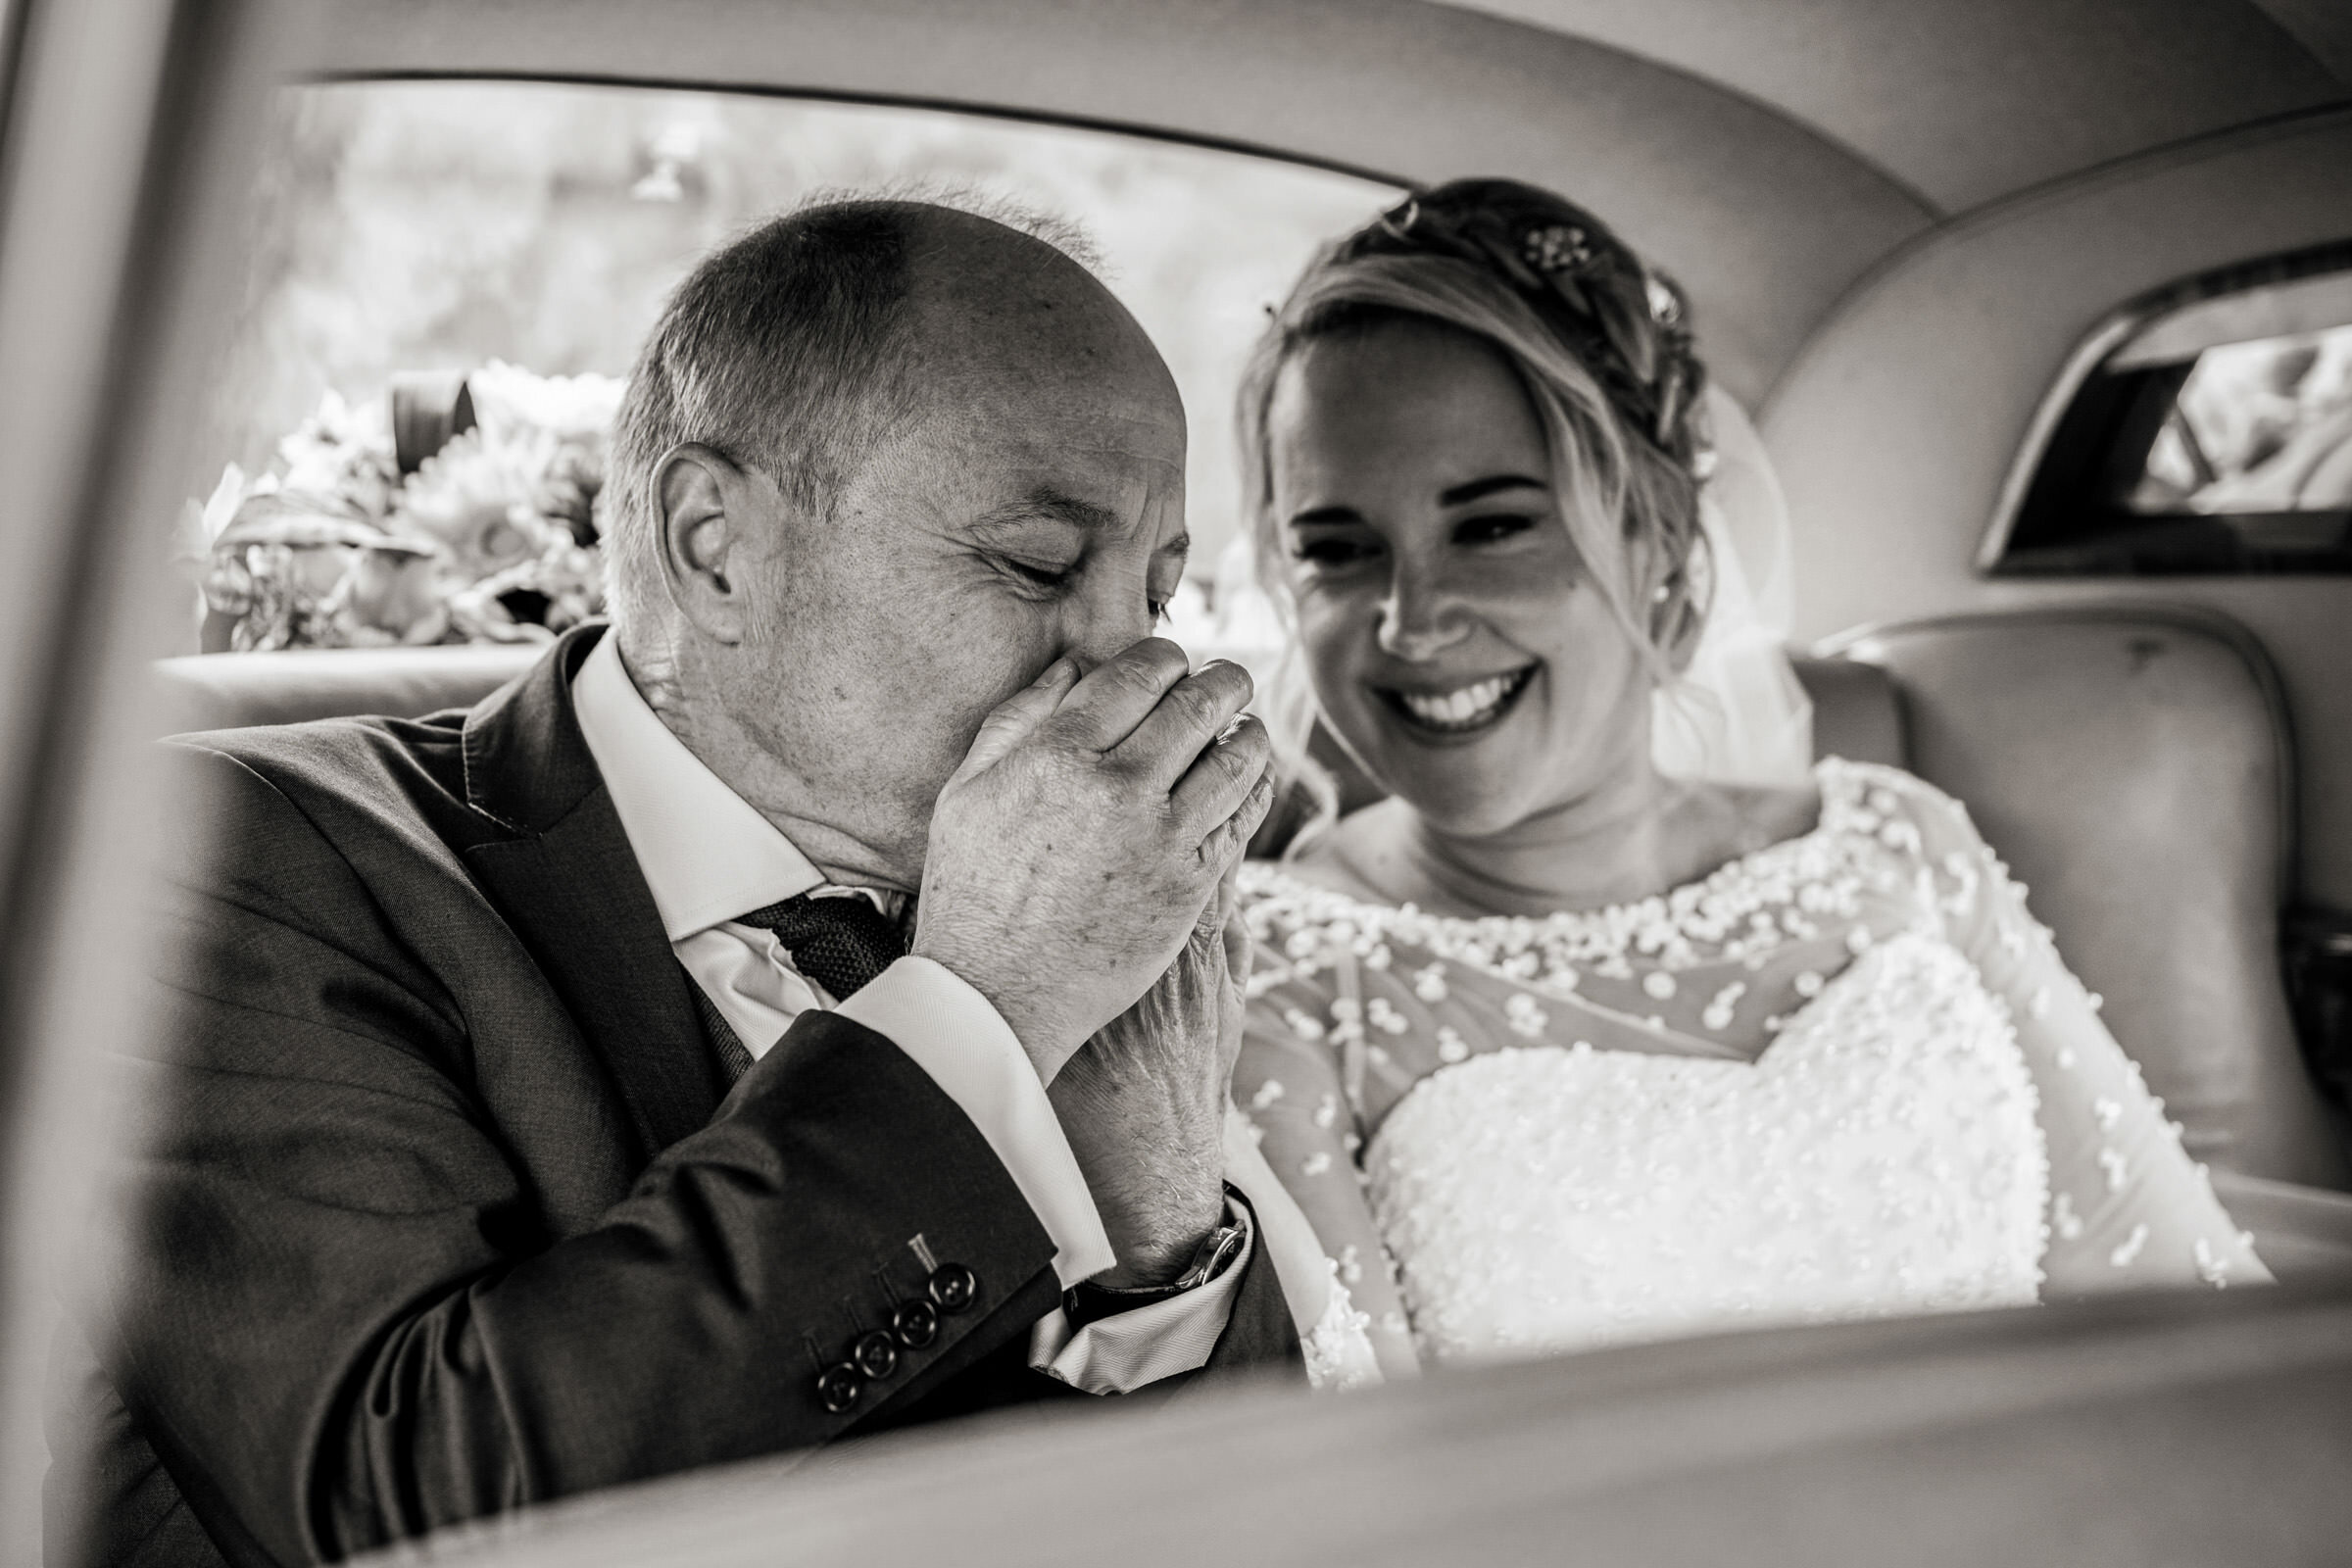
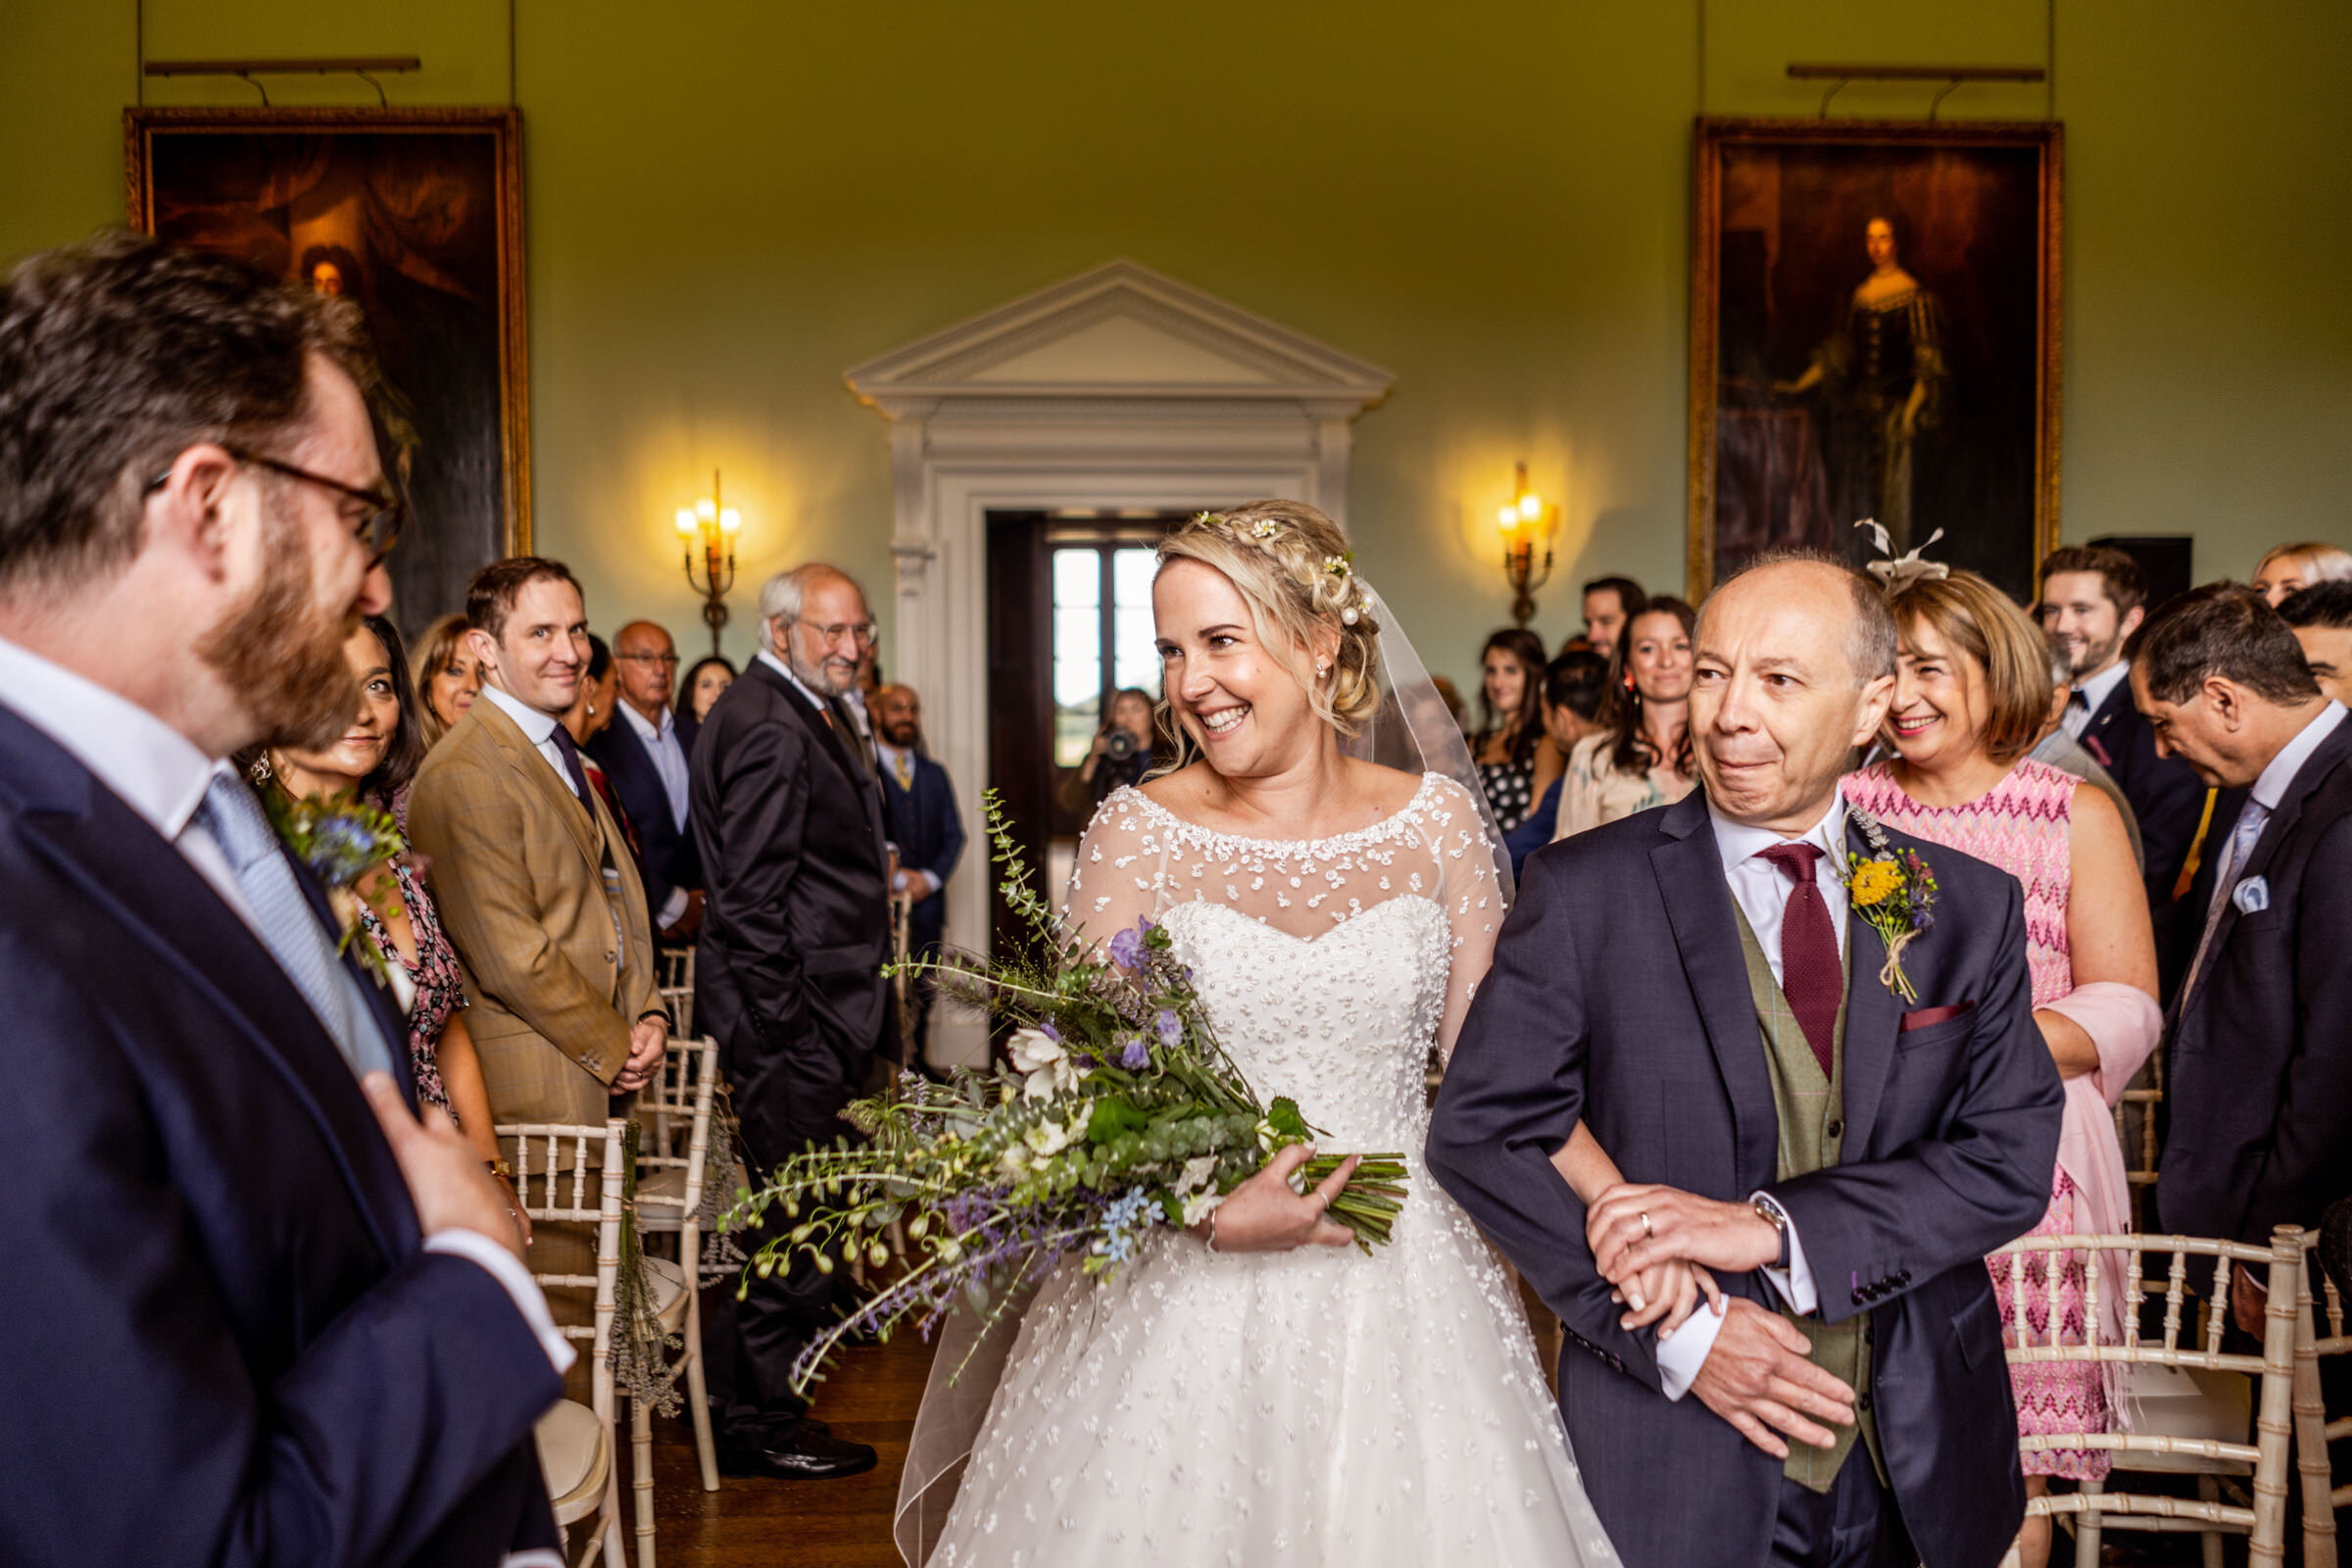
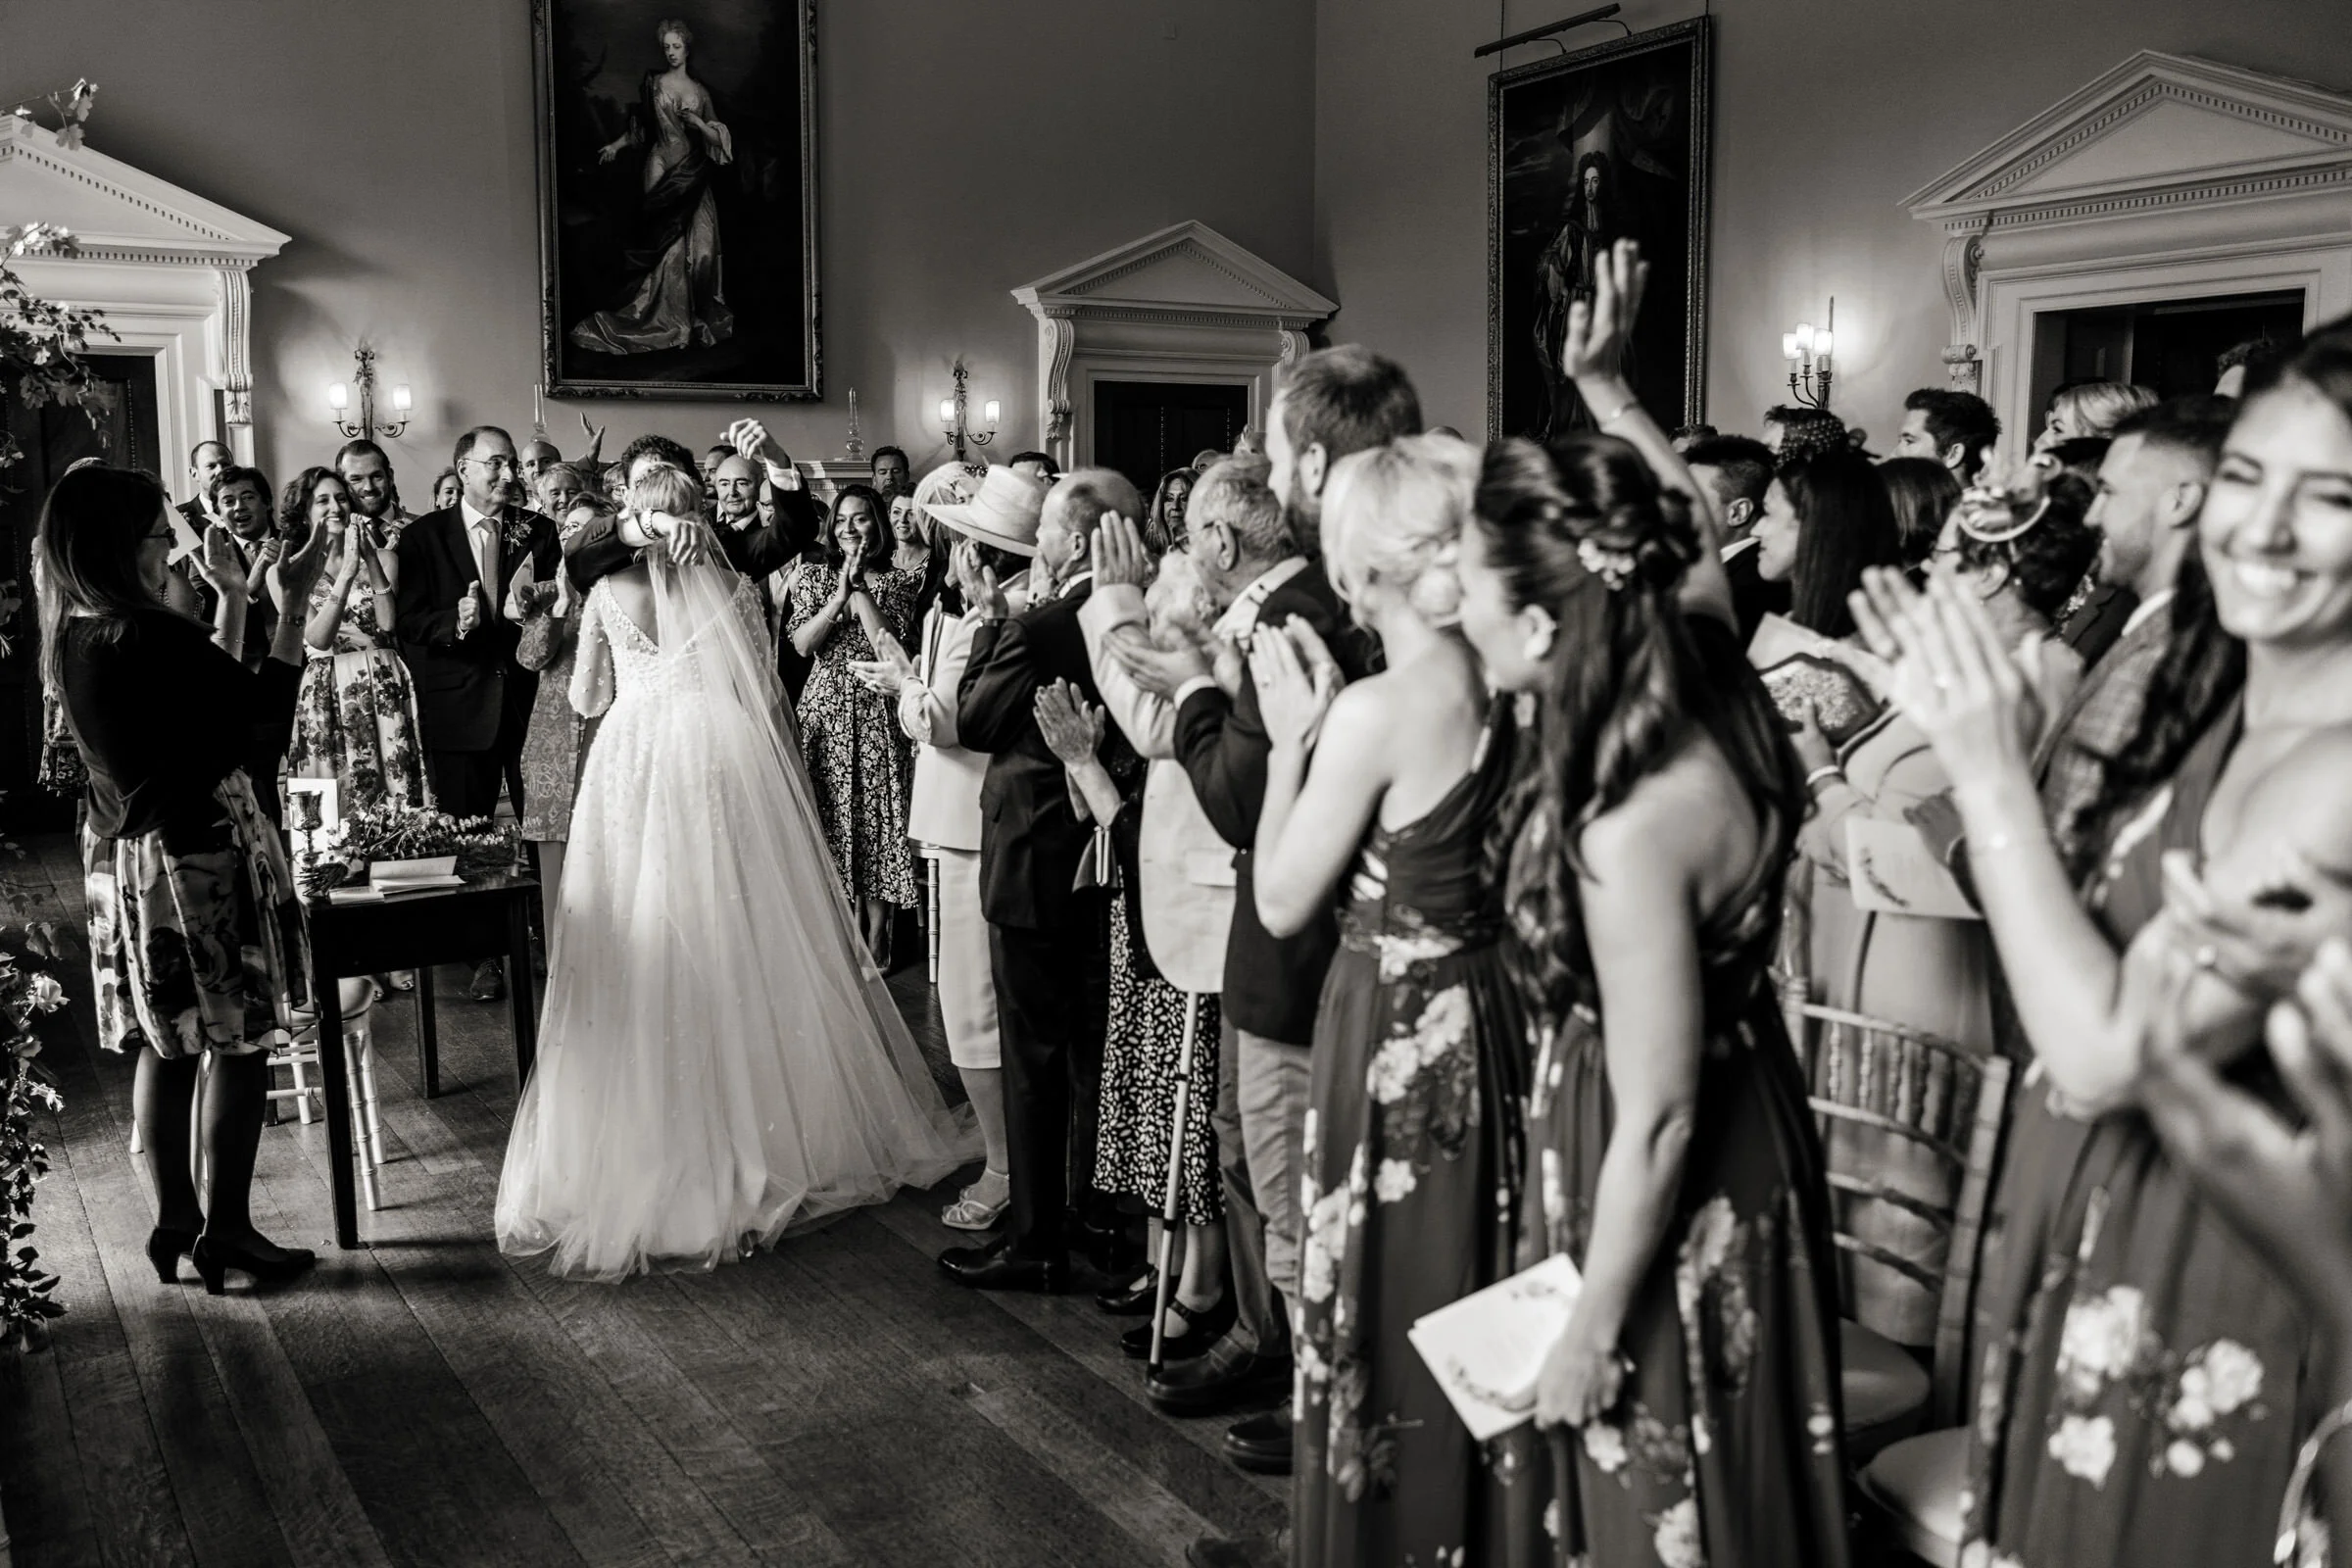
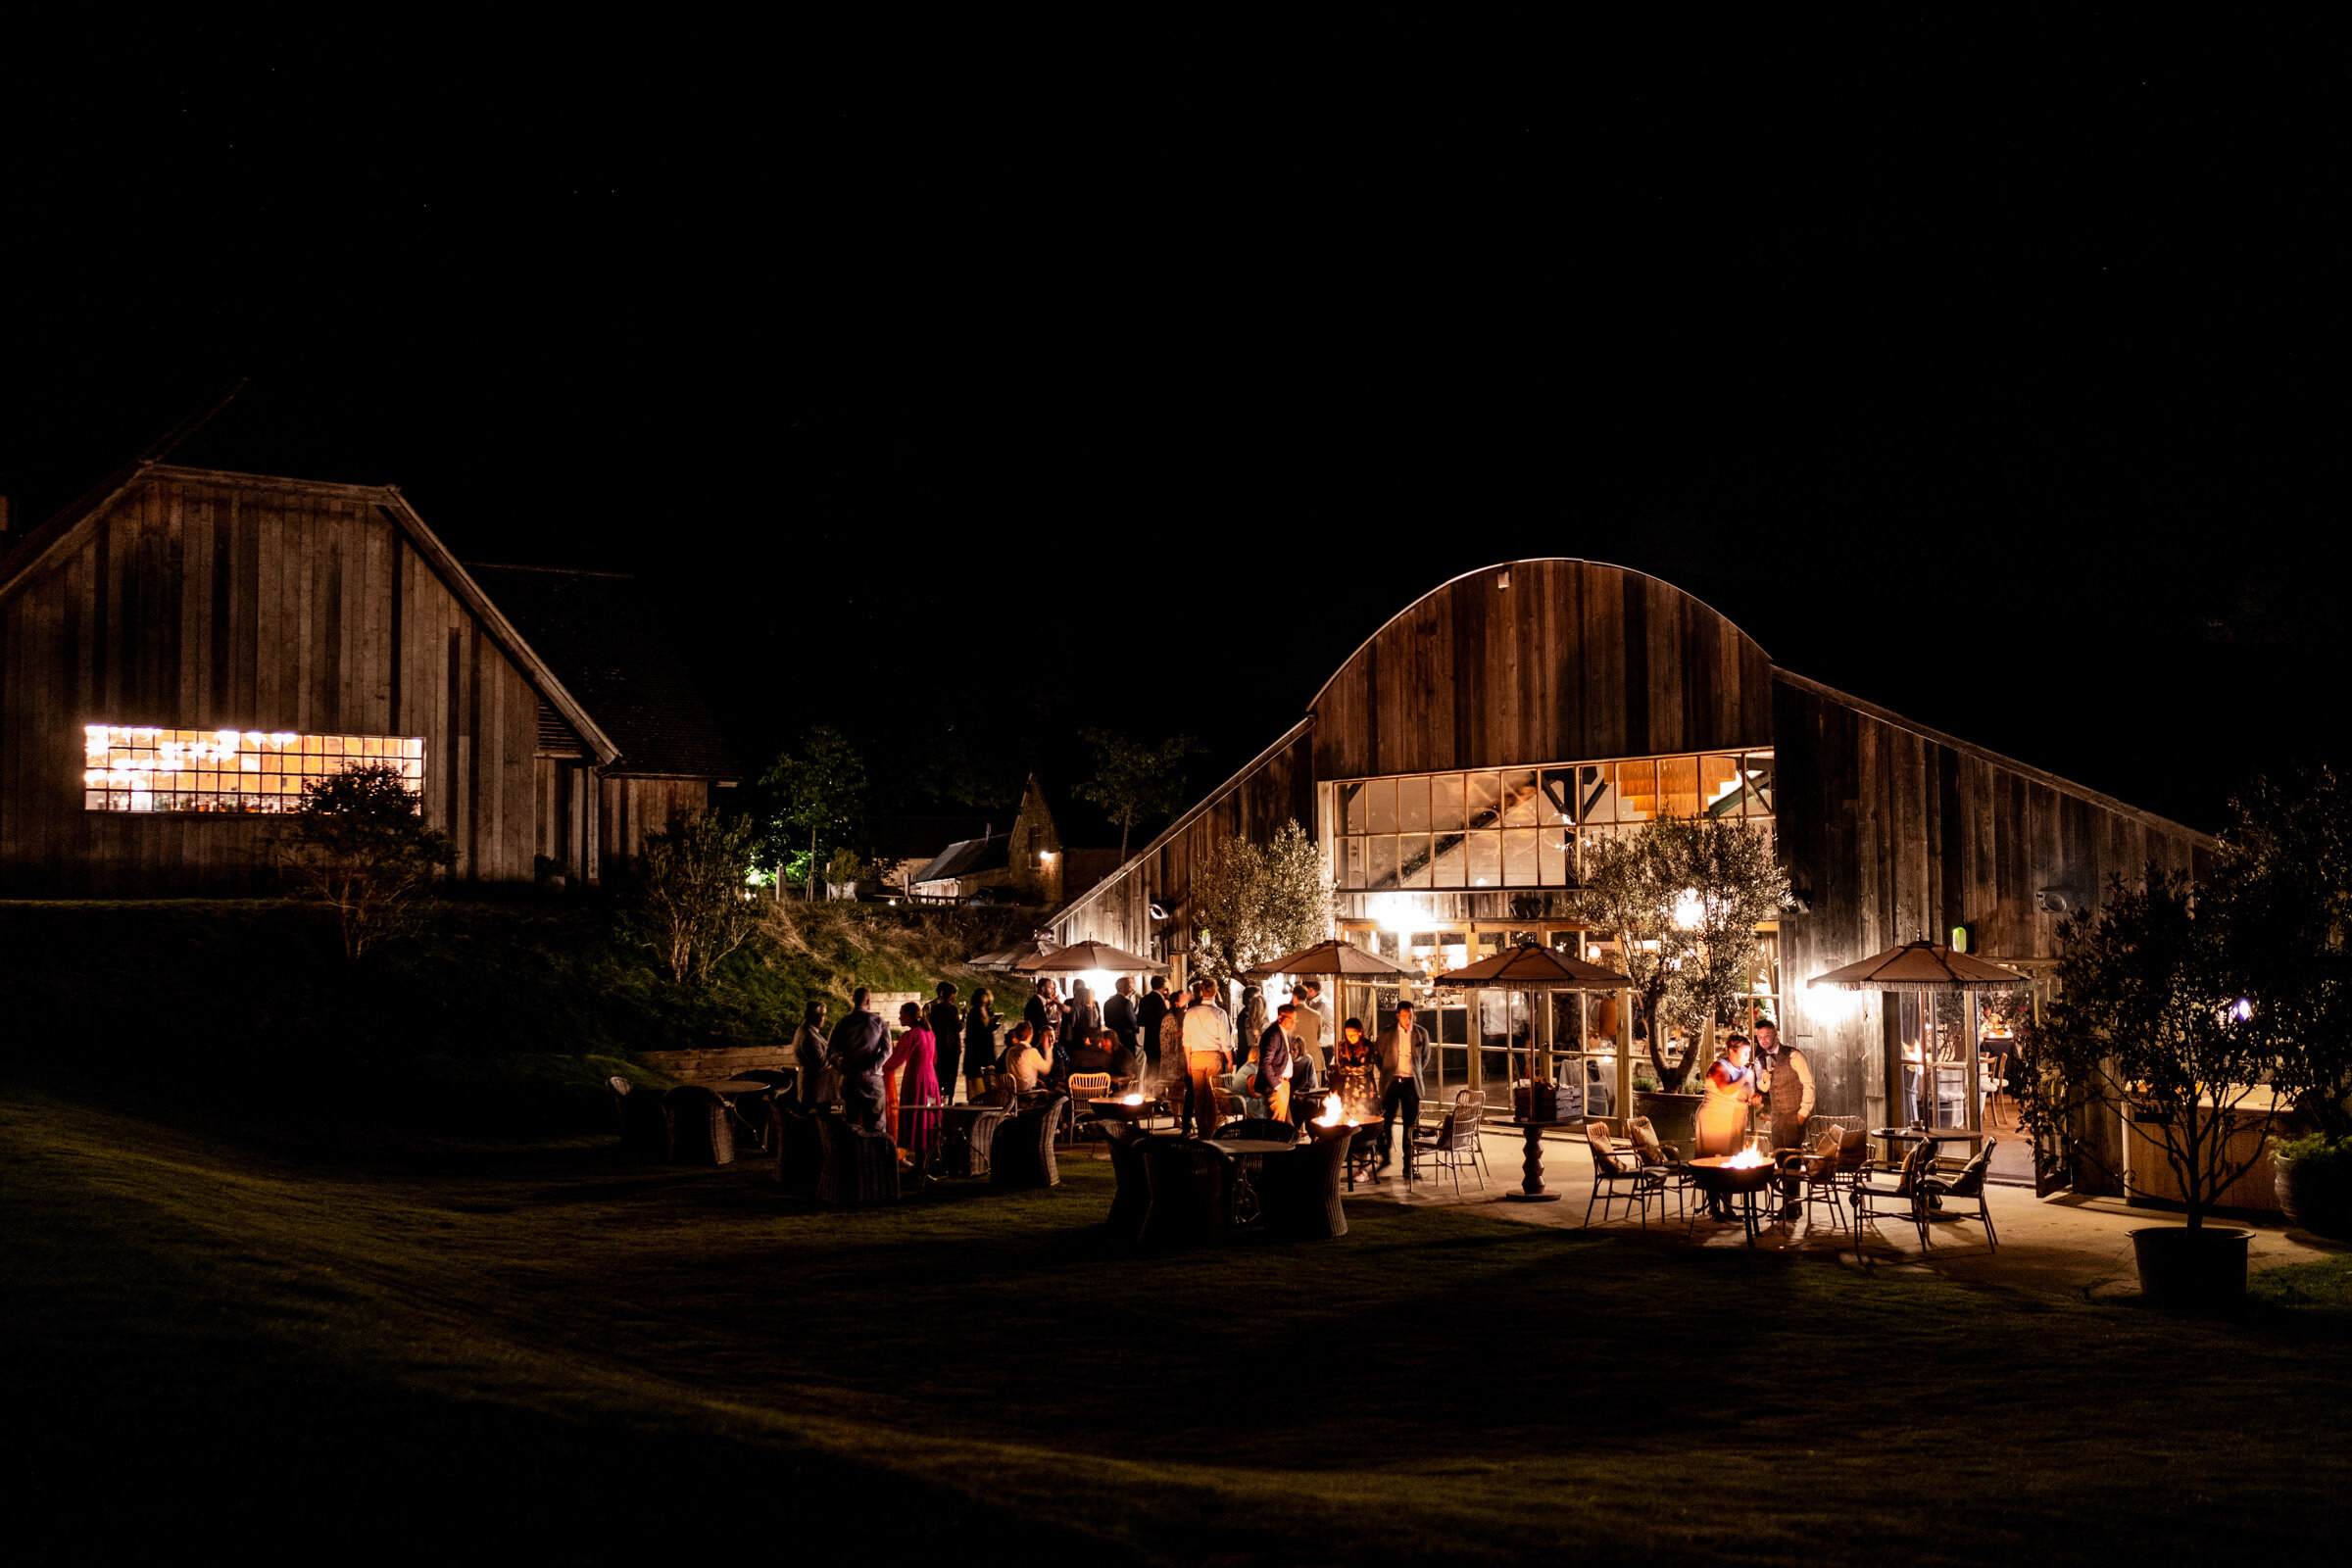
All preparations took place at the stunning Soho Farmhouse in the Oxfordshire countryside with their civil ceremony (plus a tiny Jewish ceremony) at Kirtlington Park, just a few miles up the road.

Allister you were a joy to work with. Incredibly professional and understanding of the emotional feelings surrounding the process.
We felt calm, confident and excited to be working with you up to the big day and on the day, you continued to impress.
You were visually with us when we wanted you to be, almost in a sixth sense way, the rest of the time you were out of sight but looking at the photos clearly not... as you captured every single moment we could have hoped for.

Your photos took us back and immersed us in the joy of the day. We love your style and cannot fault your eye for detail. We are over the moon with the natural images you’ve created and have already recommended you to our dearest friends for their big day.
We spoke to a few photographers and you, above all of them, made us feel confident about your abilities and approach - it’s not just a ‘business’ to do weddings, it’s something you really are passionate about. The photos prove that.
We are very grateful indeed.


Next steps? Learn about my wedding photo prices and packages.