
Over the last few years, I’ve relied quite heavily on Peli products. As a professional wedding photographer, one of my biggest (if not the biggest) financial investments is camera gear.
High-end cameras and lenses are not only seriously expensive to repair and replace but I also need to feel confident they’re going to perform as they should during commissions. Knowing they’re kept in a bullet-proof case at all other times, gives me great peace of mind!
Now, if you’ve read my ‘What’s in the kit bag and why’ blog post from way back in 2011, or regularly read my blog, you may already know I’m not at all keen on excessive and unnecessary equipment - if a piece of kit just sits in my bag or case, not being used for three or four months, it’s sold!
I’m a firm believer in travelling as light as possible to aid my documentary approach ... a less is more approach. The select cameras, lenses and accessories I do take to commissions perfectly suit my approach. This equipment facilitates my style, nothing more.
Why I chose the Peli 1510?
Each year I photograph anywhere between 35 and 60 weddings plus 10 to 20 portraits and a few commercial commissions. Most of my work tends to be within the UK though each year I’ll do a handful of international commissions. The benefit of the Peli 1510 is not just how tough it is but also it’s size - it's designed to fit carry-on requirements with almost any airline. Pretty handy as I would never put my gear in luggage.
These cases are used by the UK military and NATO, I even saw them being thrown into the sea during Bear Gryll’s latest ‘The Island’ series!
What I keep in the case?
It’s been 6 years since I wrote my last ‘What’s in the kit bag and why' post, so things have evolved a little. Since then, I’ve been Nikon, Canon, Fuji, now Canon again. I have no brand loyalty and see the camera only as a tool, nothing more.
For the foreseeable future, my gear is…
Canon 5d Mark 3 (body 1)
Canon 5d Mark 3 (body 2)
* Sigma Art 85 1.4
* Sigma Art 24-35 2
Yongnuo Speedlight YN565EXII
Zoom H2n Audio Recorder
Zoom H1 Audio Recorder
Chargers
Spare batteries
Card Readers
First impressions of the TrekPak Custom Insert
My first Peli came with foam inserts and netted pockets under the lid, whilst it kept everything adequately safe, it was pretty messy! I ended up keeping unnecessary items in there, lots of pointless crap. Furthermore, as it aged the gear became loose in the inserts - increasing the chances of damage during travel. So, time for an upgrade...
The TrekPak Custom Insert is available in all shapes and sizes. For Peli cases, there's a custom insert available for every model and additional dividers are available for separate purchase. For me, I got the Peli 1510 kit, without any additional accessories.
In terms of pricing, the custom insert is actually slightly more expensive than the foam version previously mentioned. However, for the enhanced protection it offers, for gear often worth thousands (and thousands) of pounds, it’s worth every penny. In fact, you can get the Peli 1510 plus TrekPak insert for around £270.
The kit comes with everything you need to assemble the exact insert you need for your specific gear. It may sound quite complicated at first but there's a great video about how to get started with the TrekPak on YouTube, just Google.
Making your Own Custom Insert
It’s vital to stress the importance of planning your design before cutting the dividers. Measure twice, cut once! In my case, I needed around 40 minutes to complete things…
Don’t only think about worst case scenarios when building the protection (dropping the case from a massive height, car crash etc) but also how balanced the case will be when carrying it around. Good lenses are HEAVY, heavier than cameras, so distribute the weight evenly.

Keep things snug. The last thing you want is for there to be movement inside the case, ensure each piece of equipment is secured in tight. If you want each section of foam to be perfectly straight i.e not like mine, then leave a few mm either side, I'd rather things were snug.
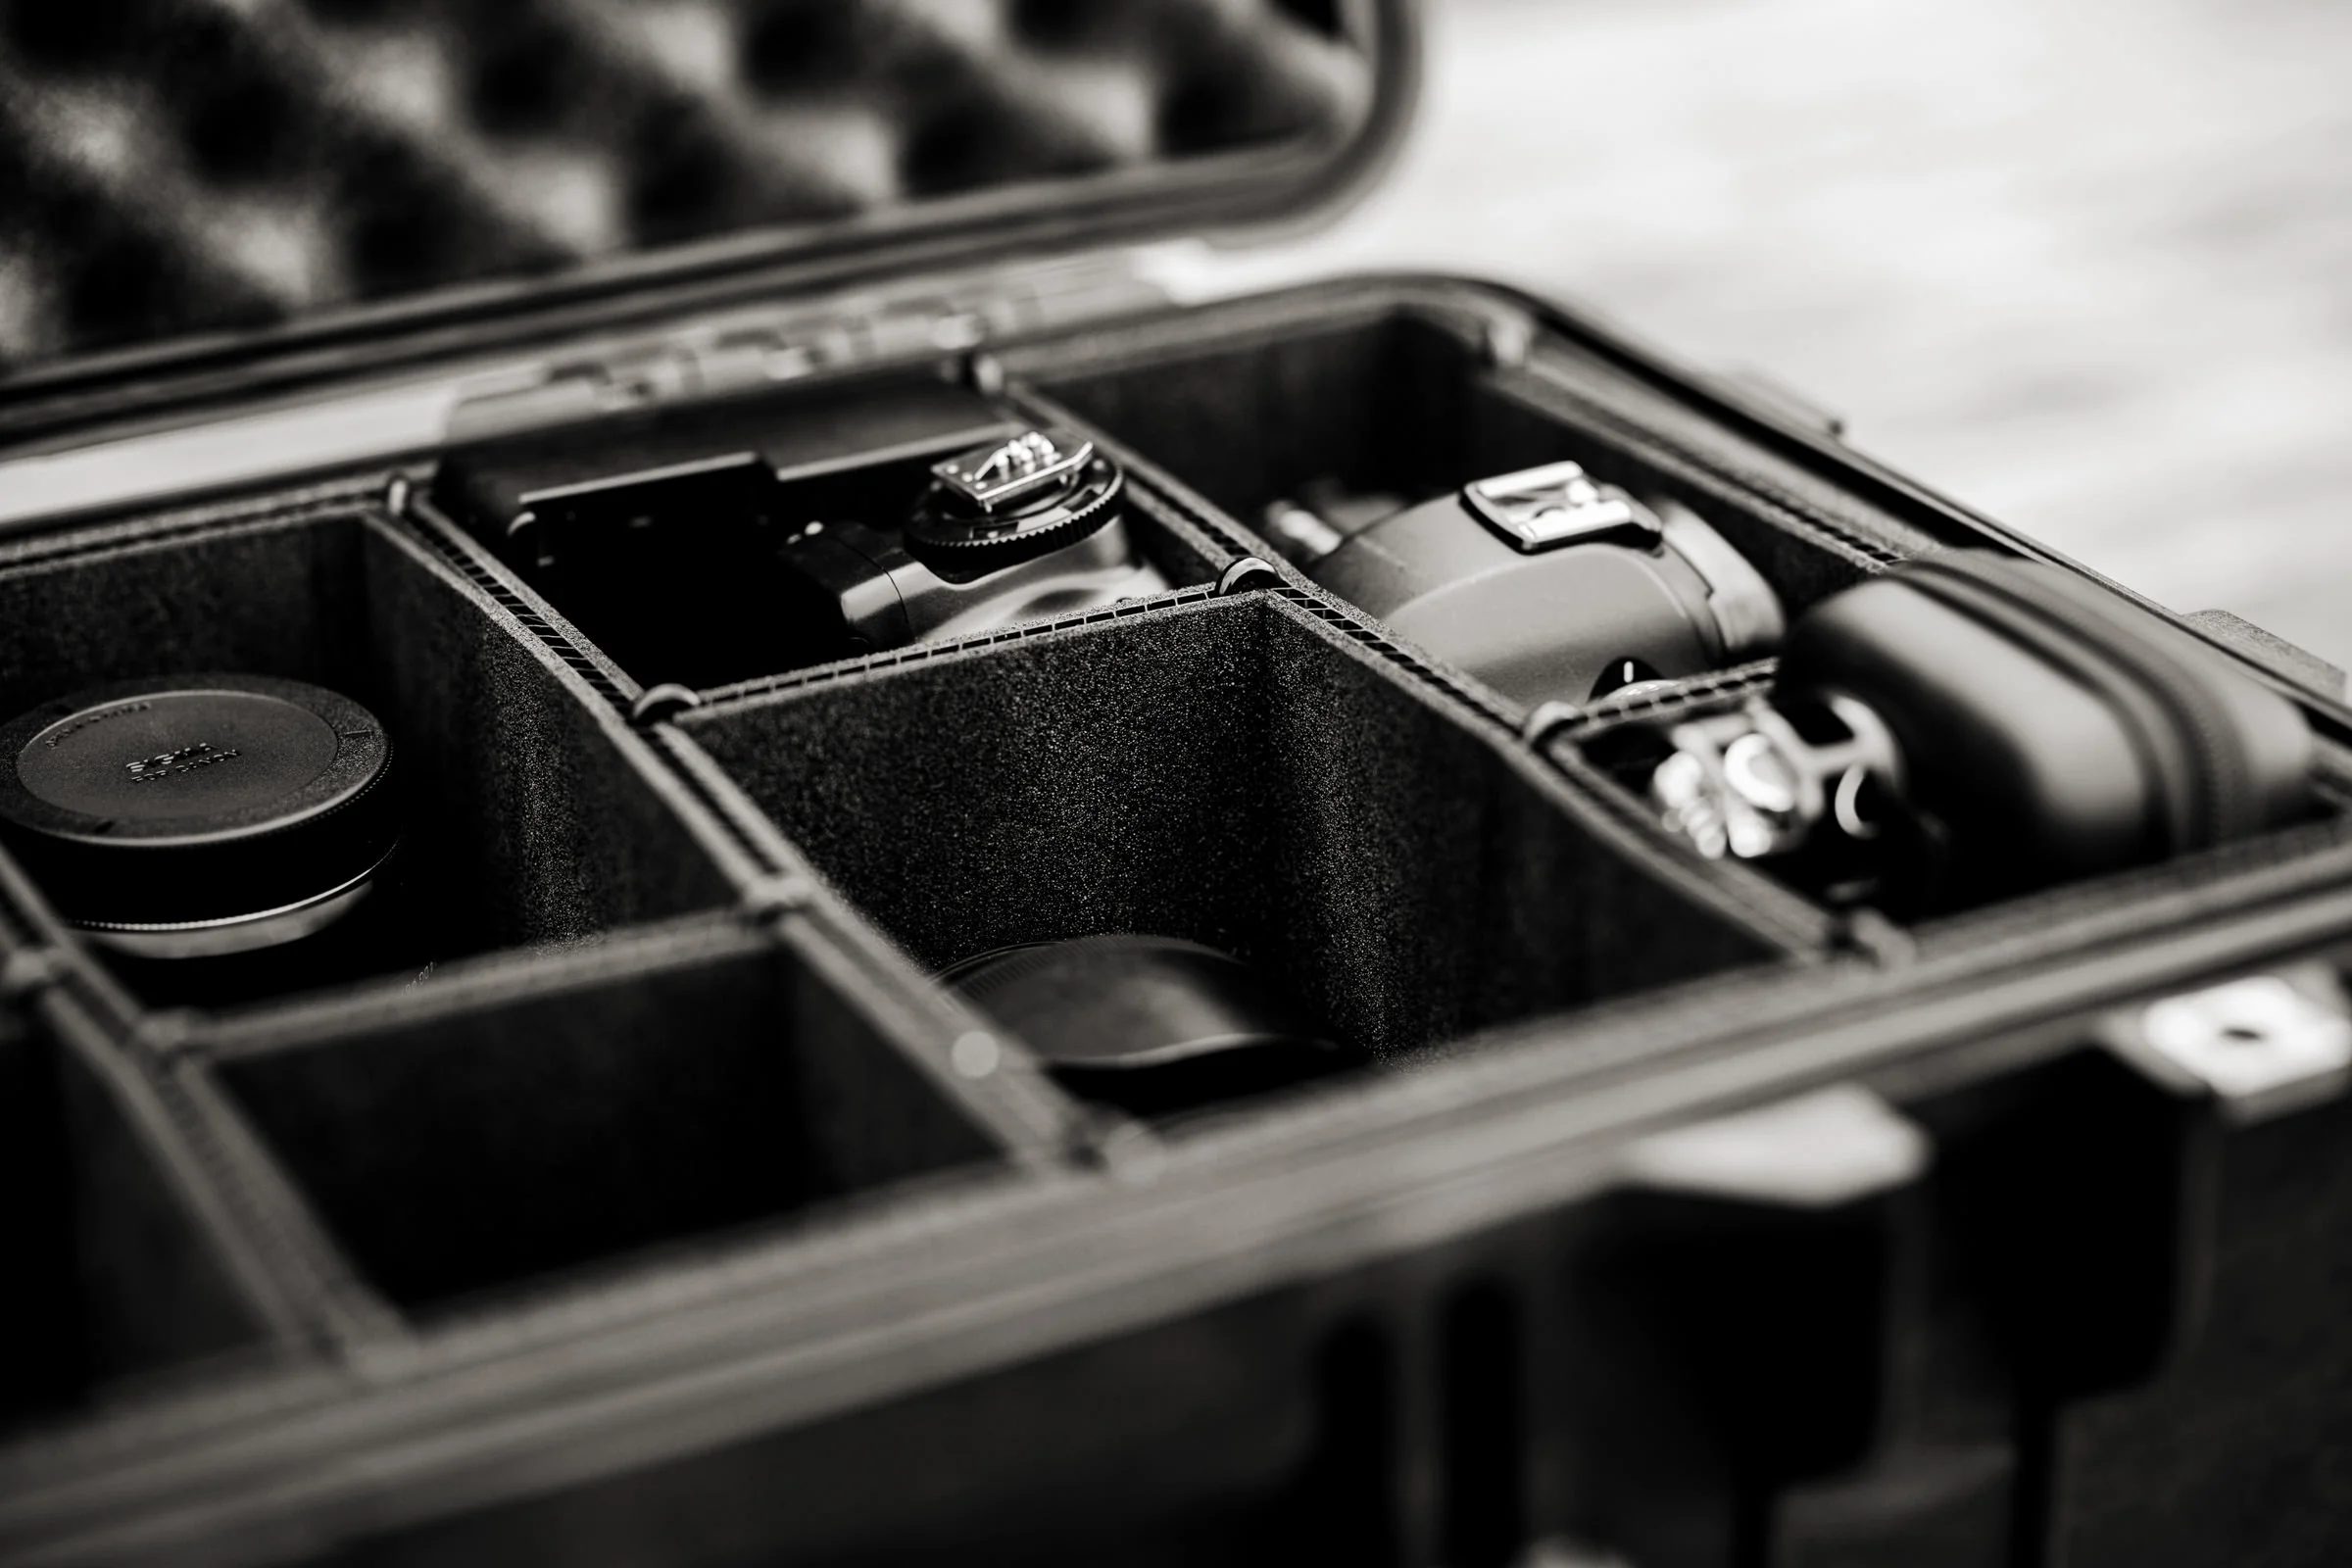
I created a total of 10 different compartments for my gear, everything looks neat, tidy and secured, exactly as it should.
I hope you've found this little review useful, check out the full range of products and accessories: