Shotkit Feature

Delighted to have recently been featured on Shotkit - a site that discusses the kit used by wedding photographers across the globe.

Shotkit

I started the business on a Rolleiflex 6008 medium format film camera

– a very slow camera to use but the results were stunning – manual focus, handheld metering, even a polaroid back!

Shotkit badge

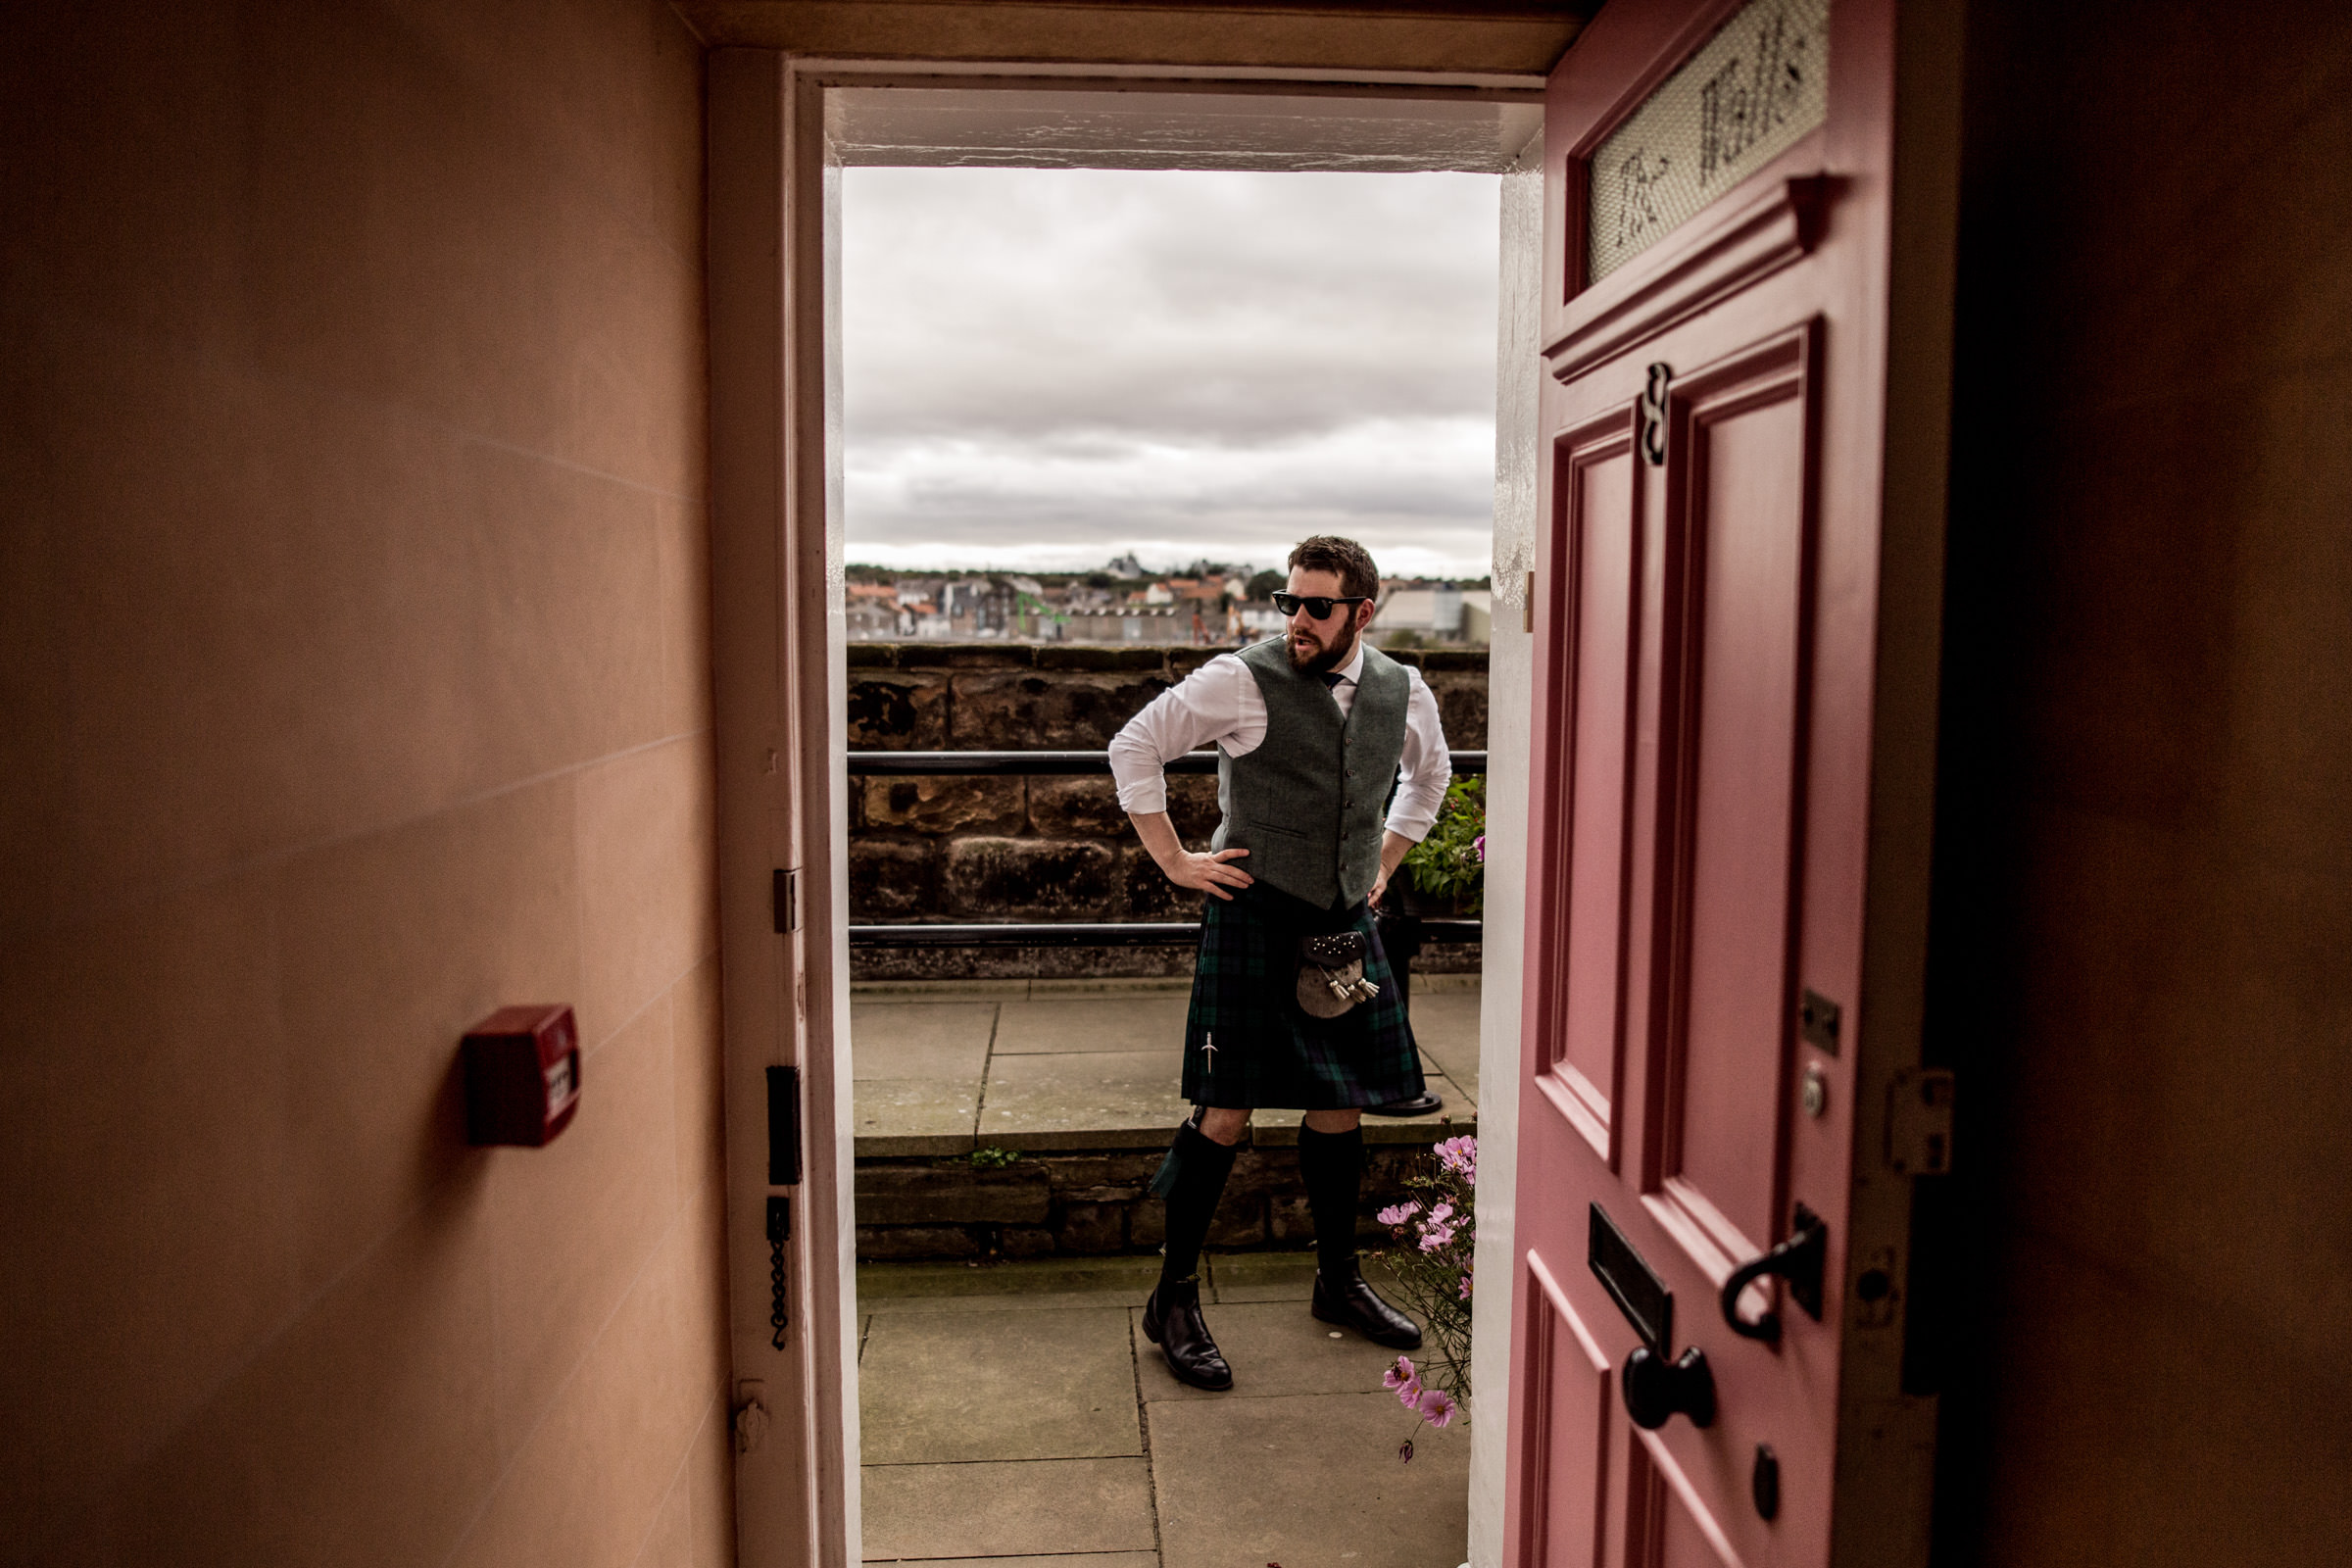
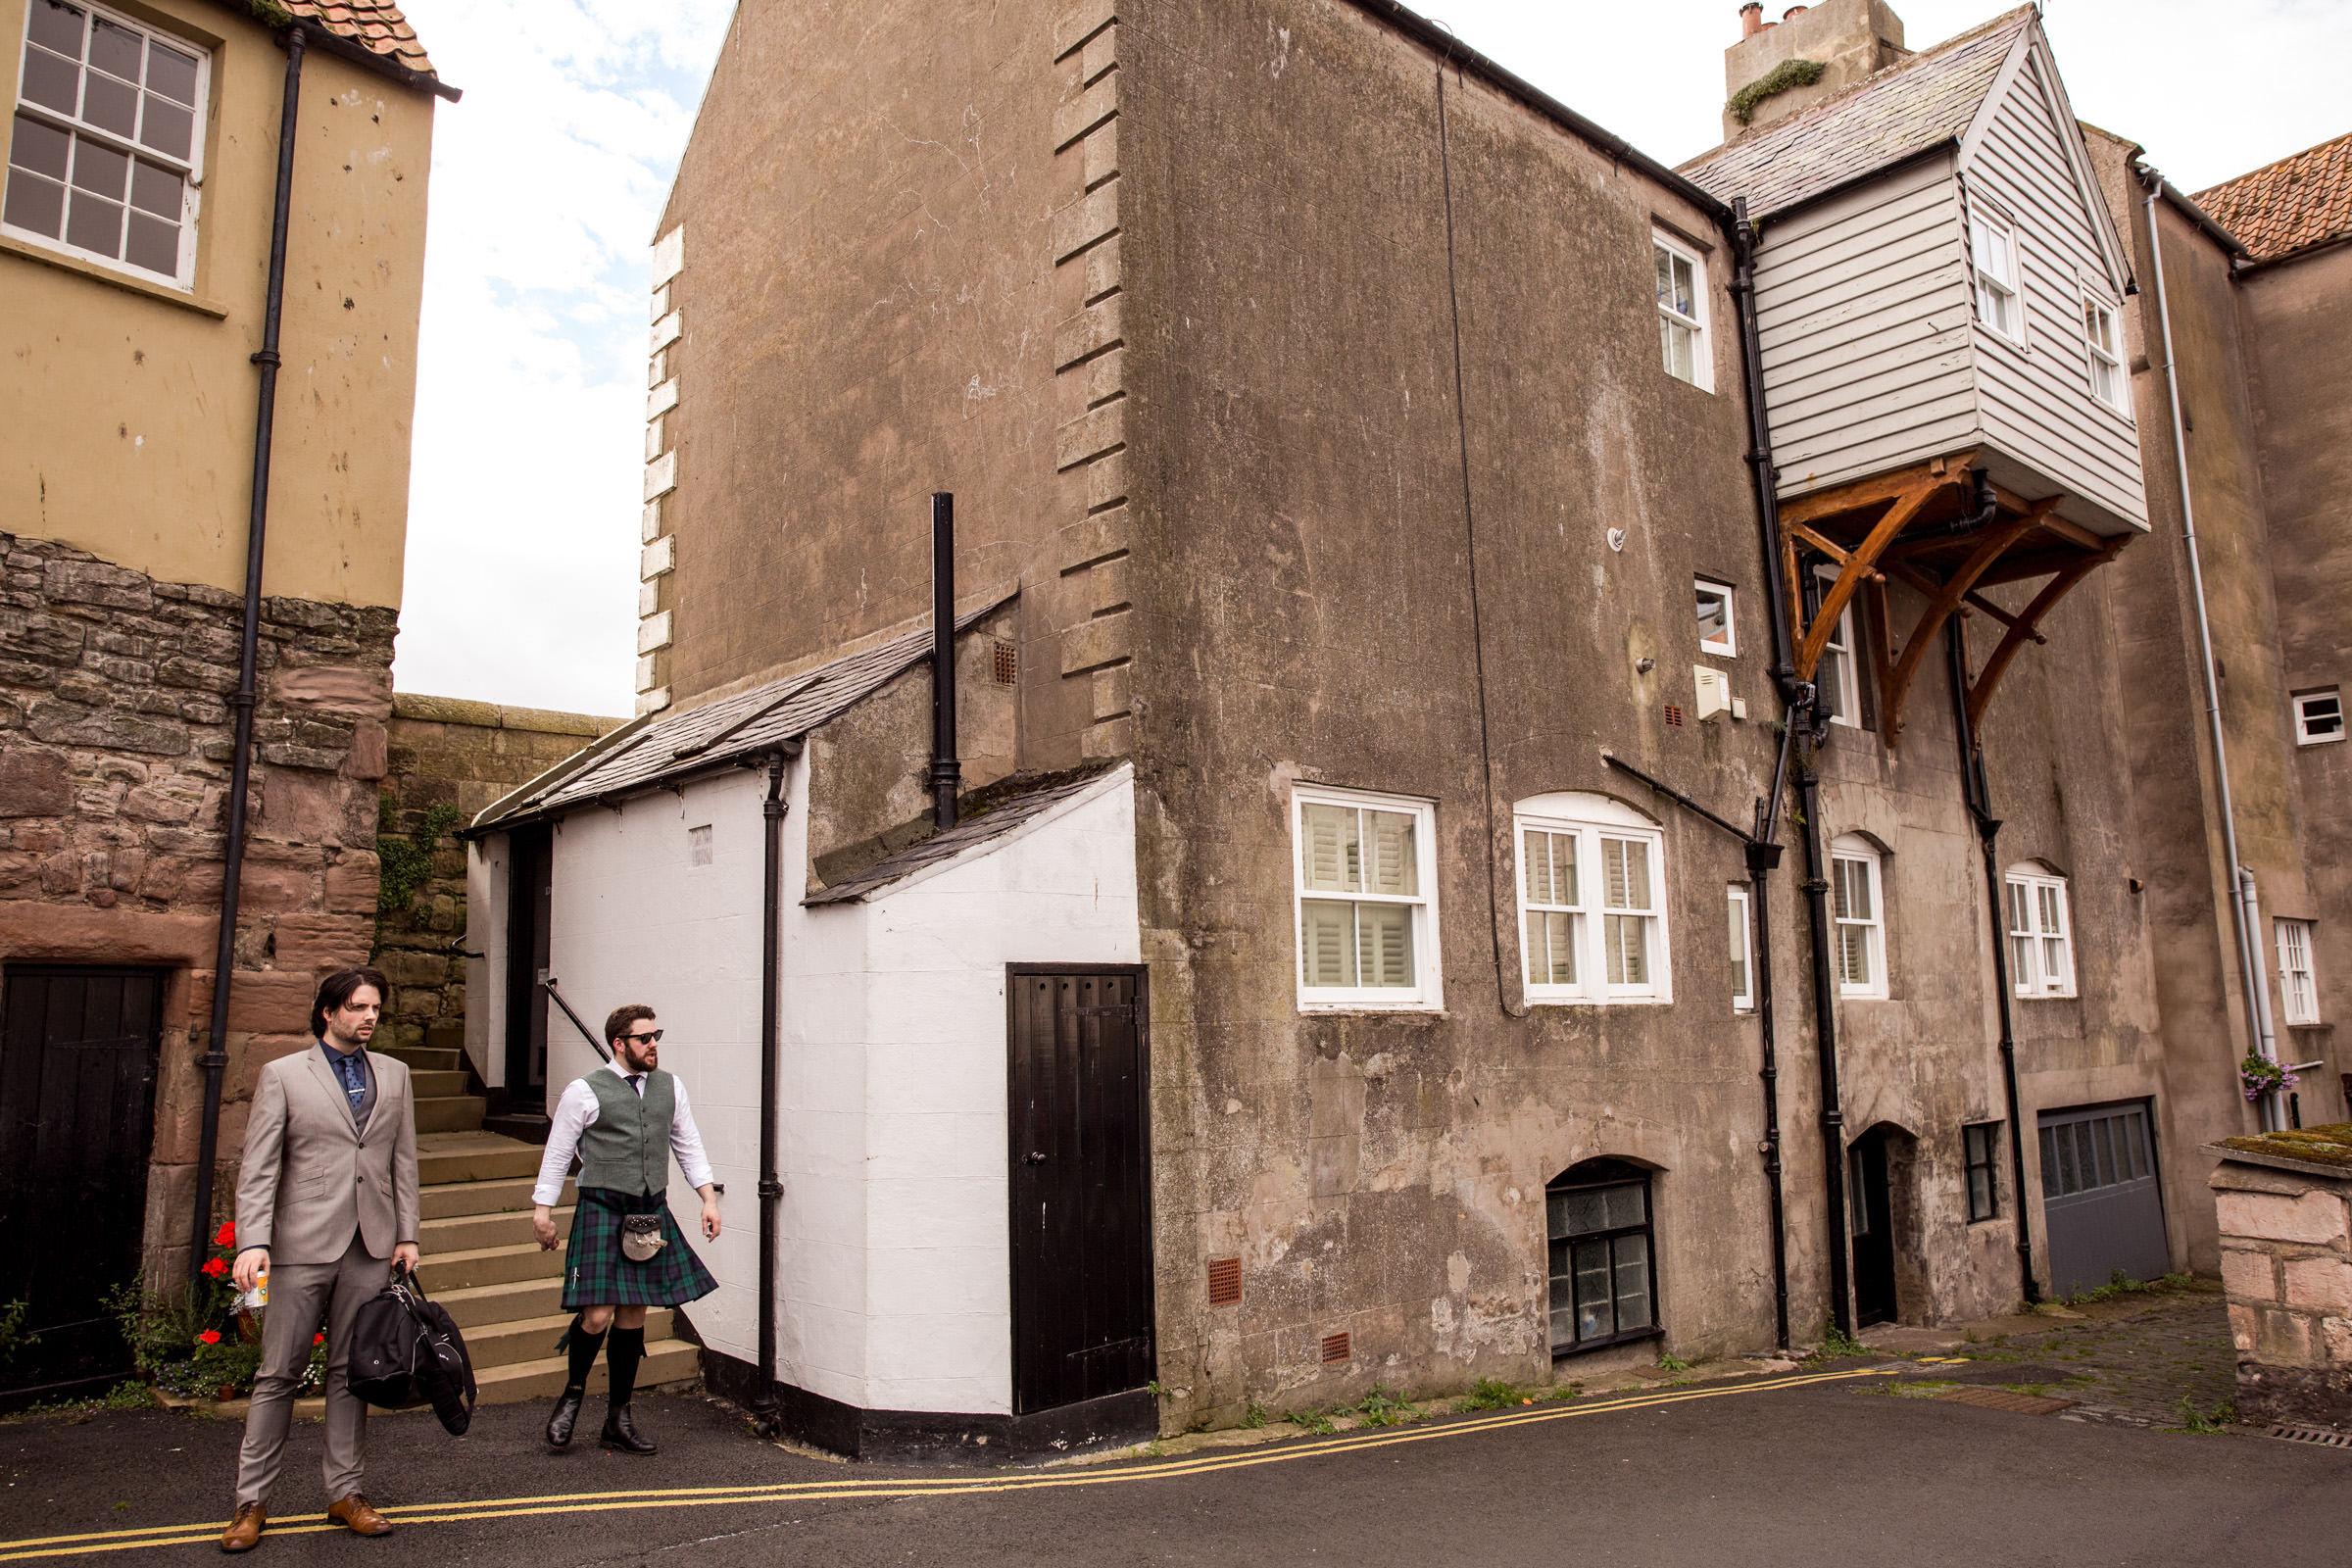
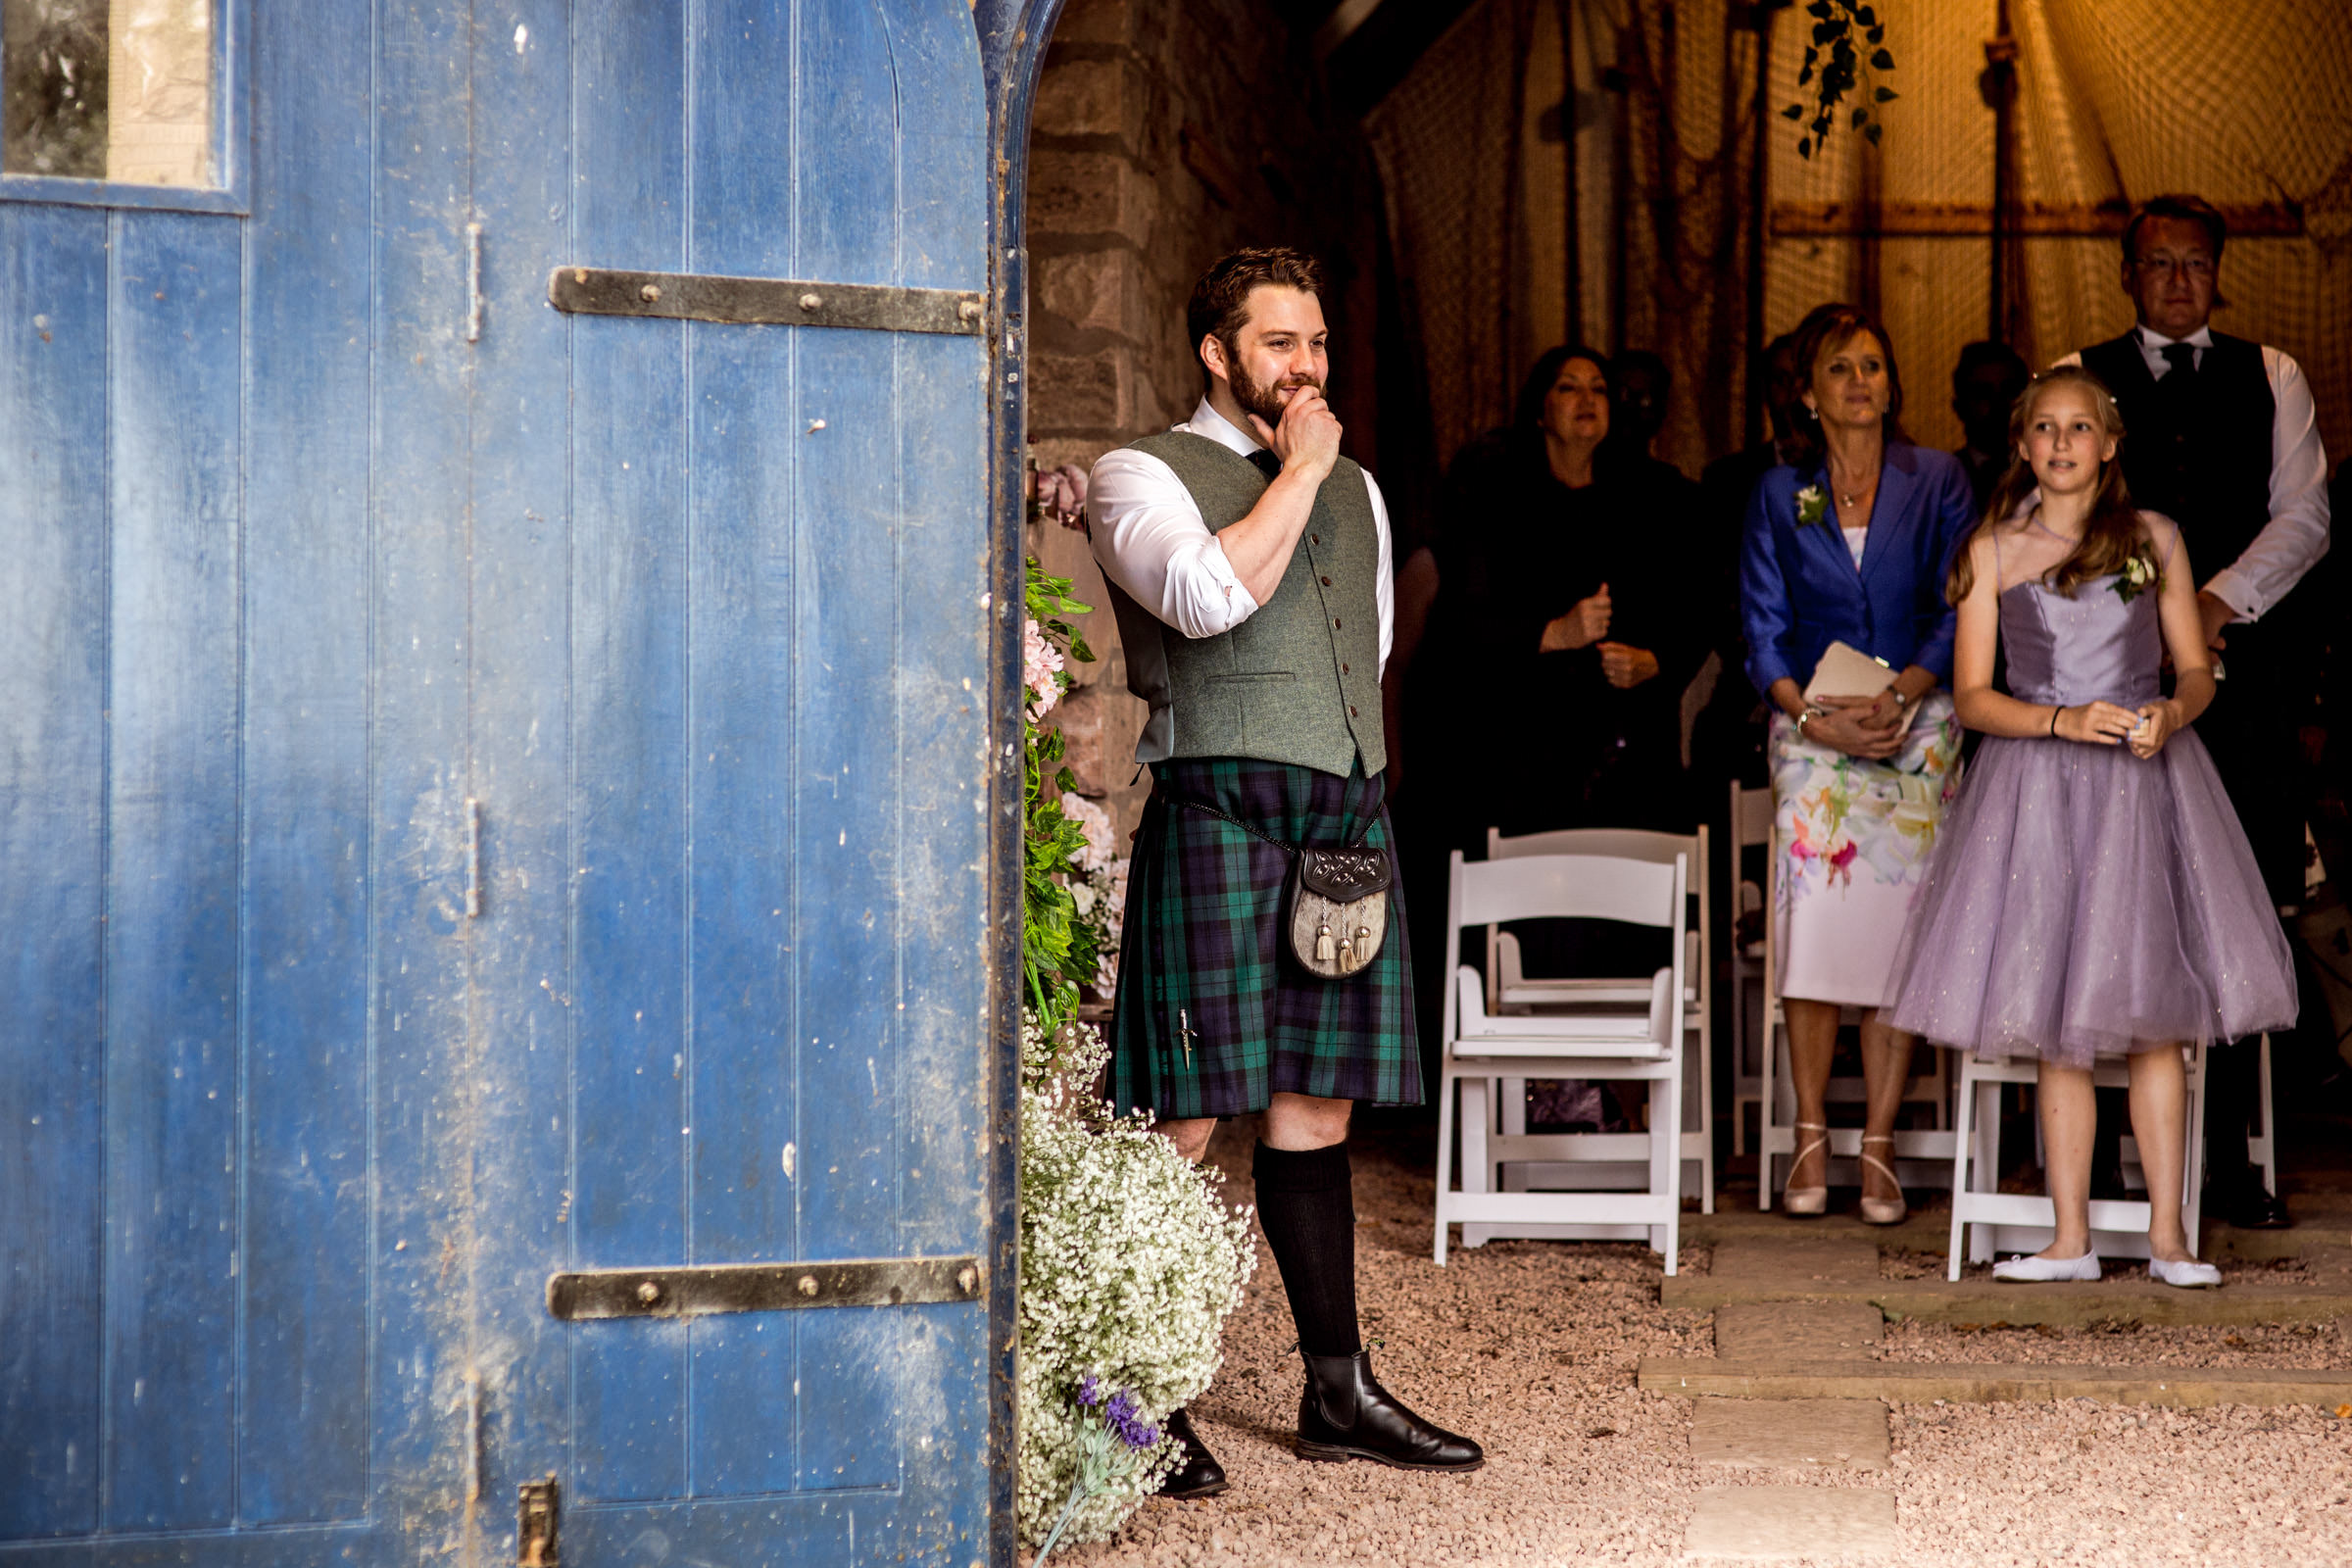
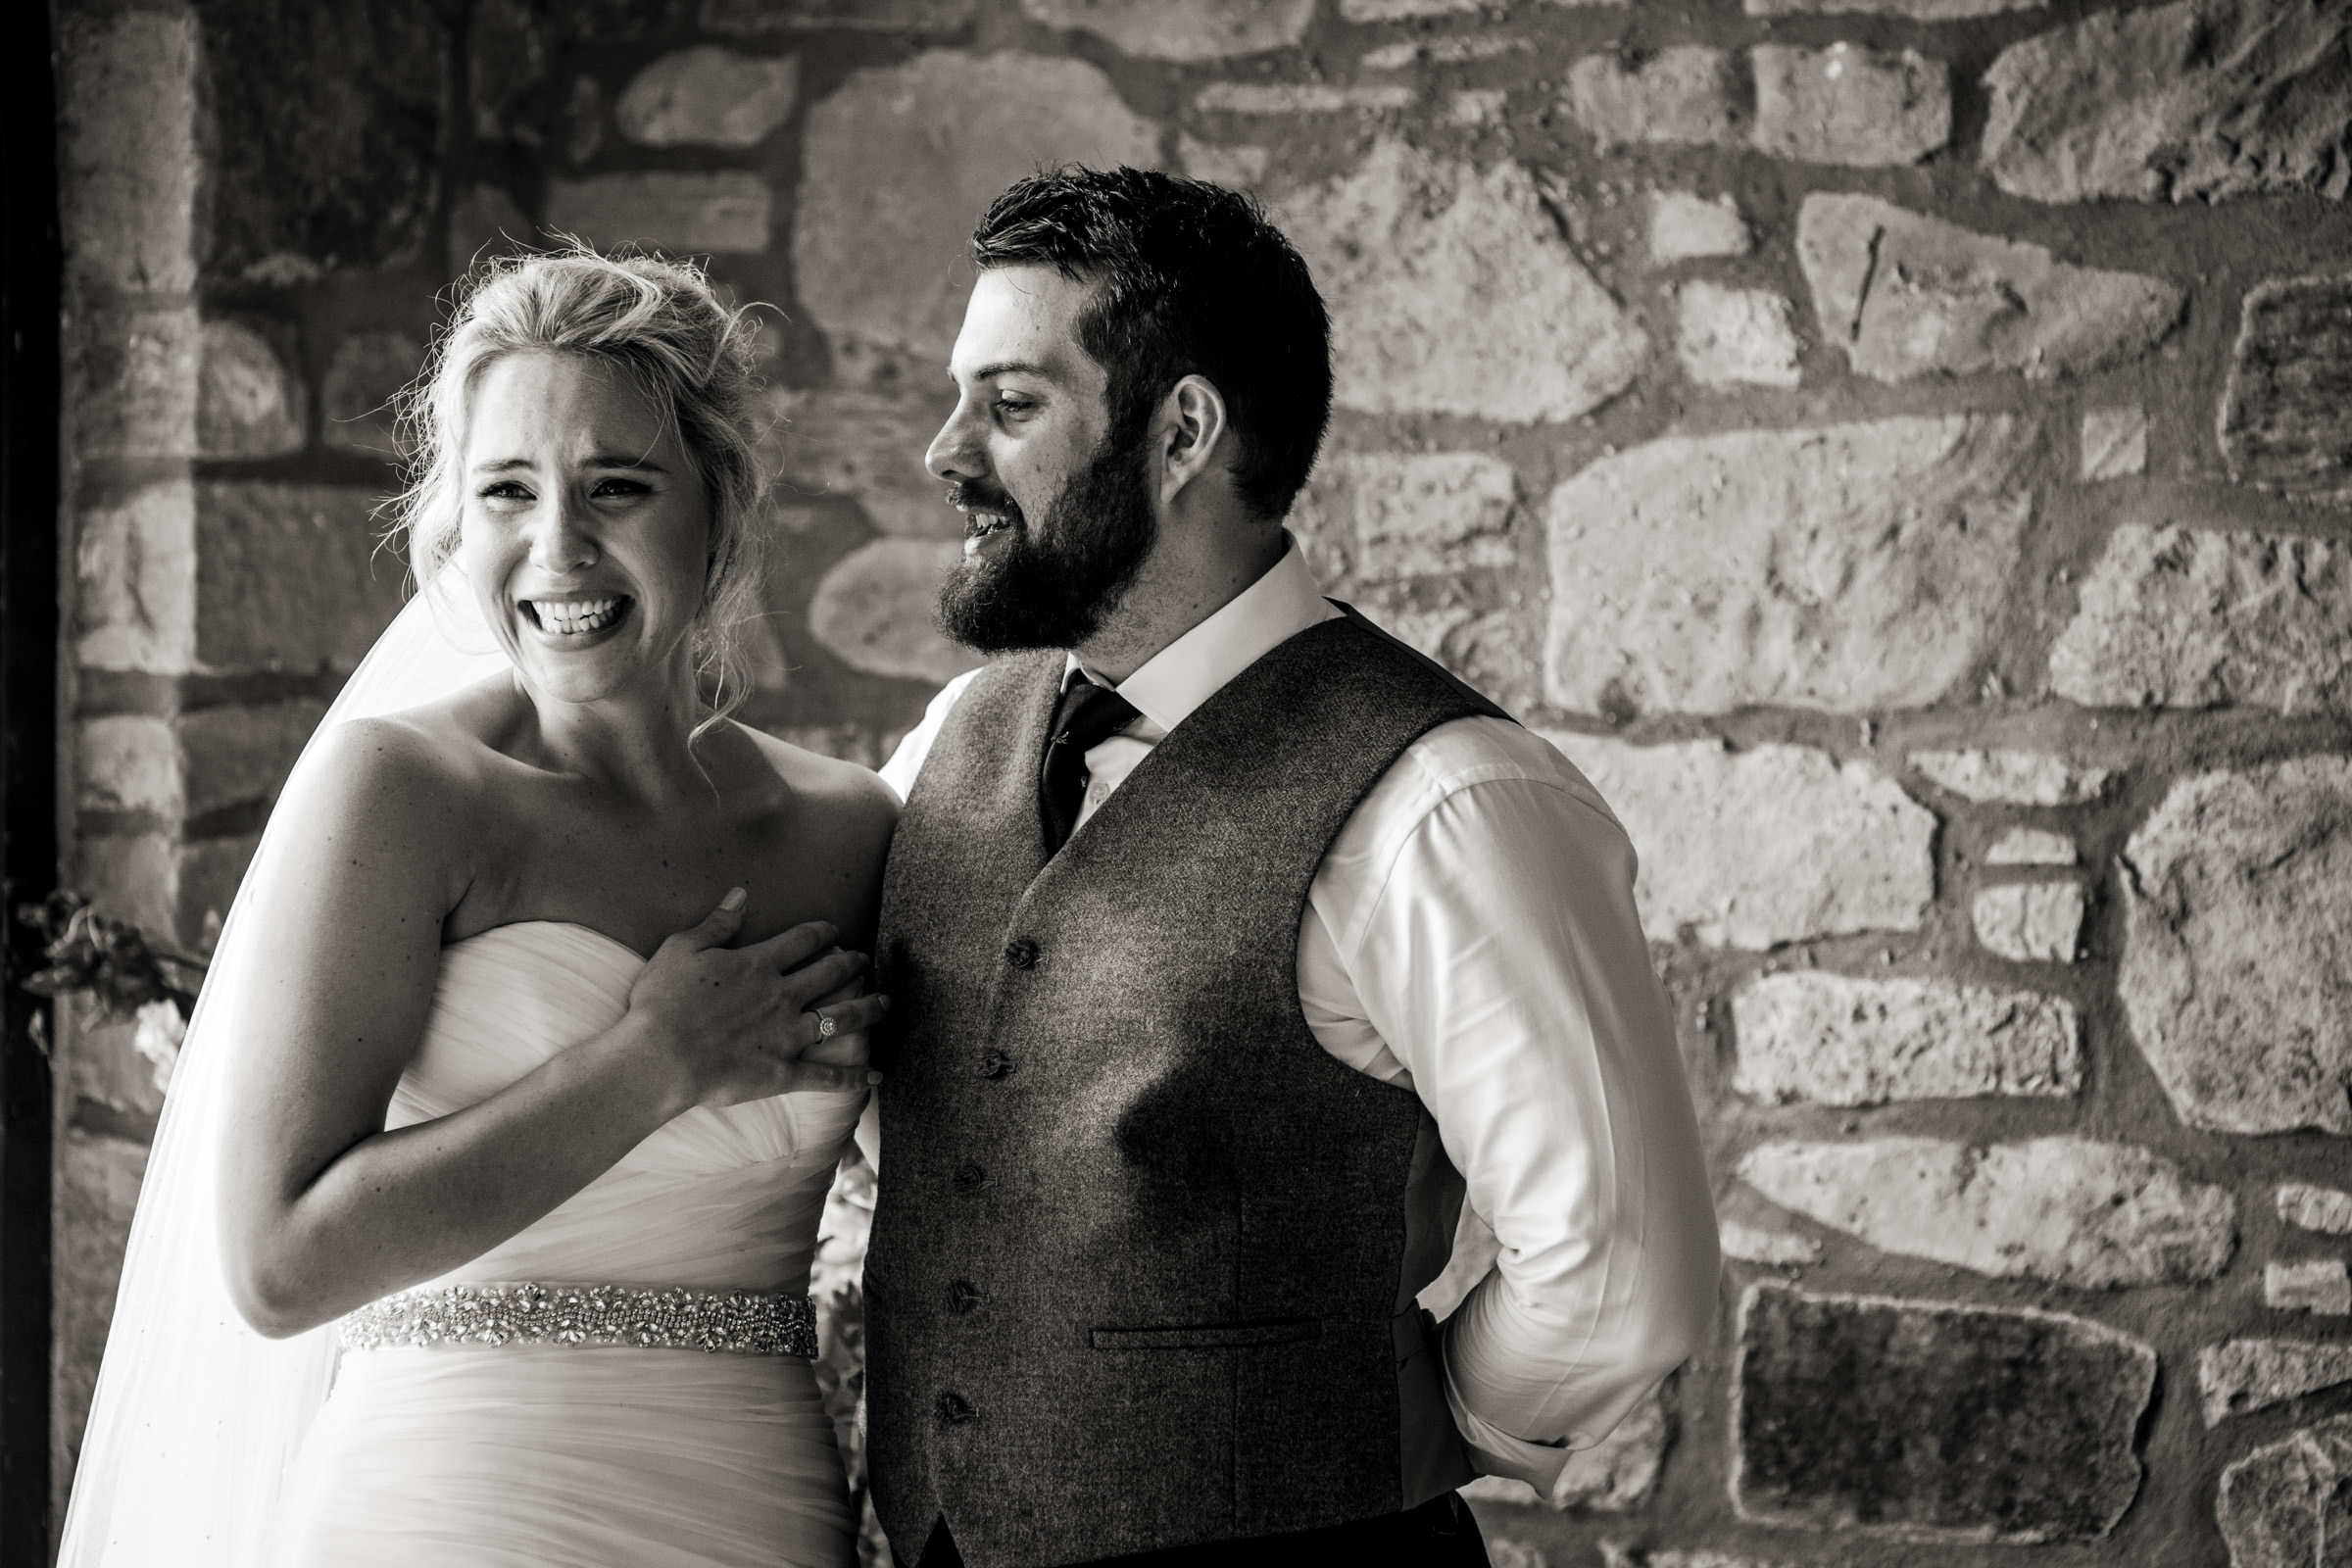
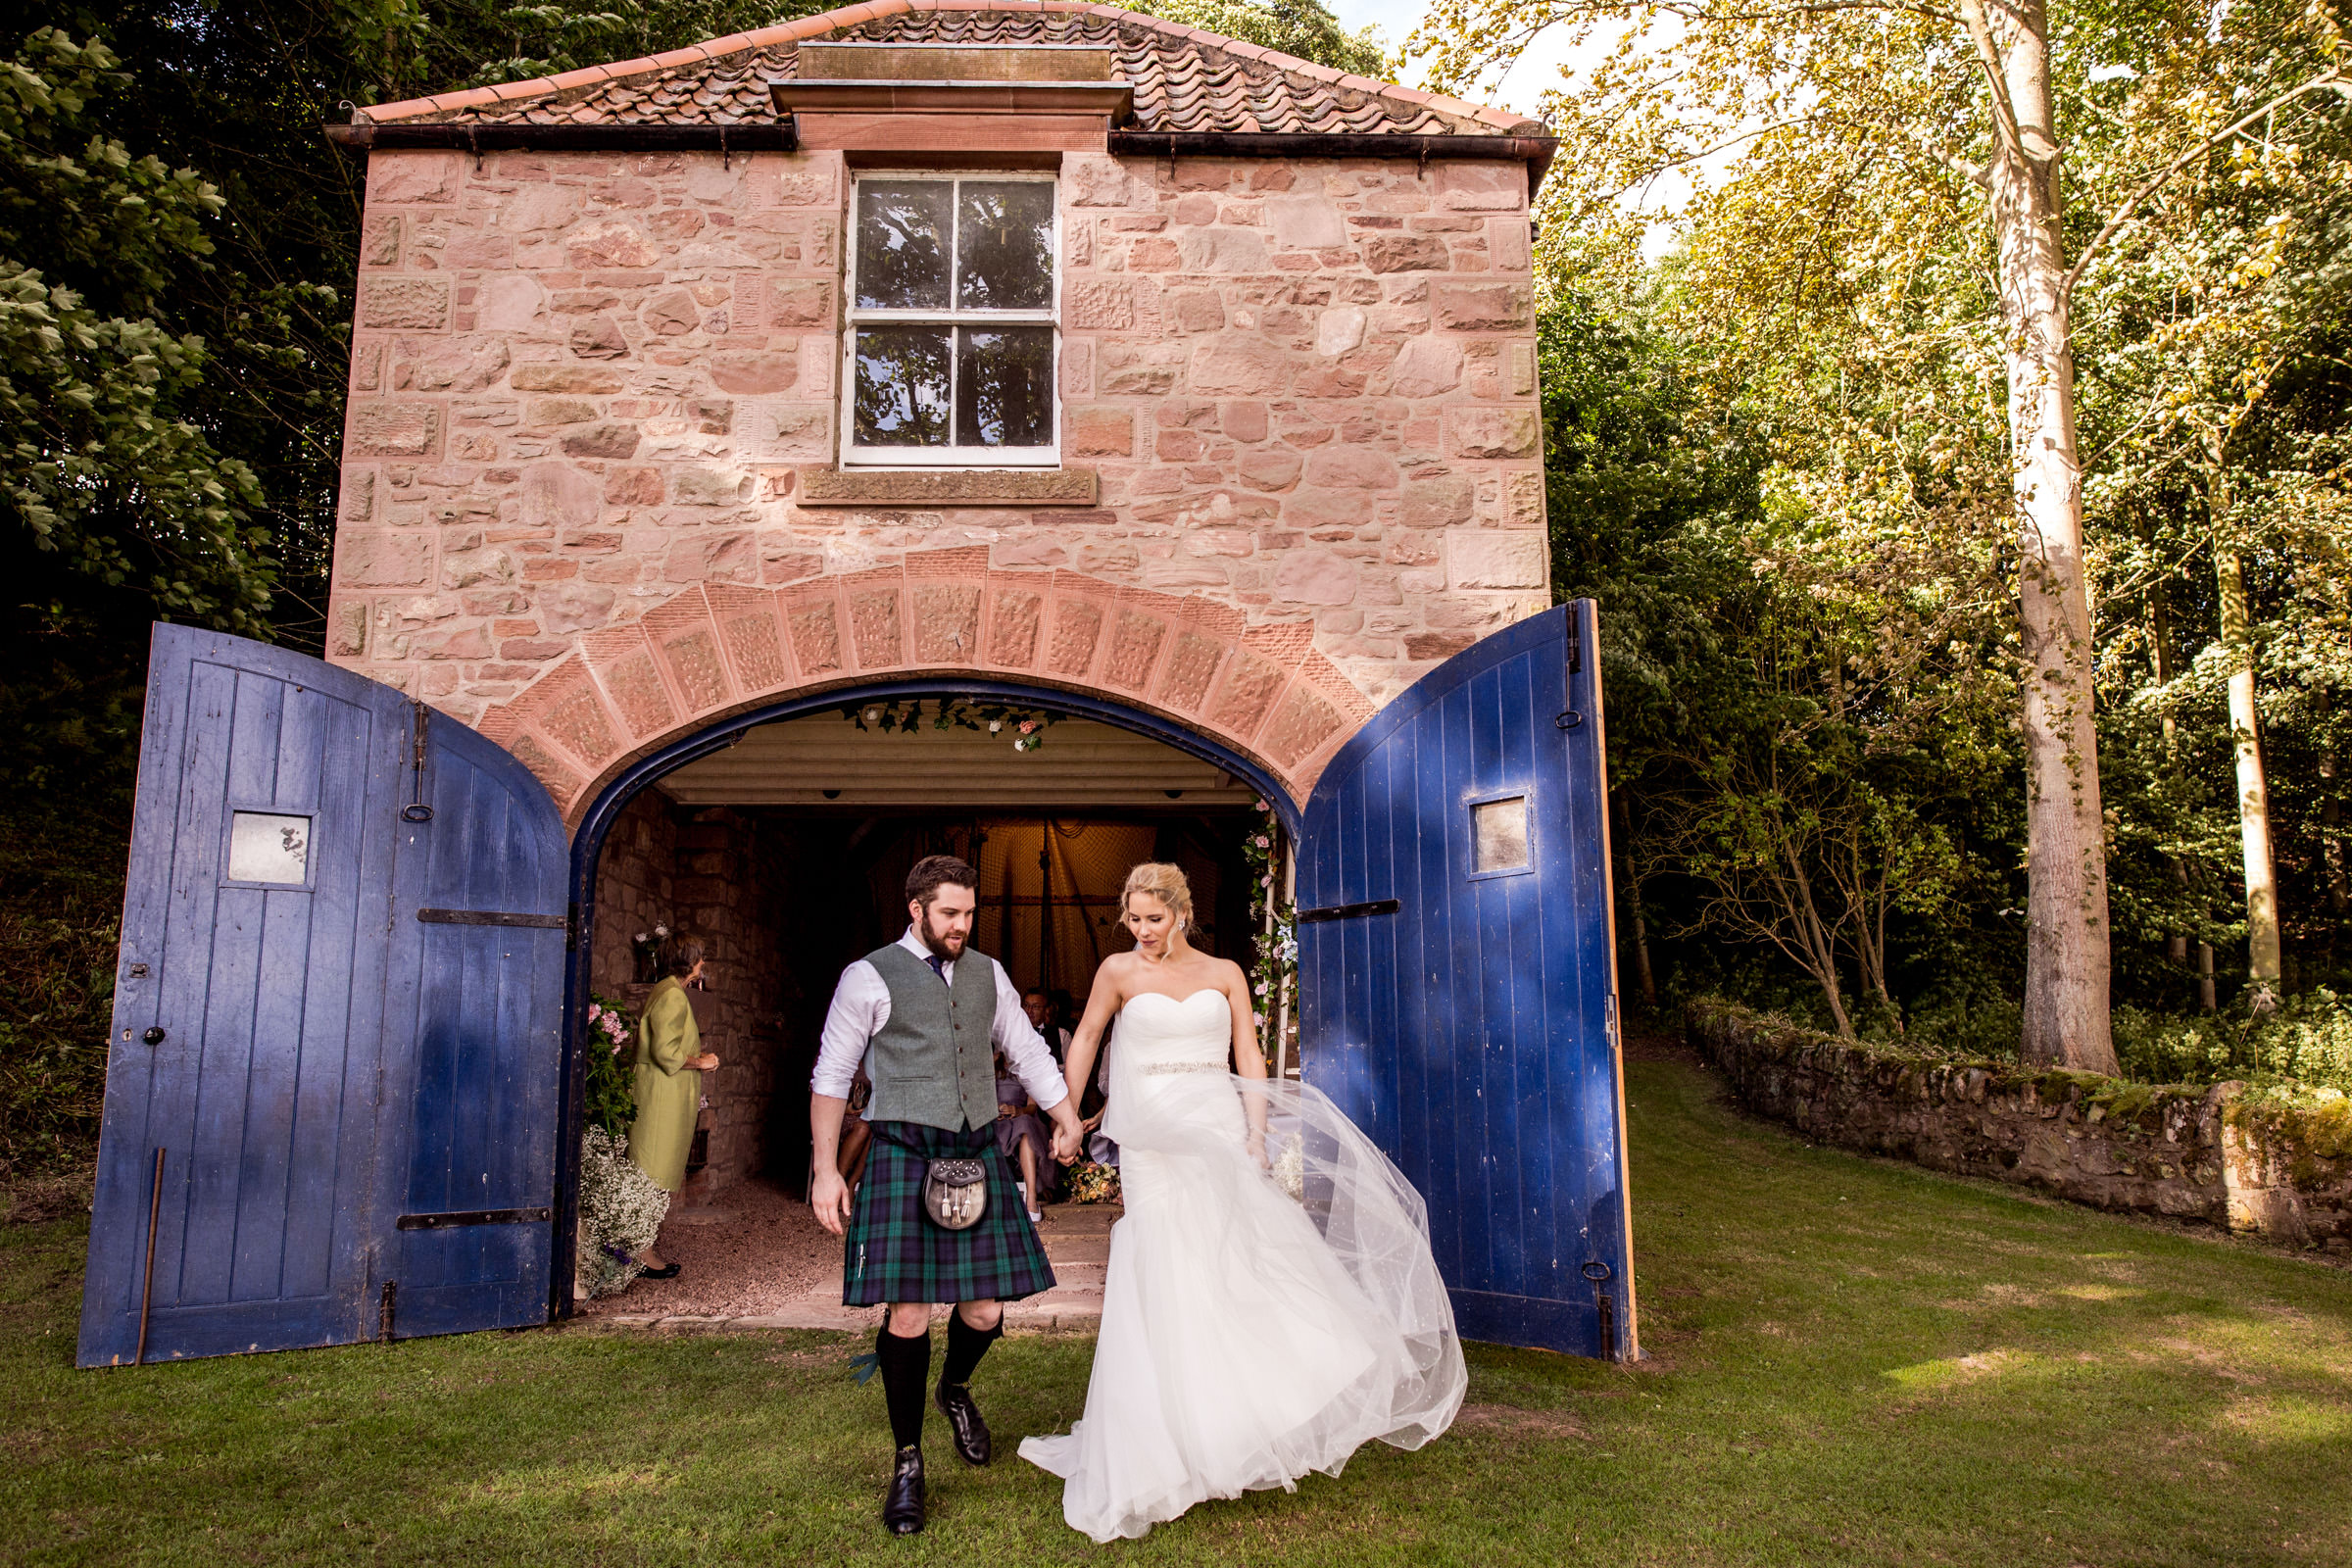
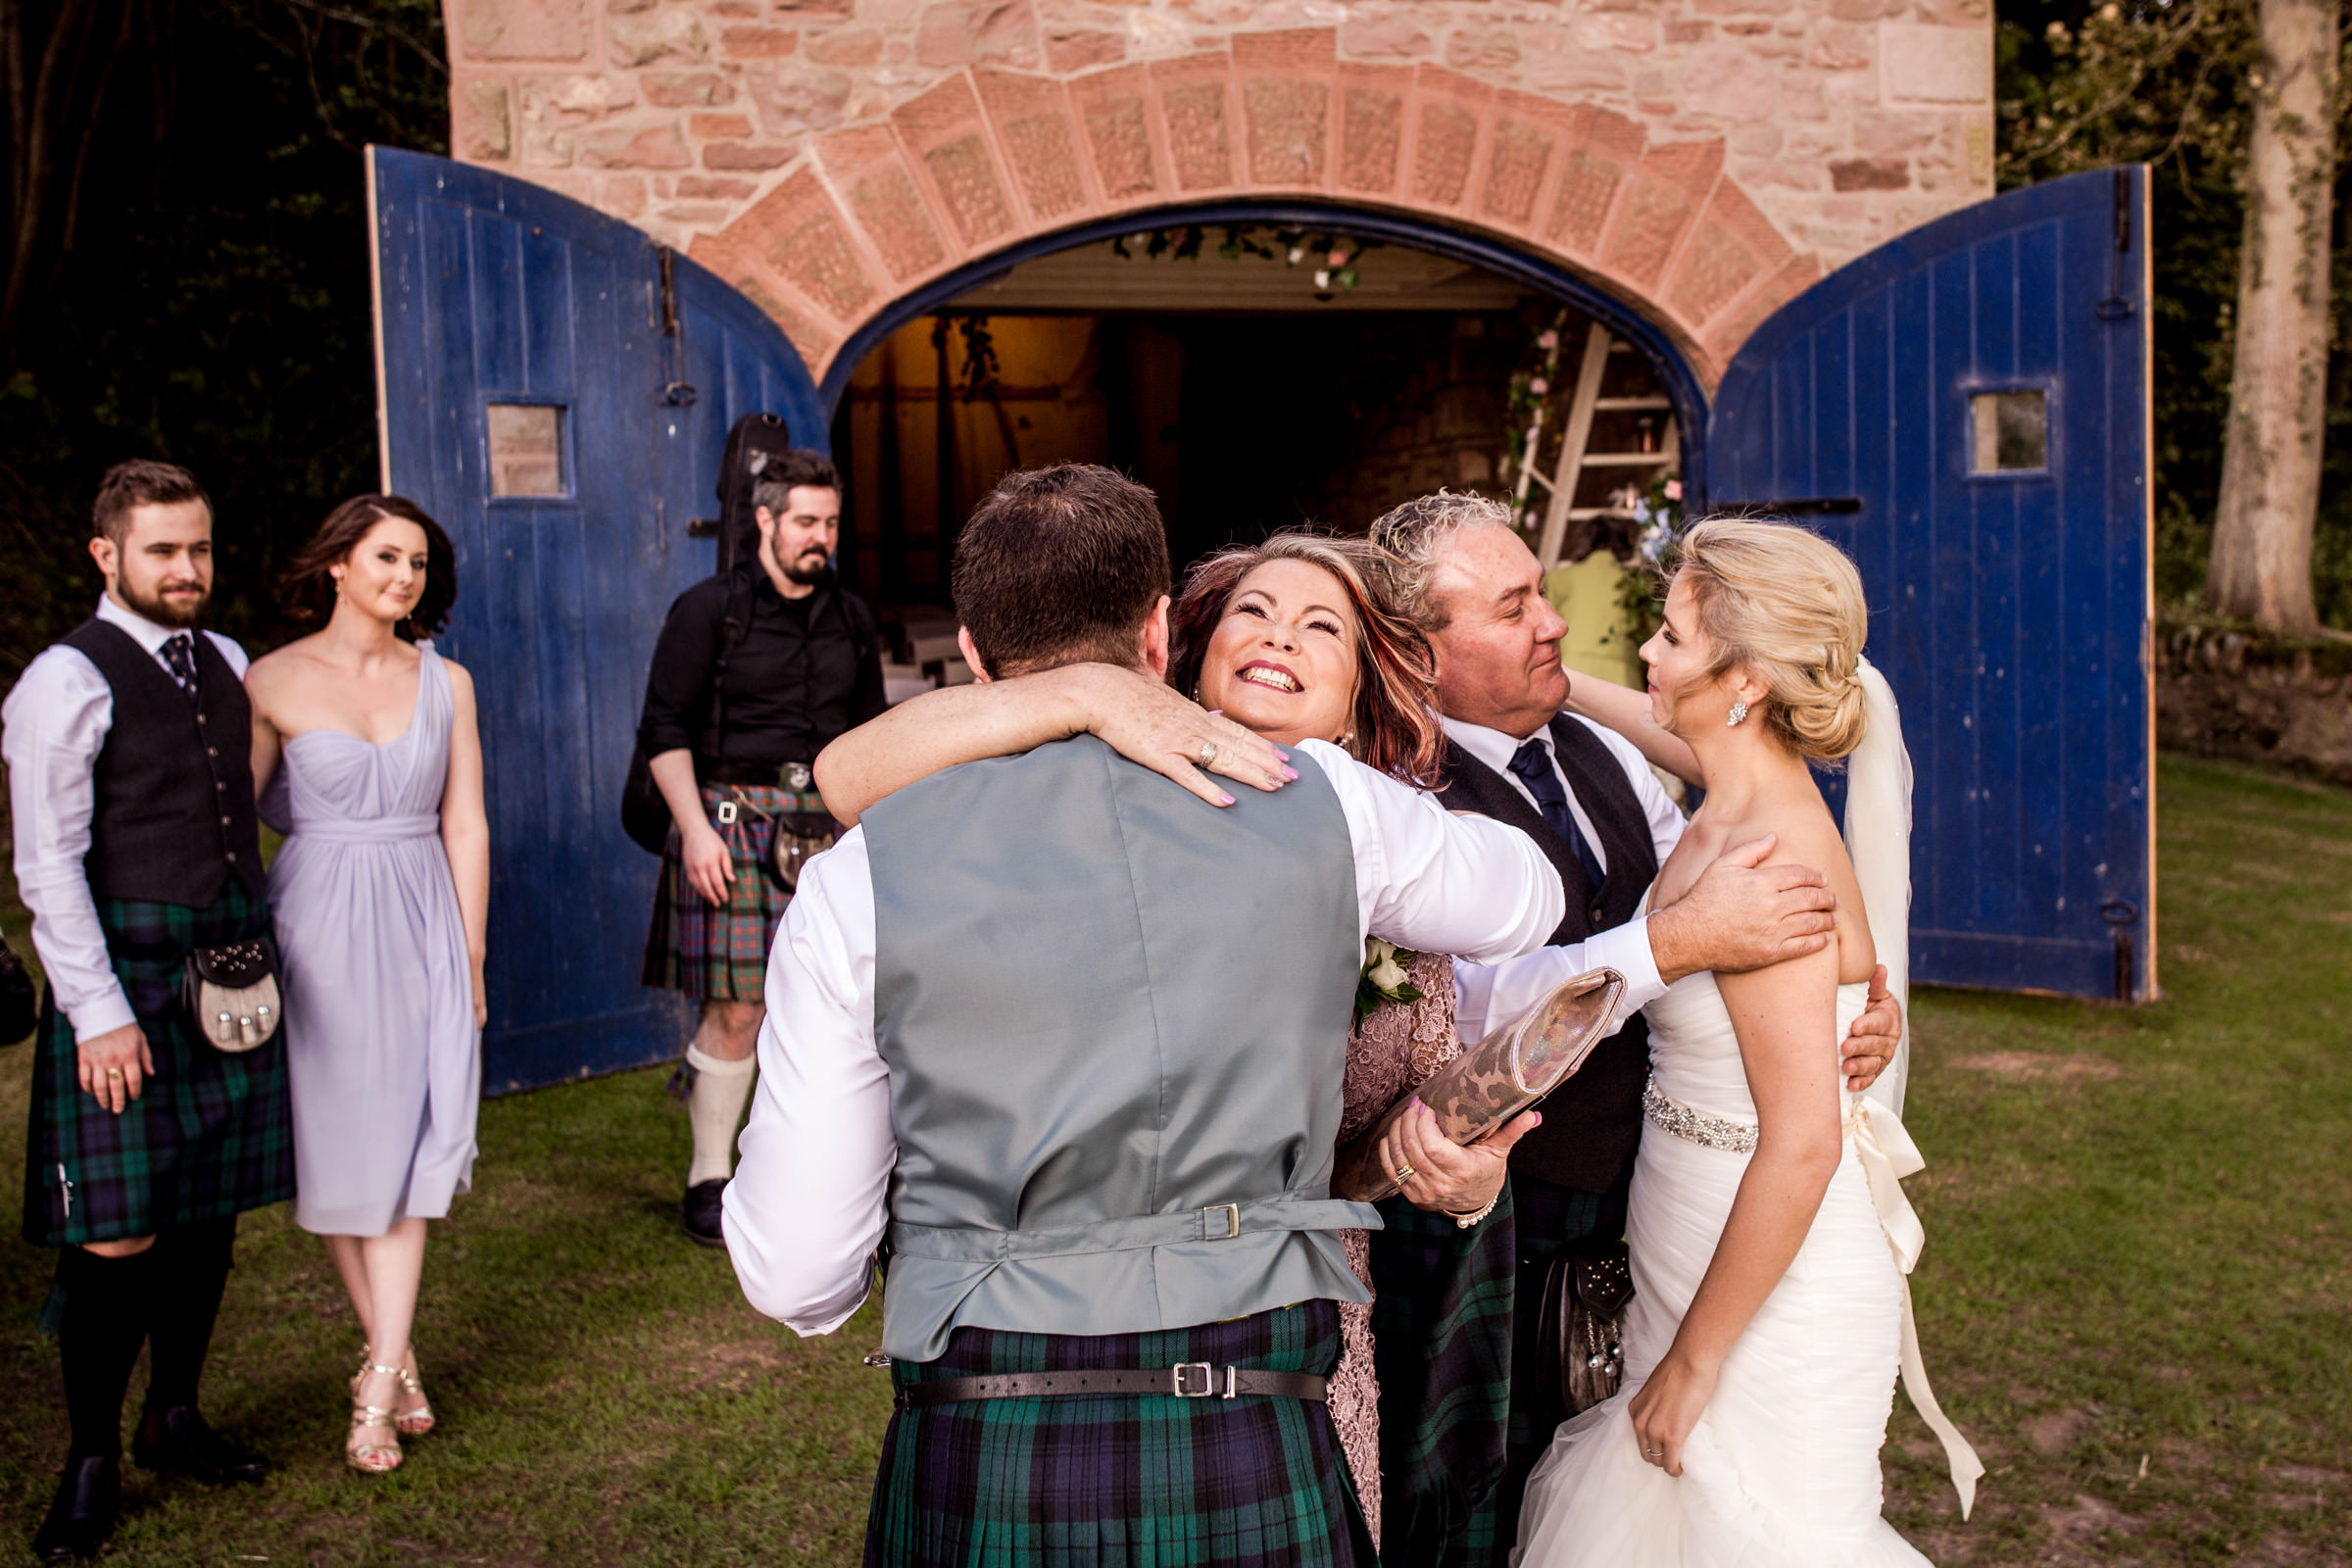
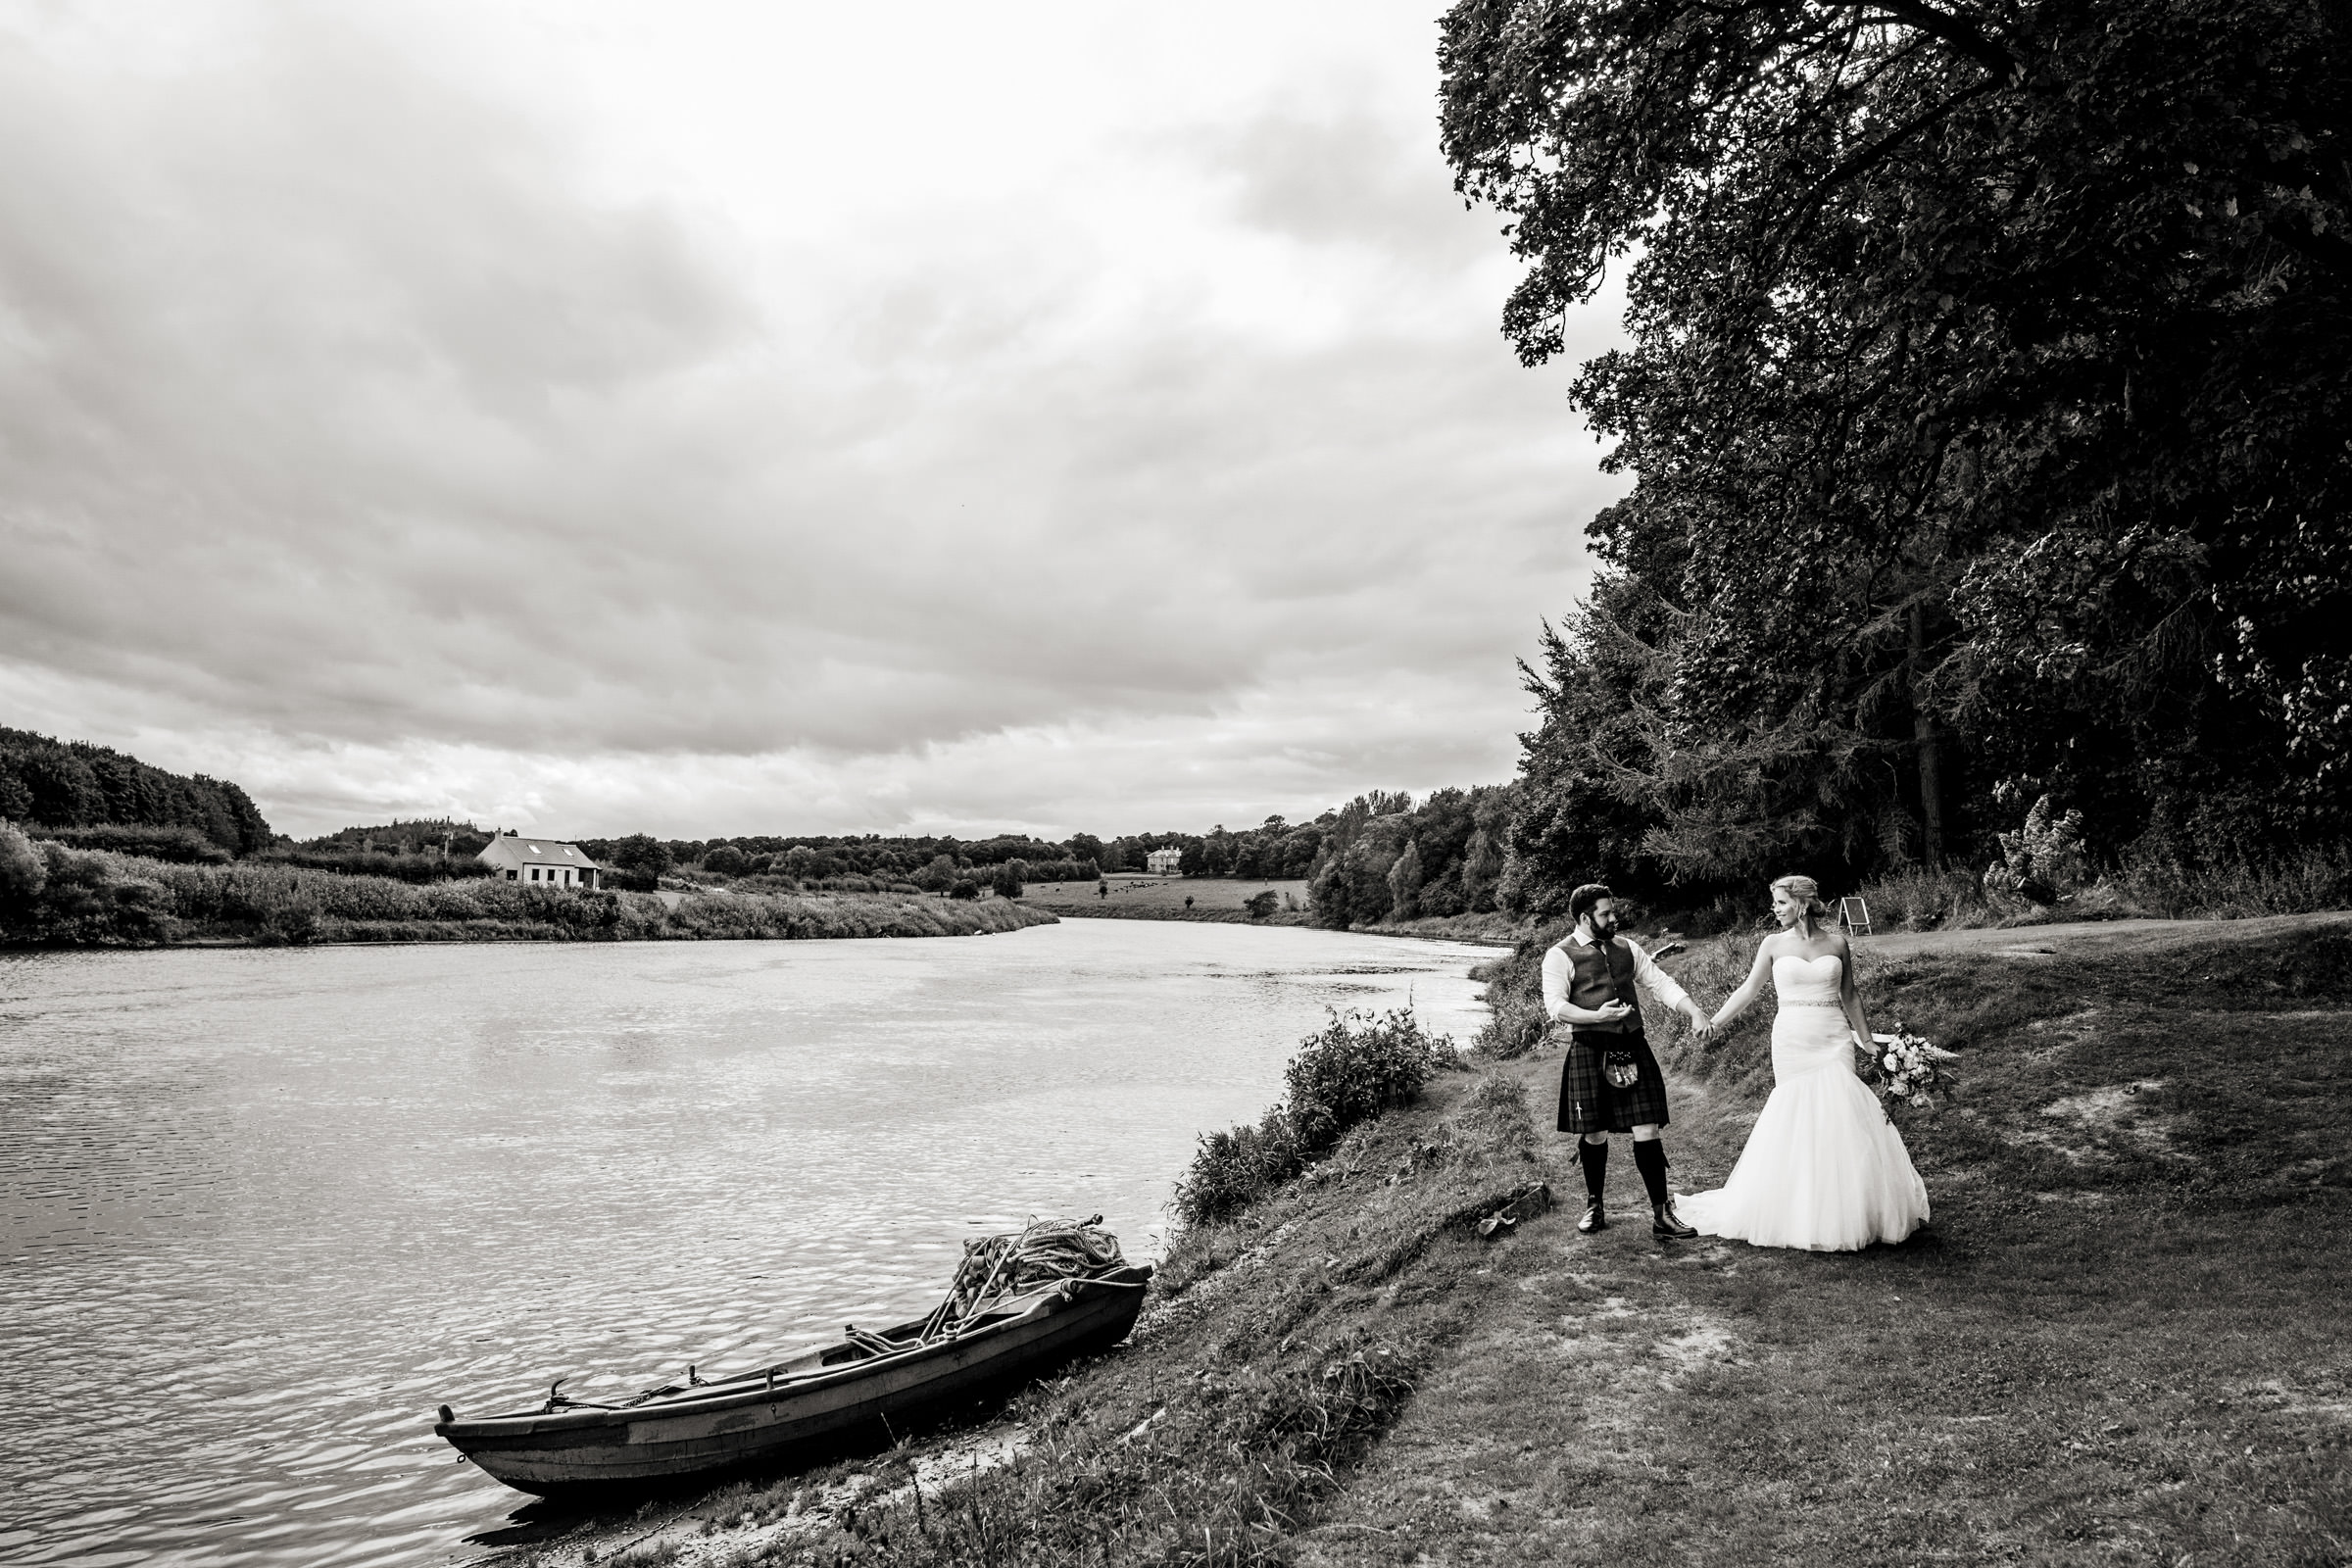
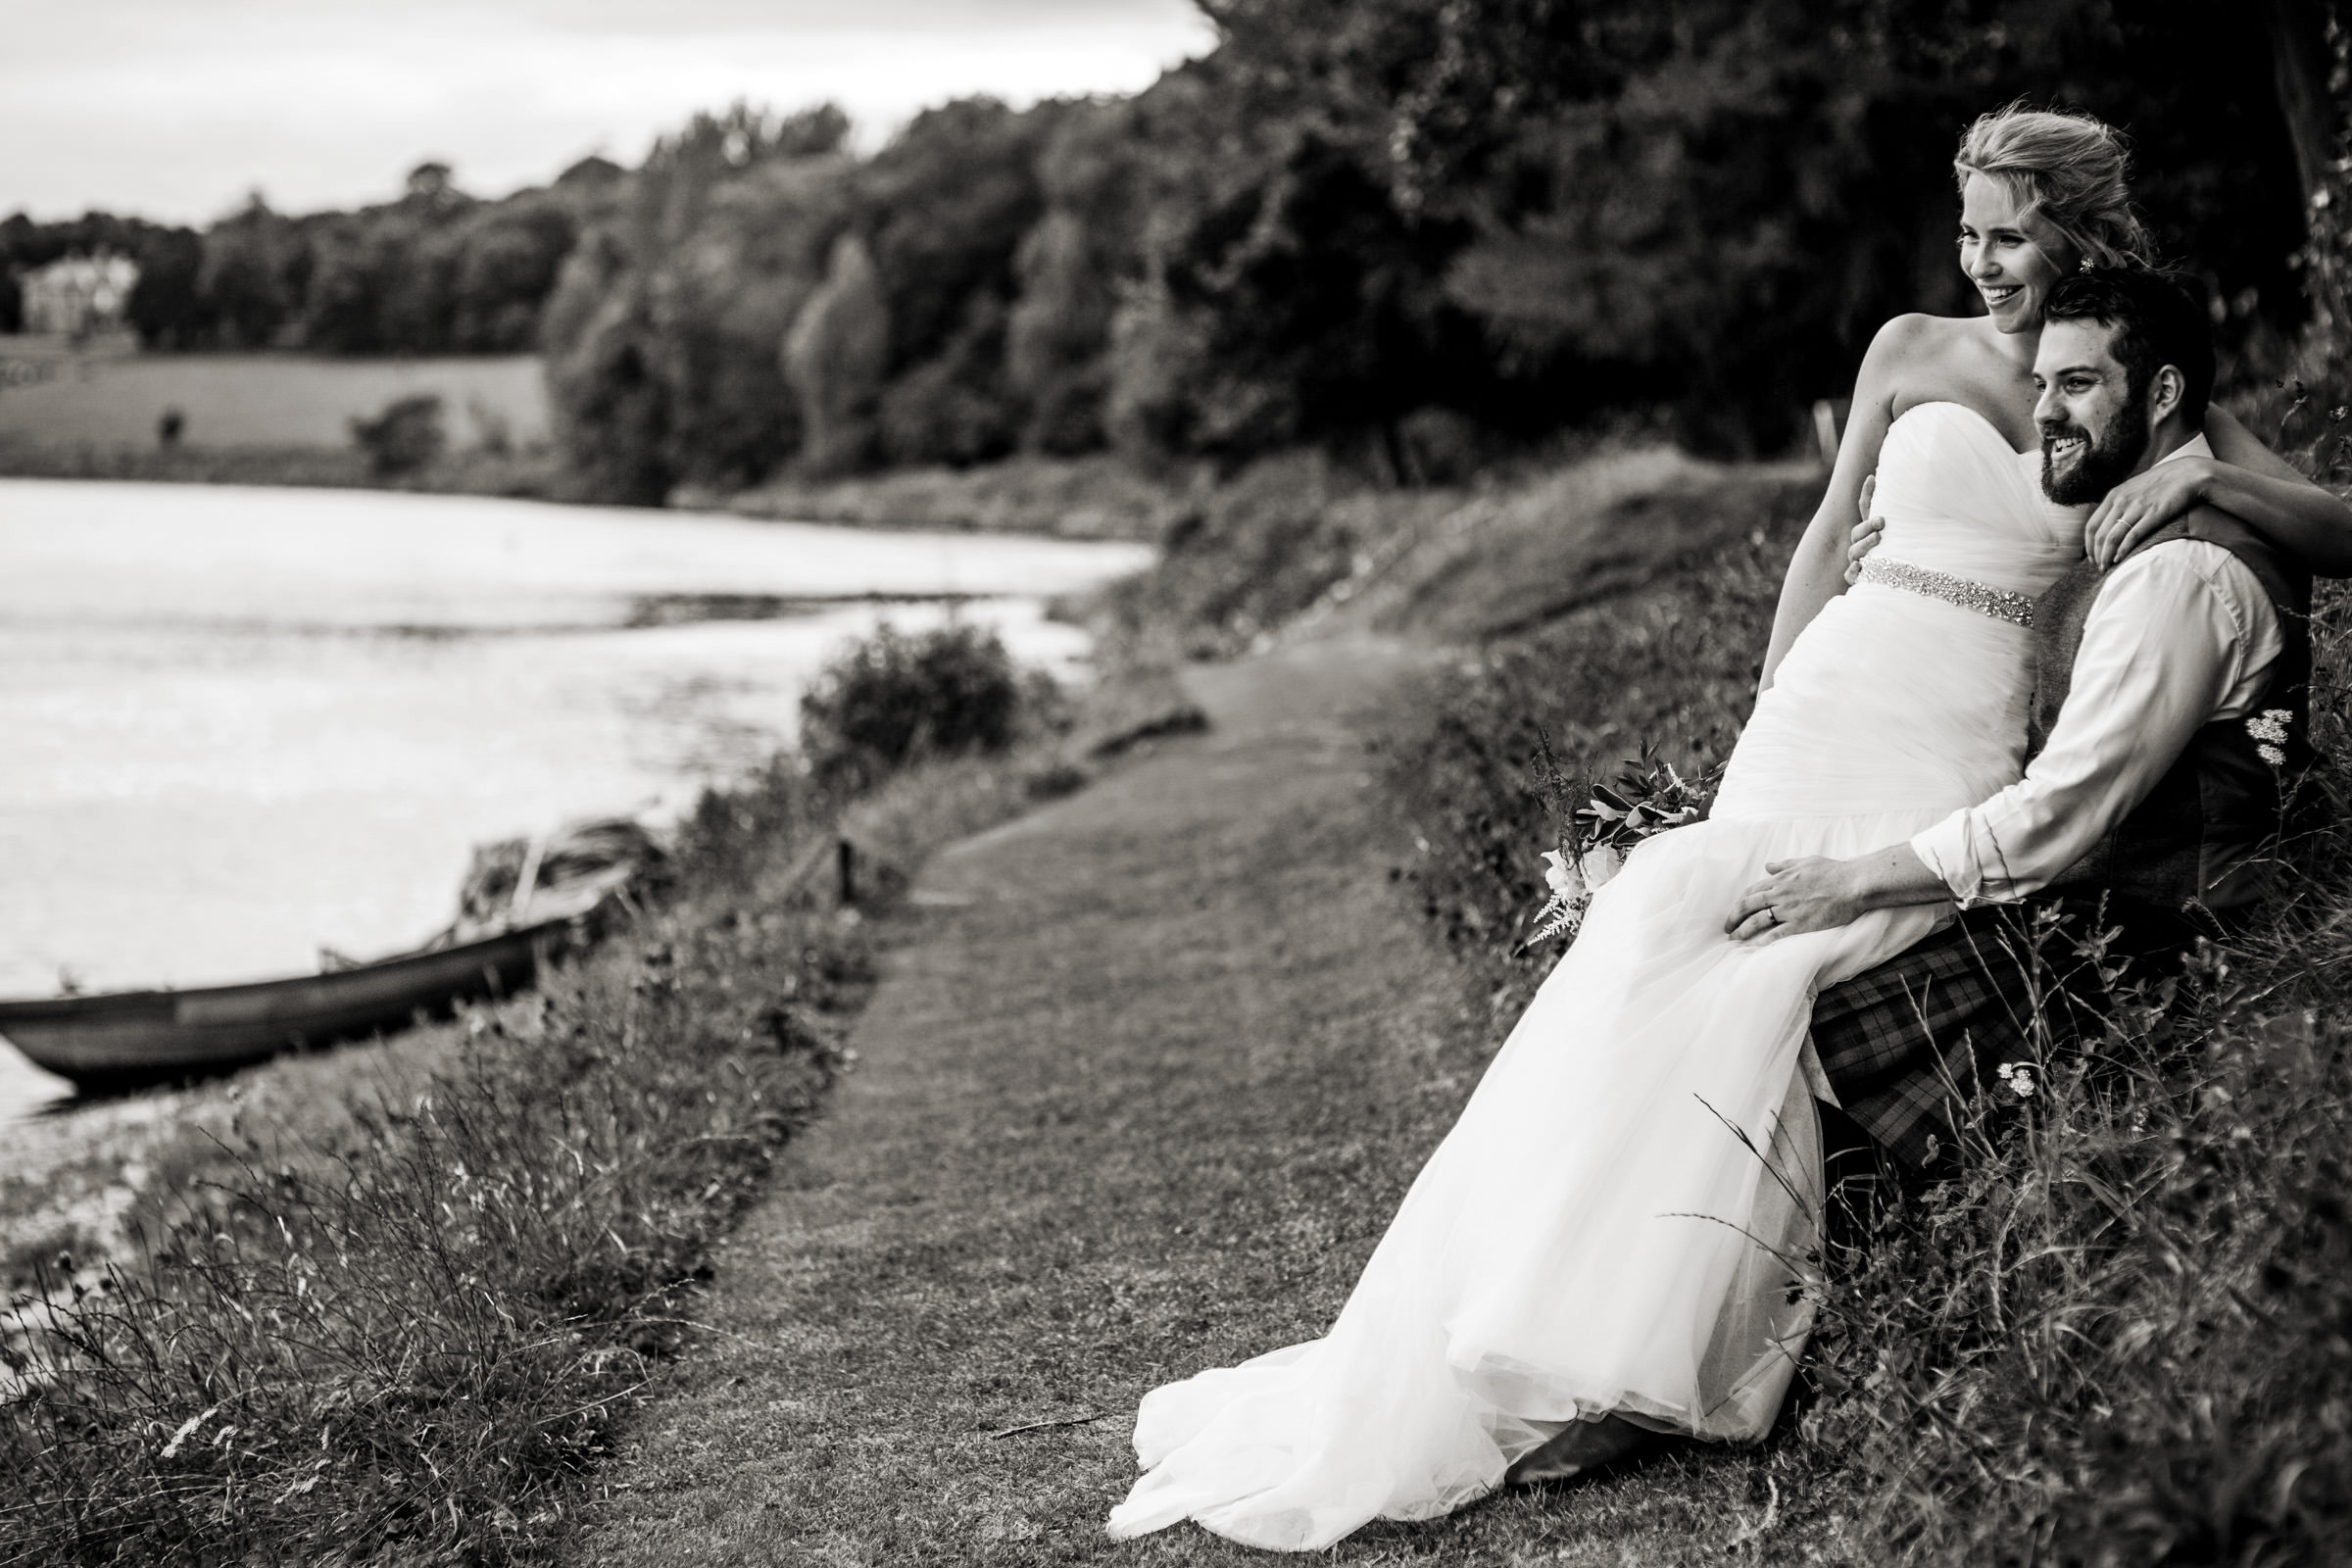
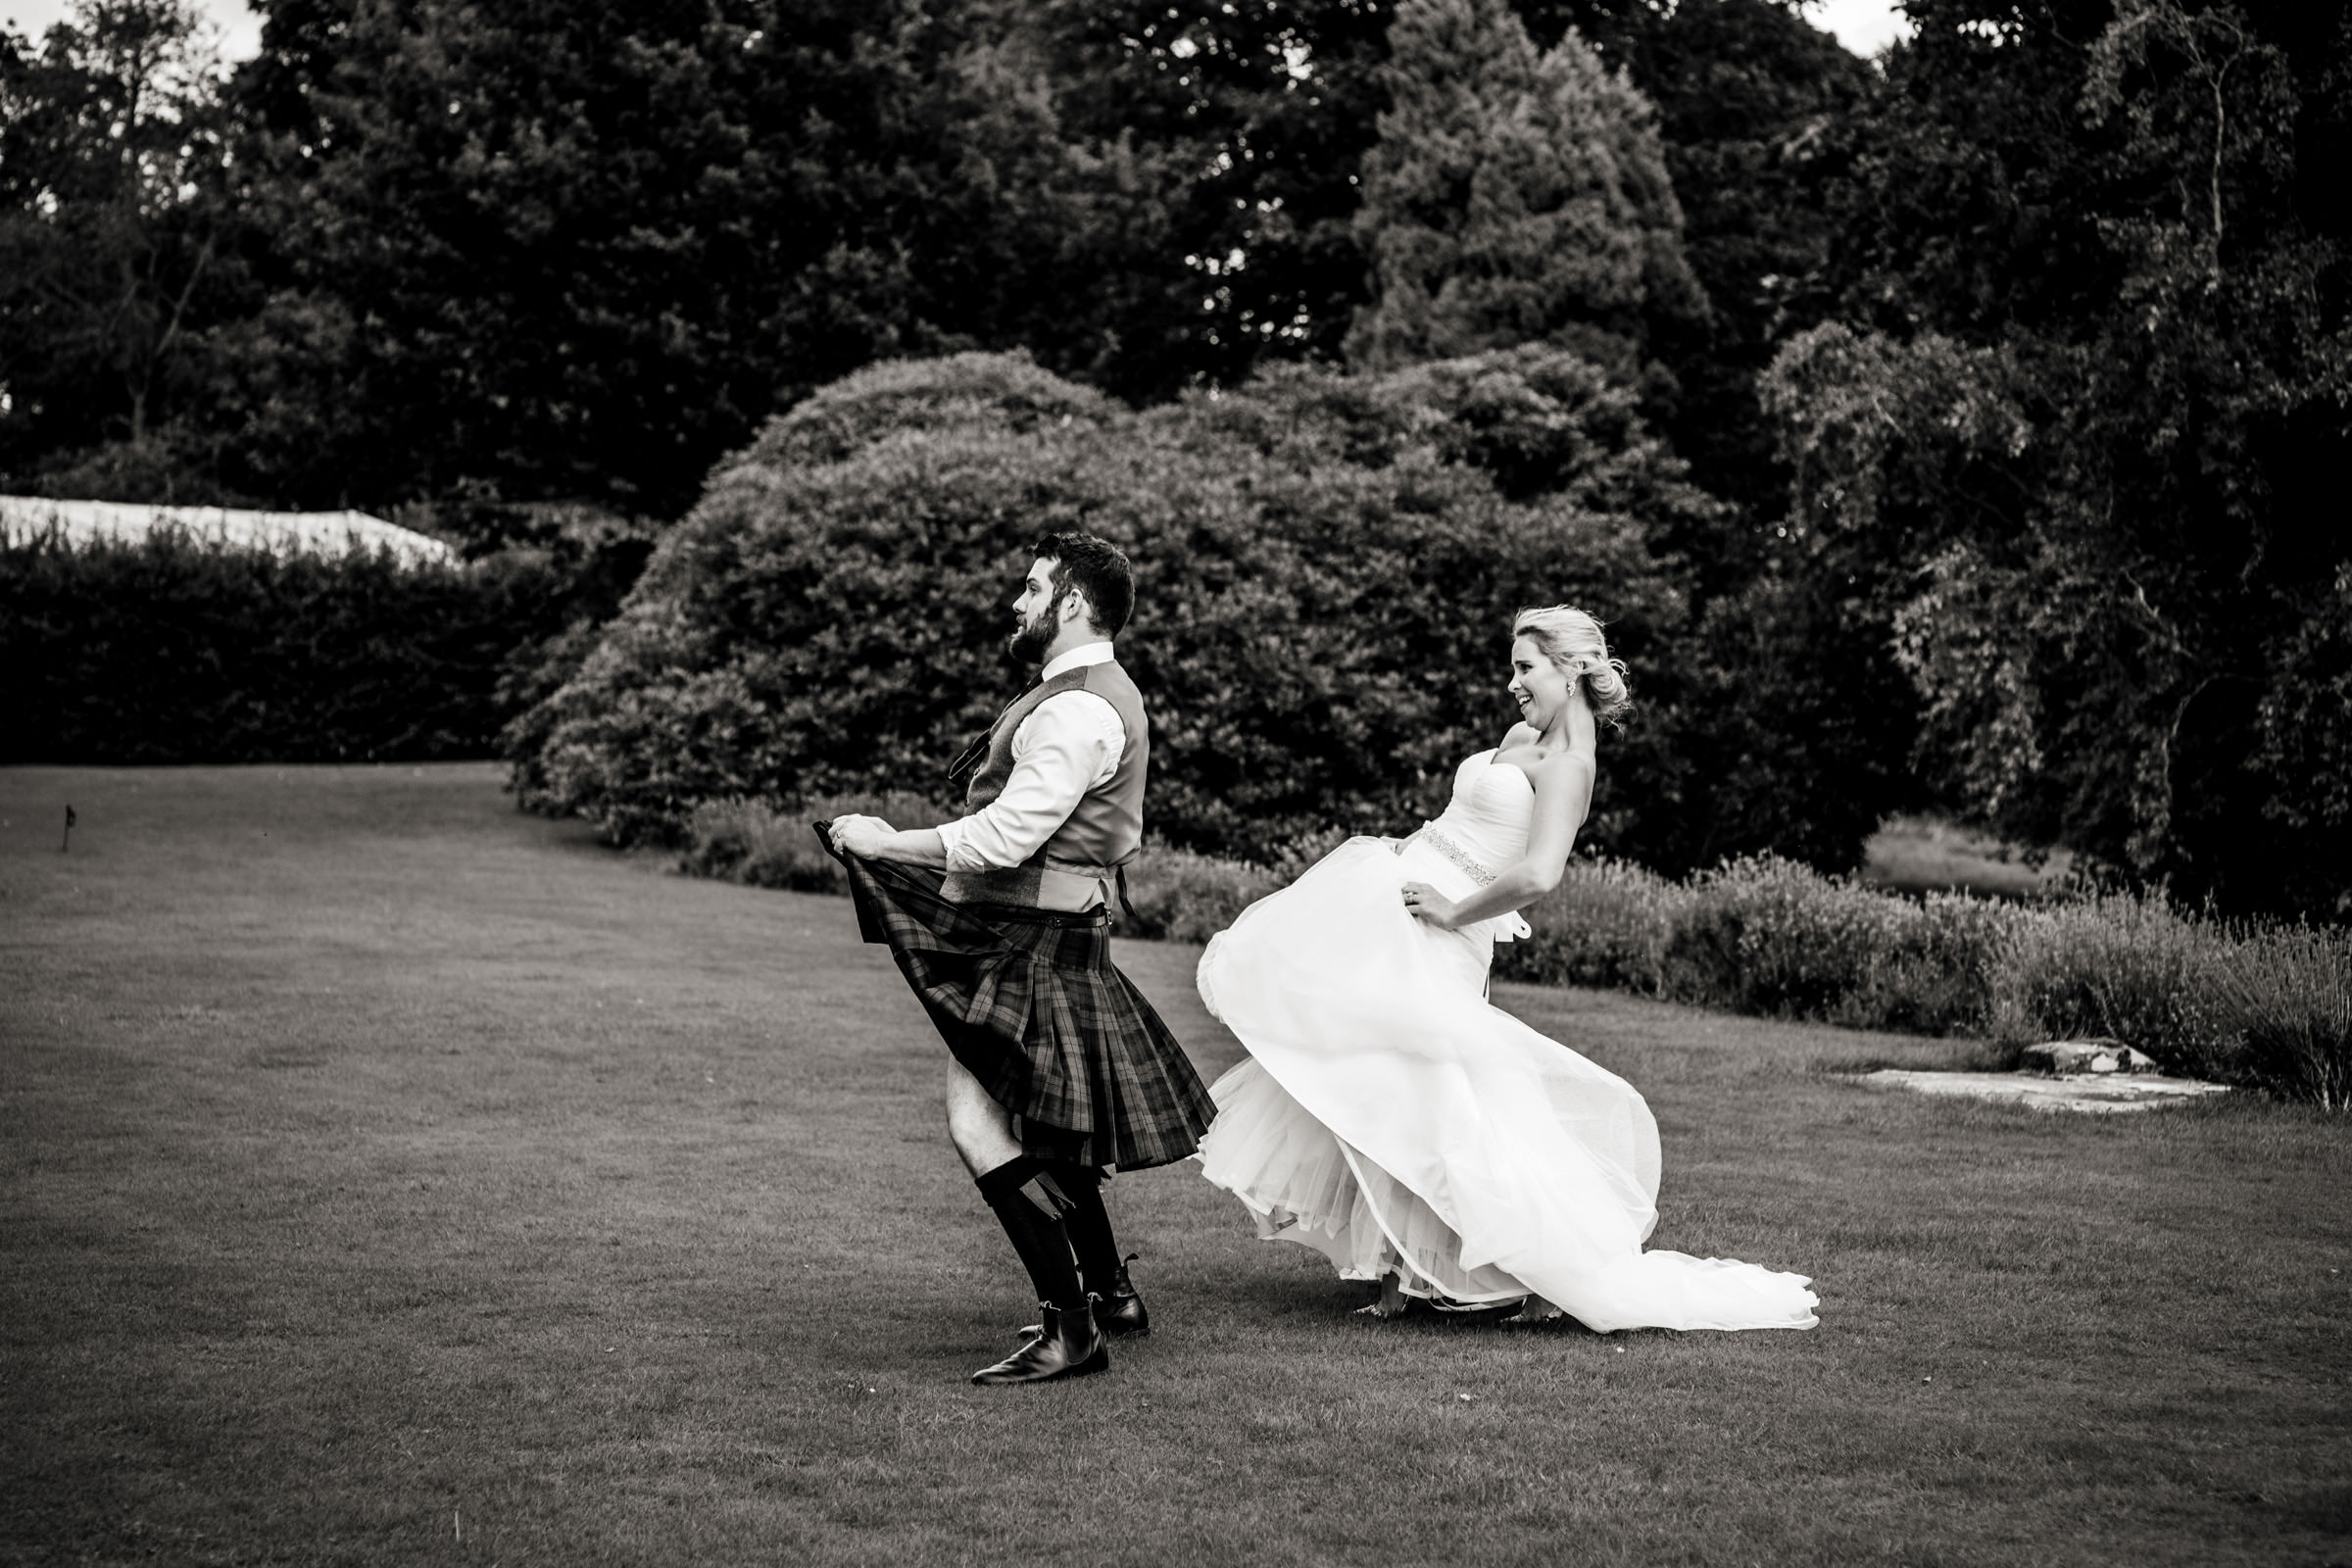
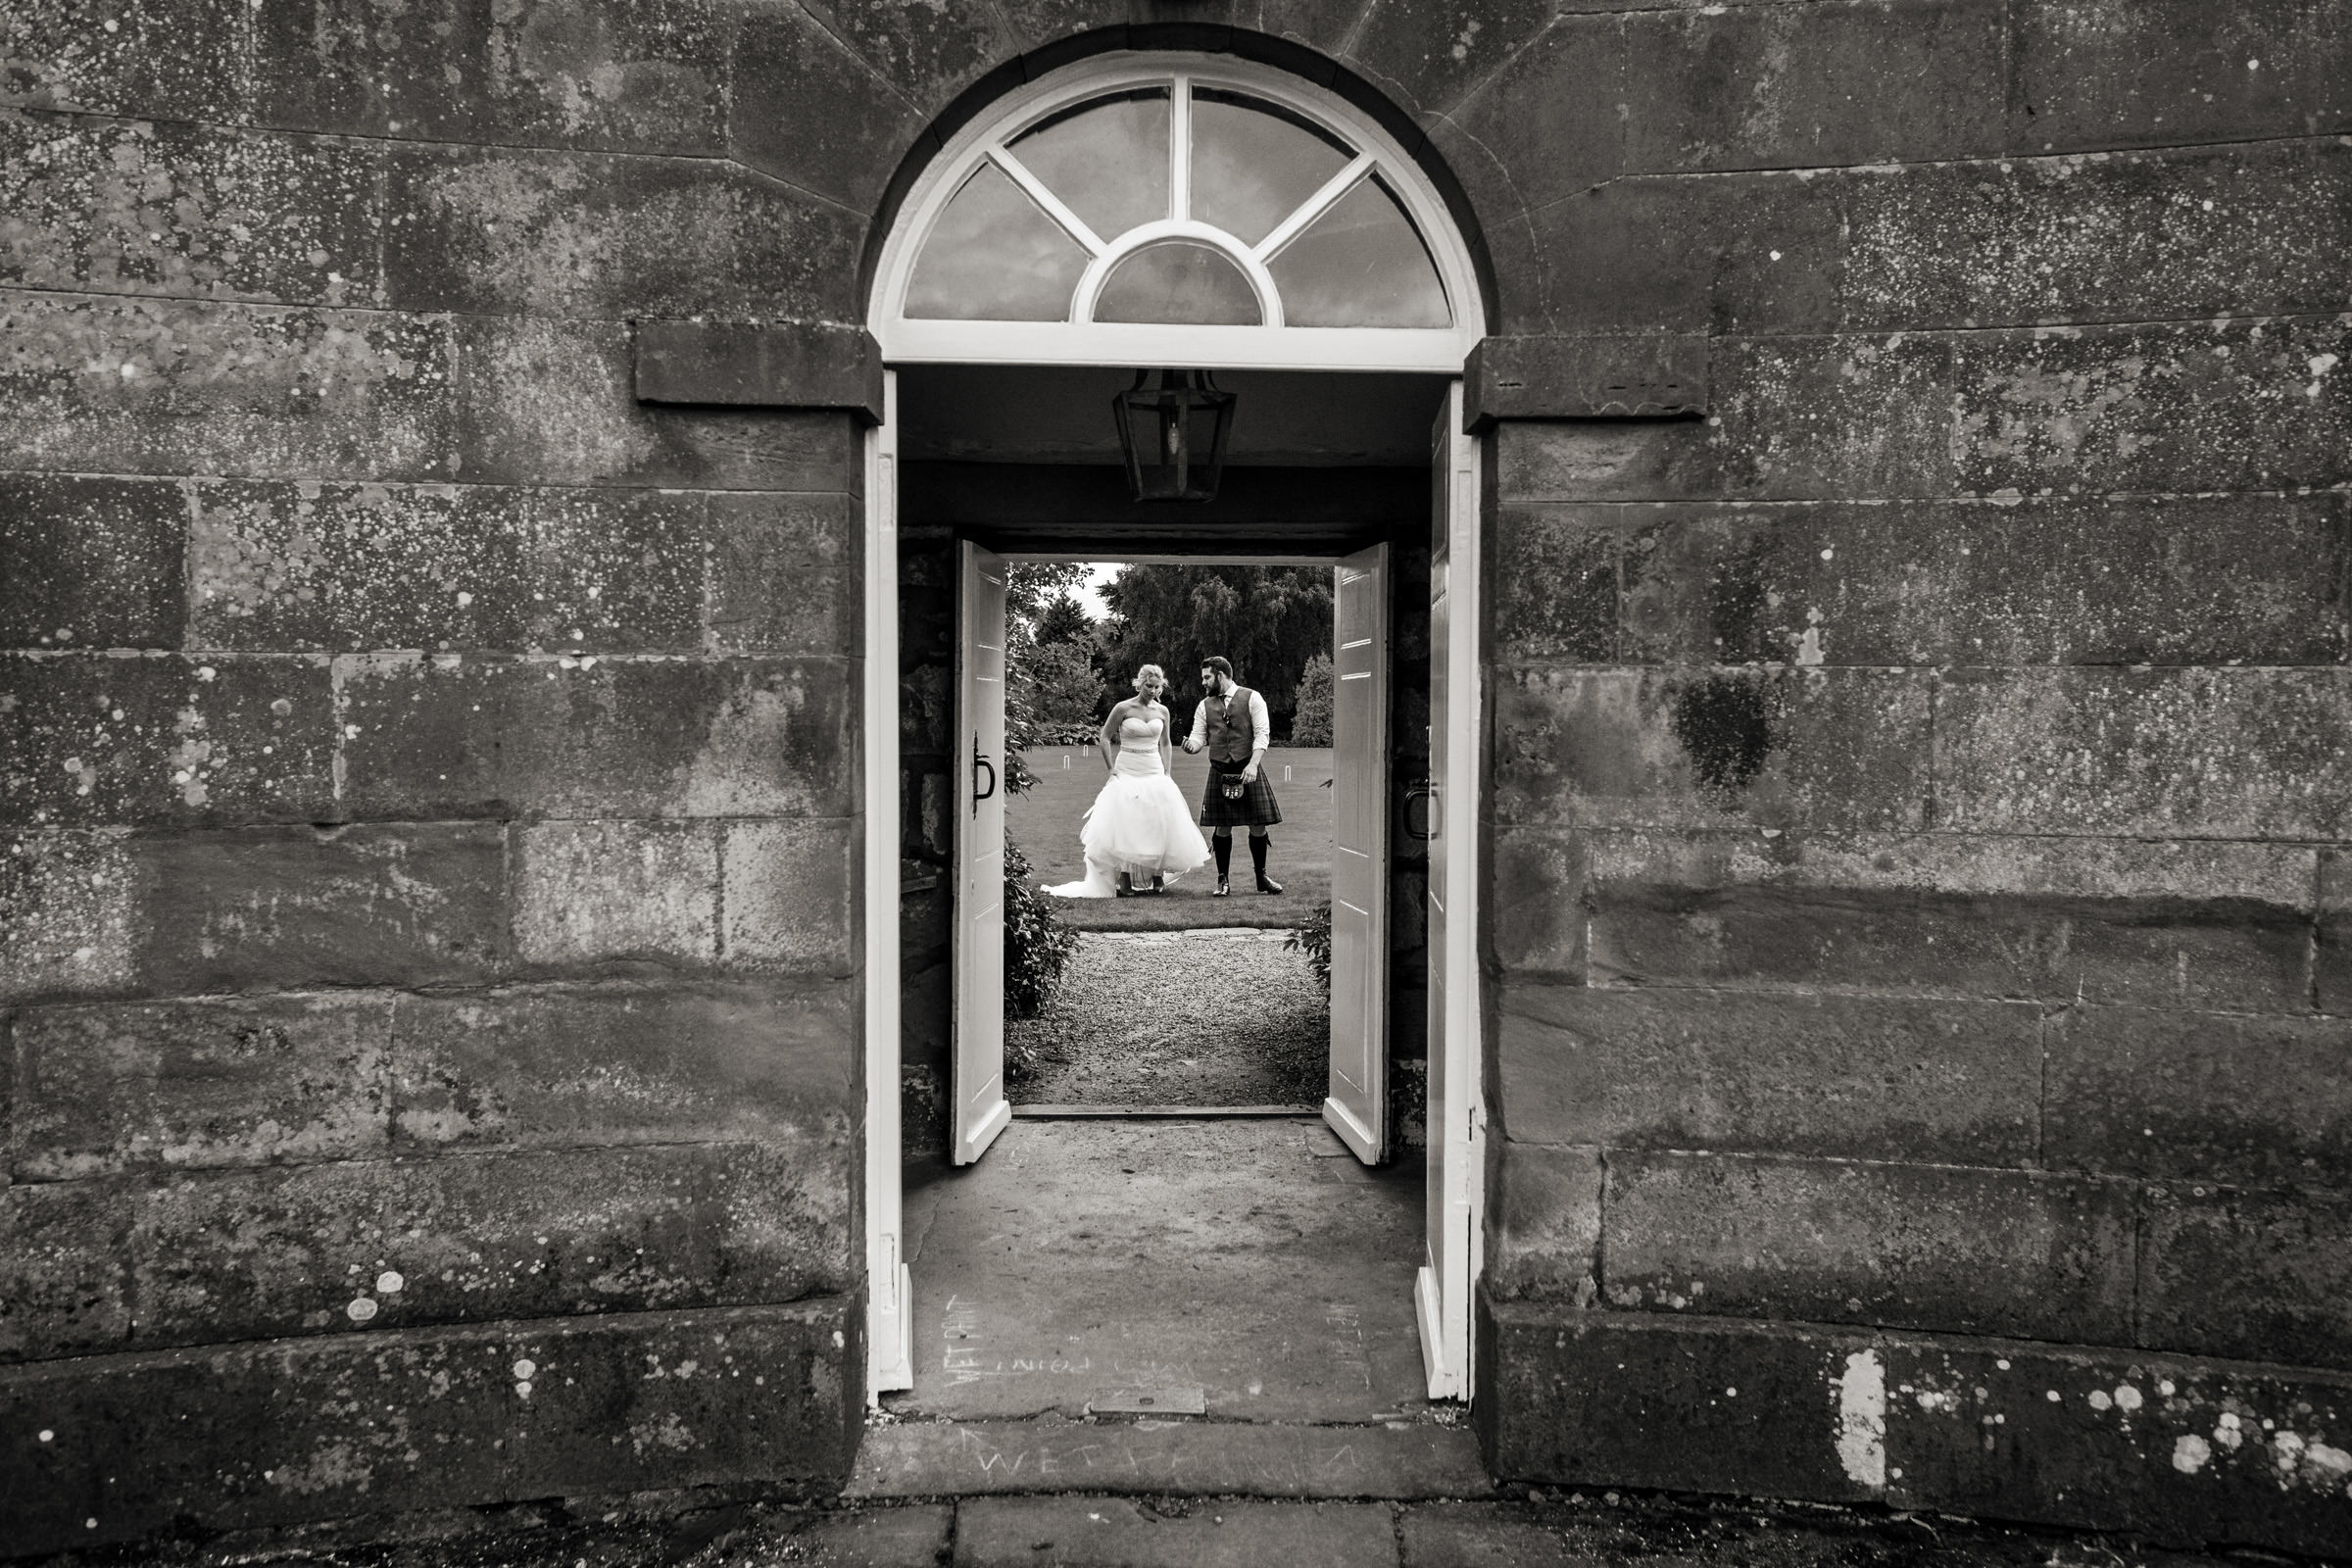
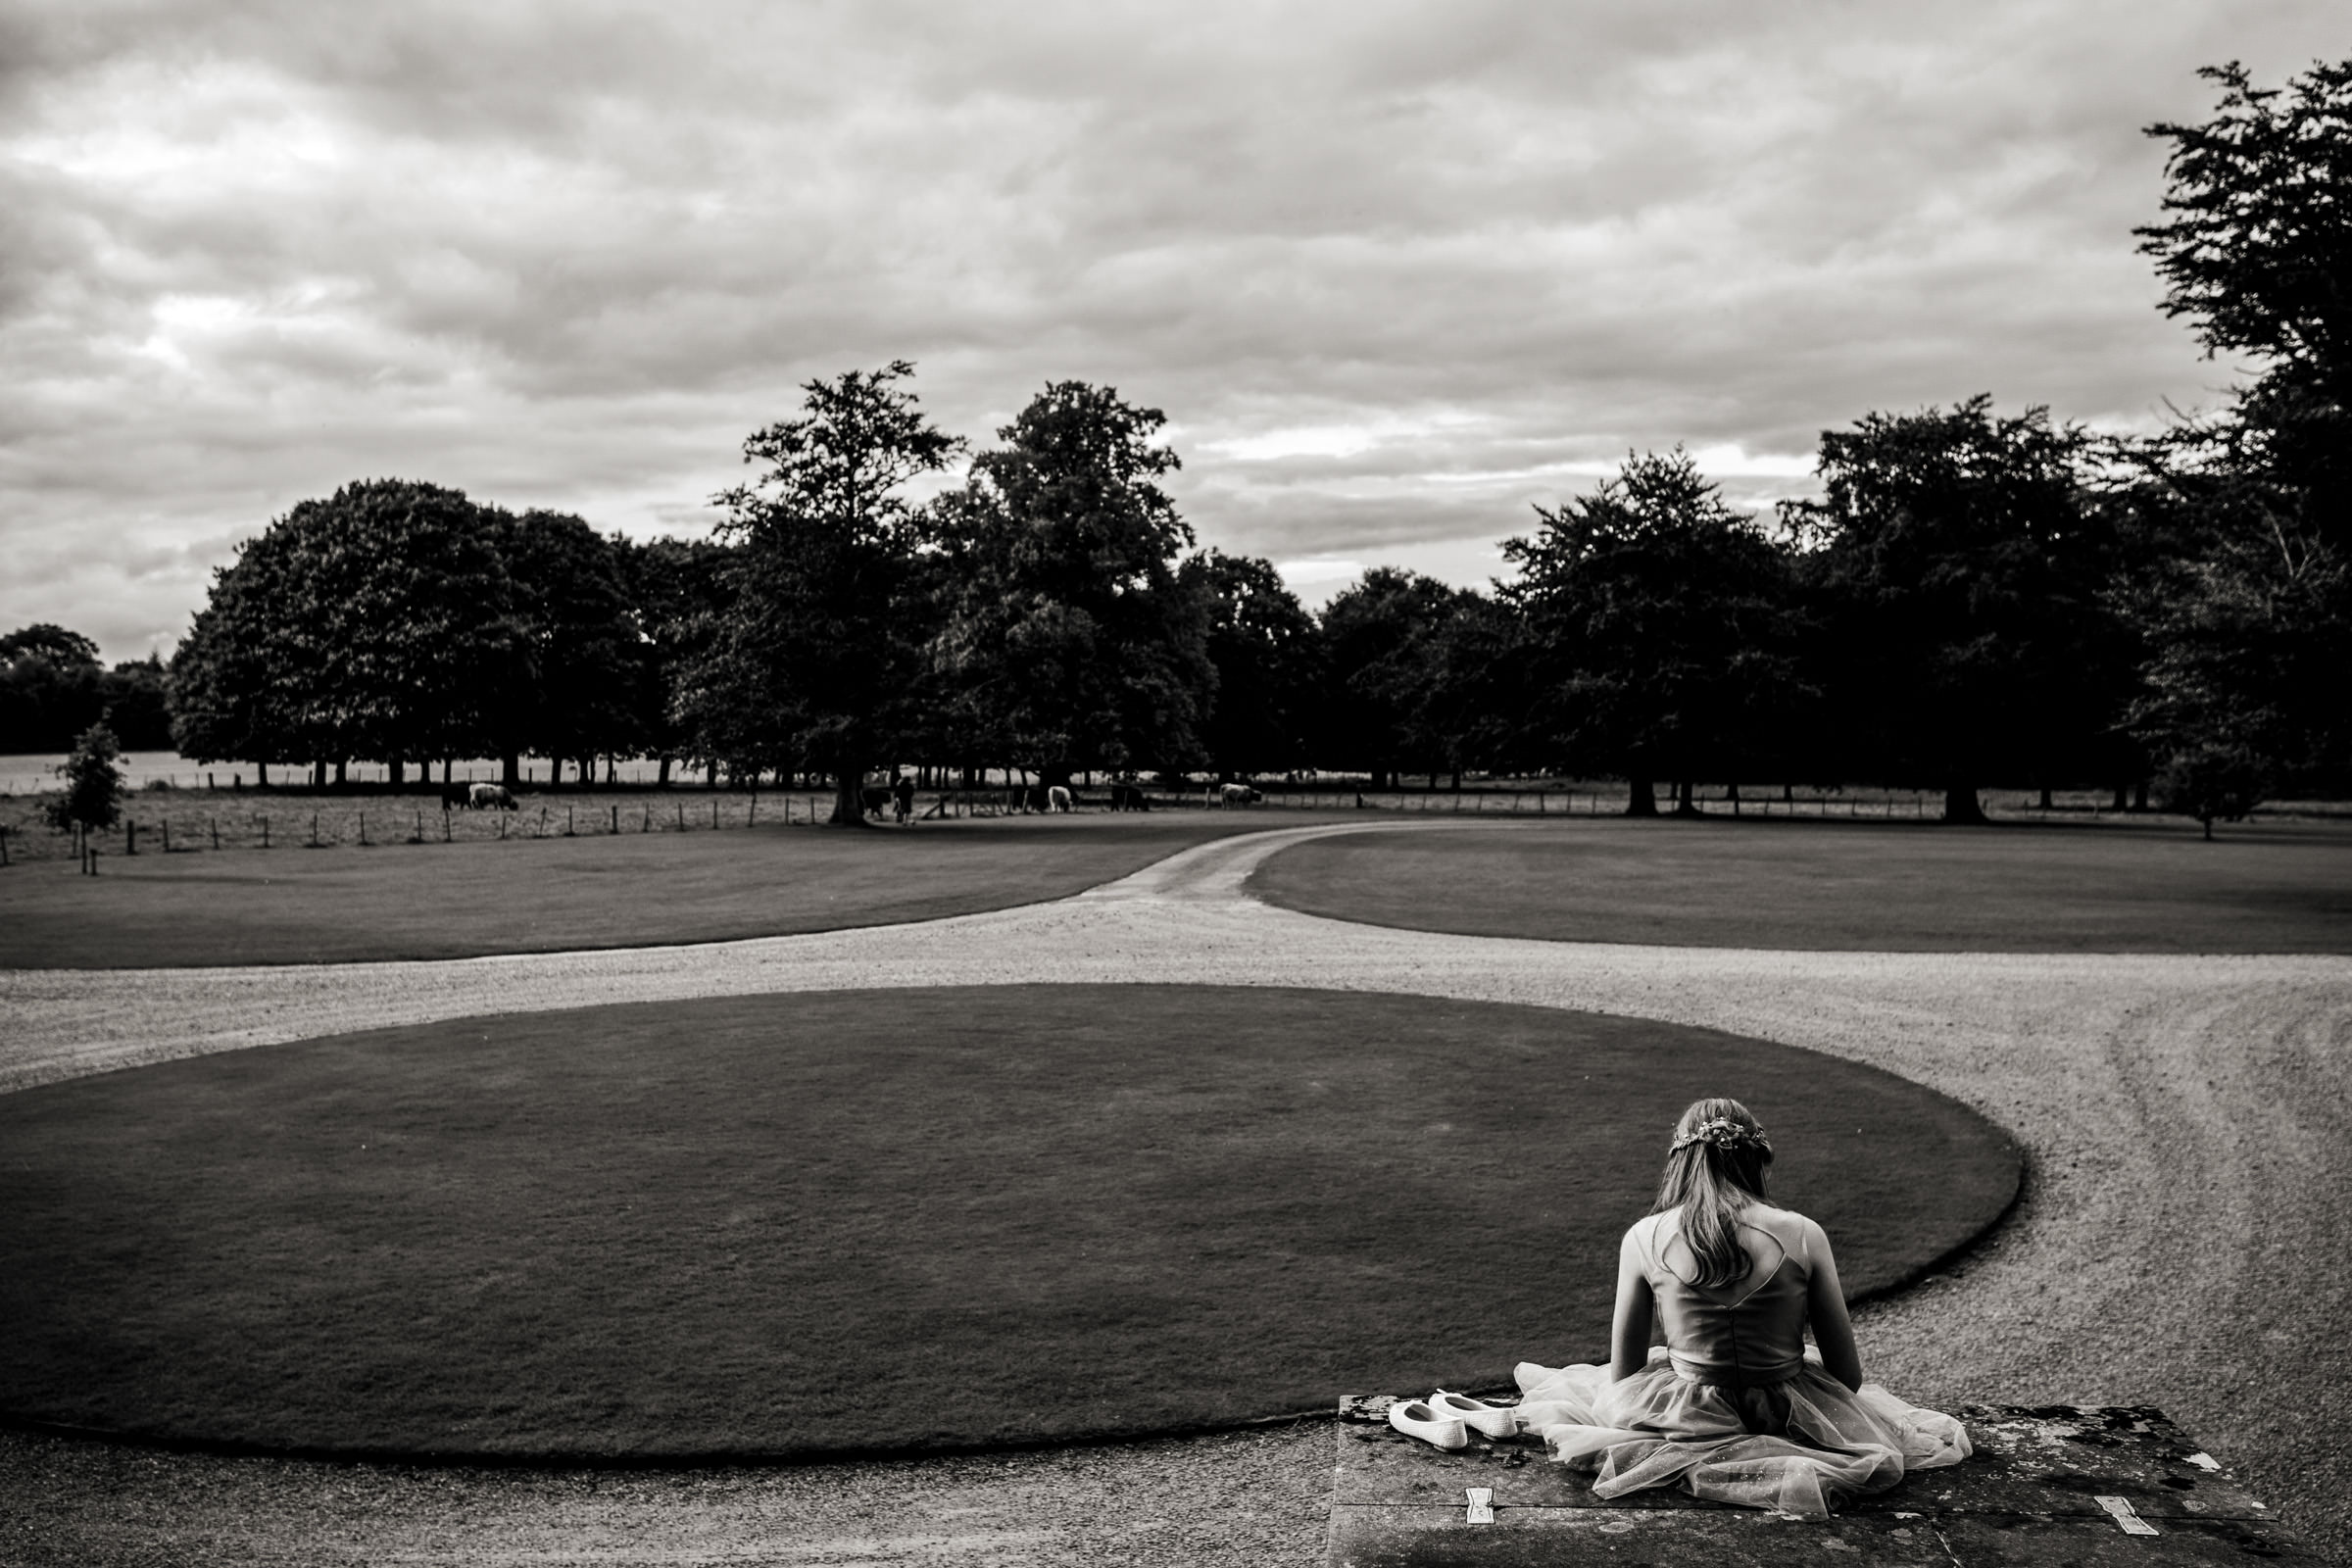
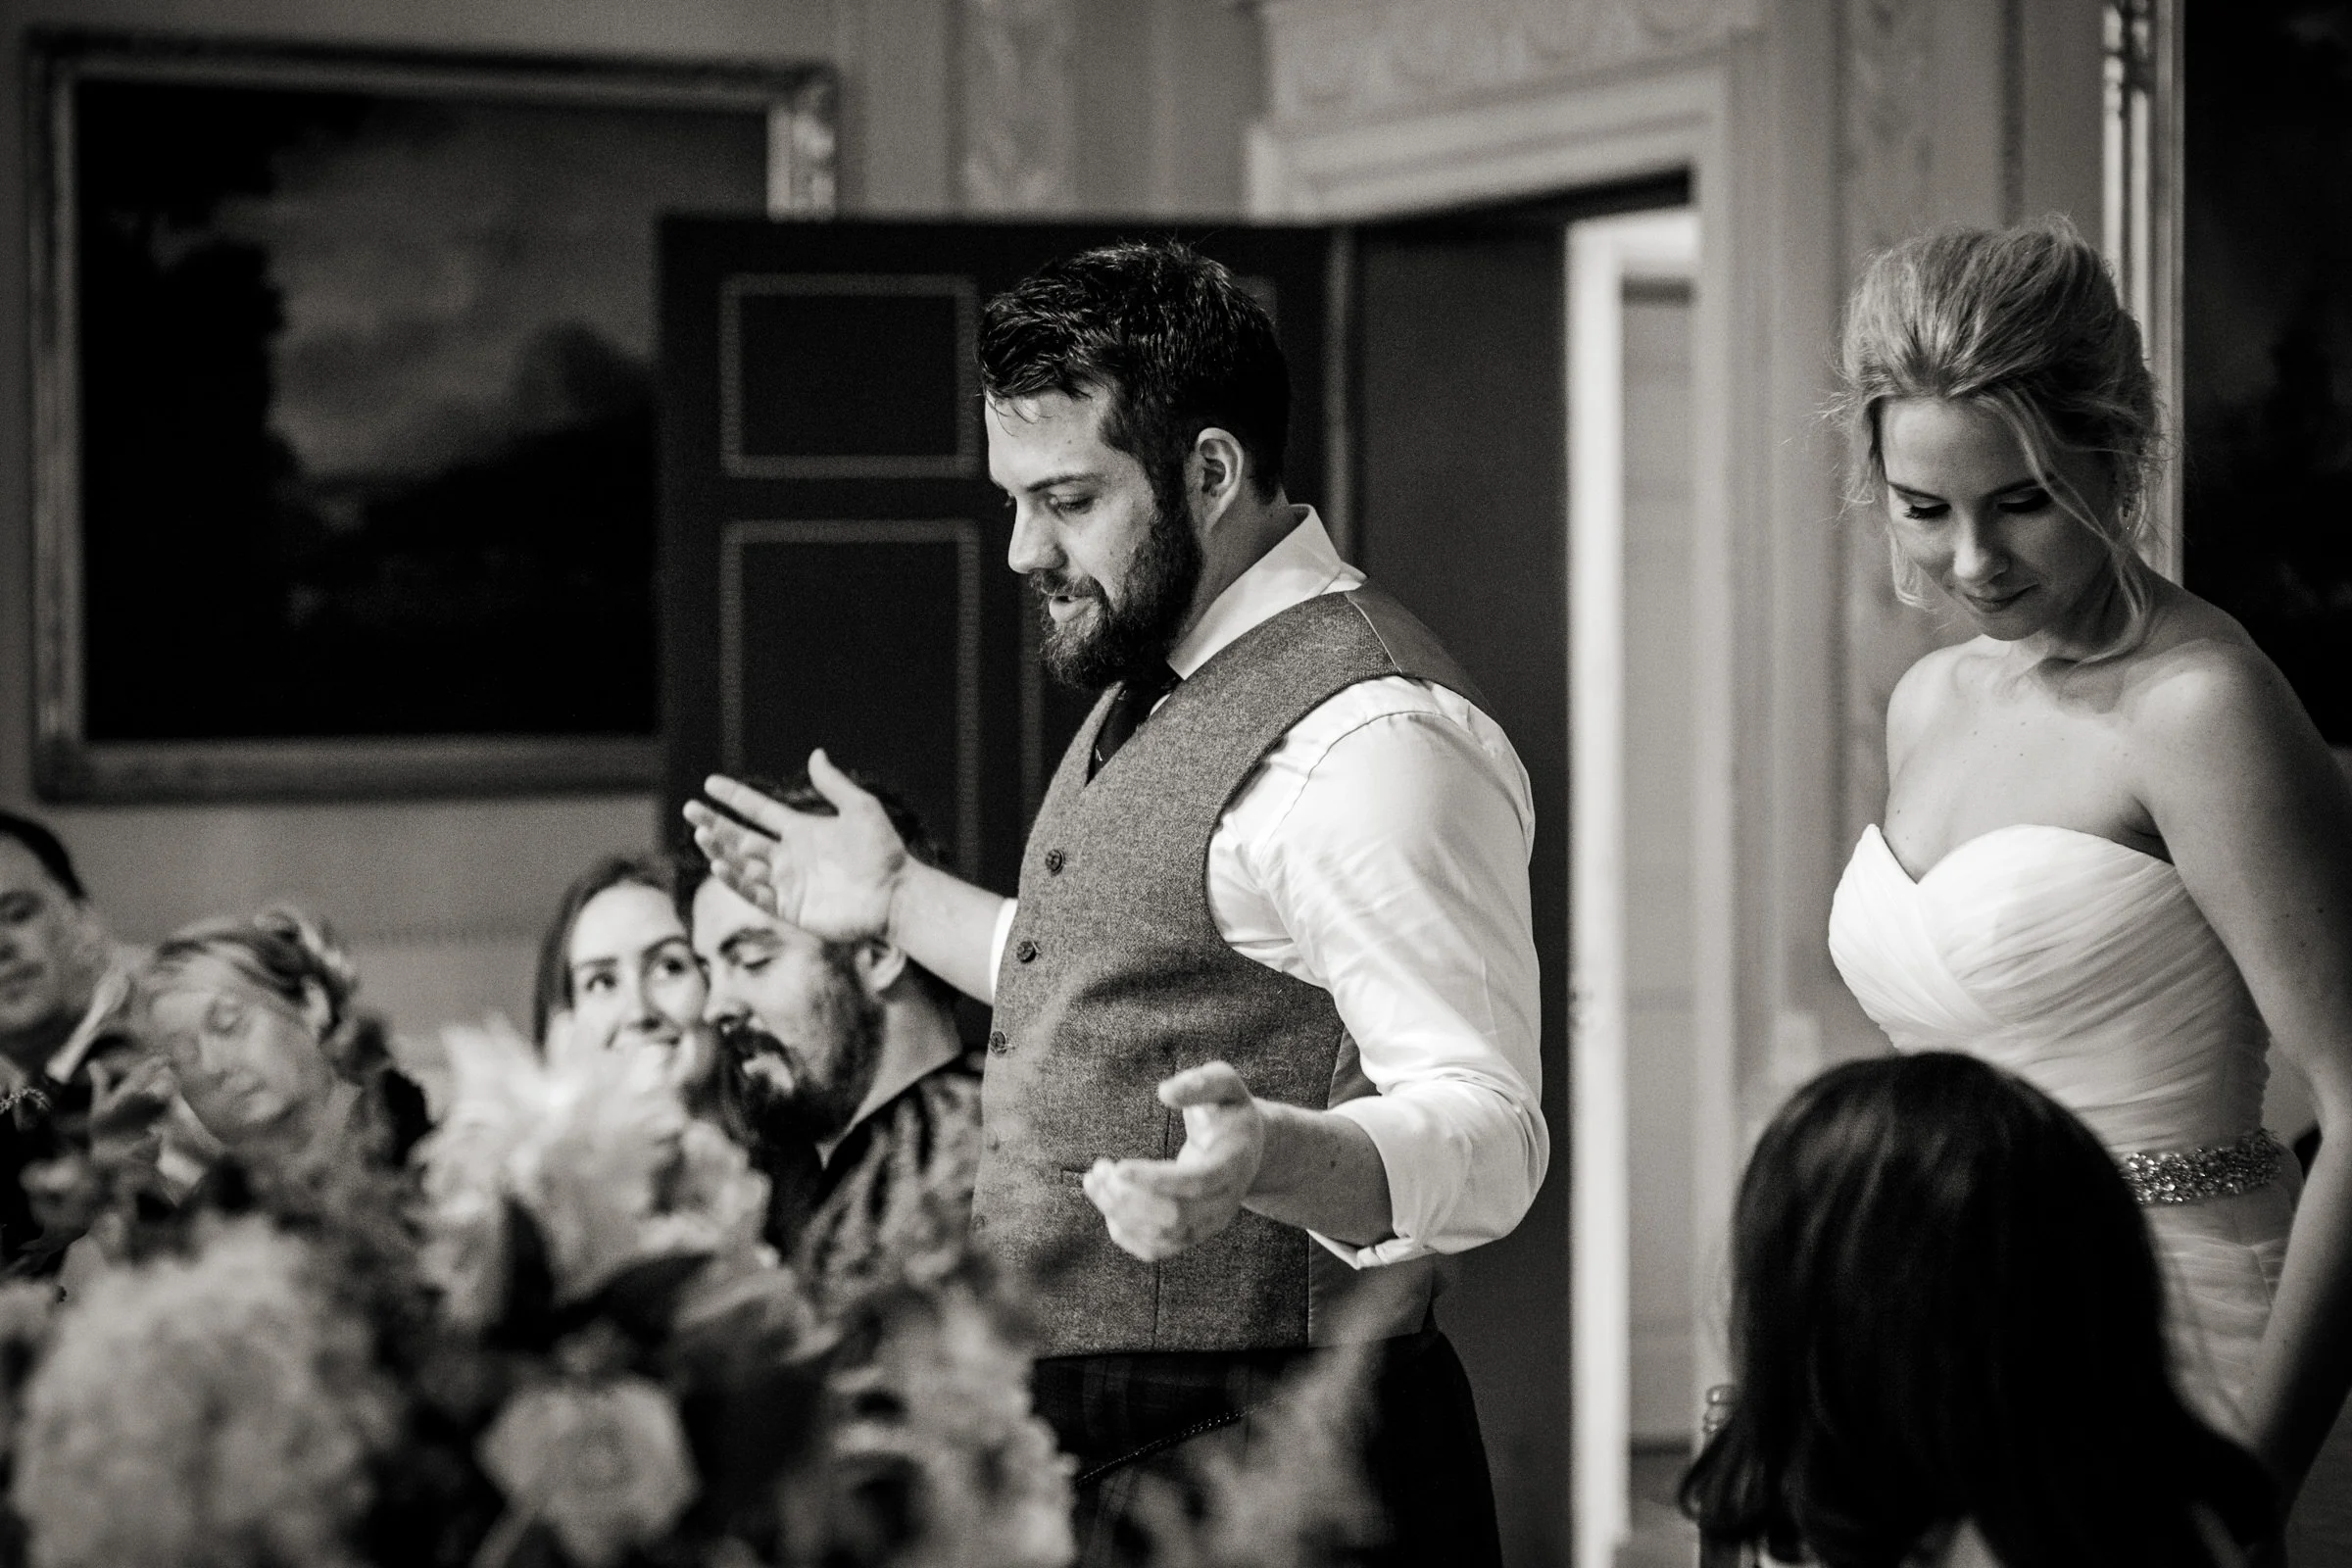
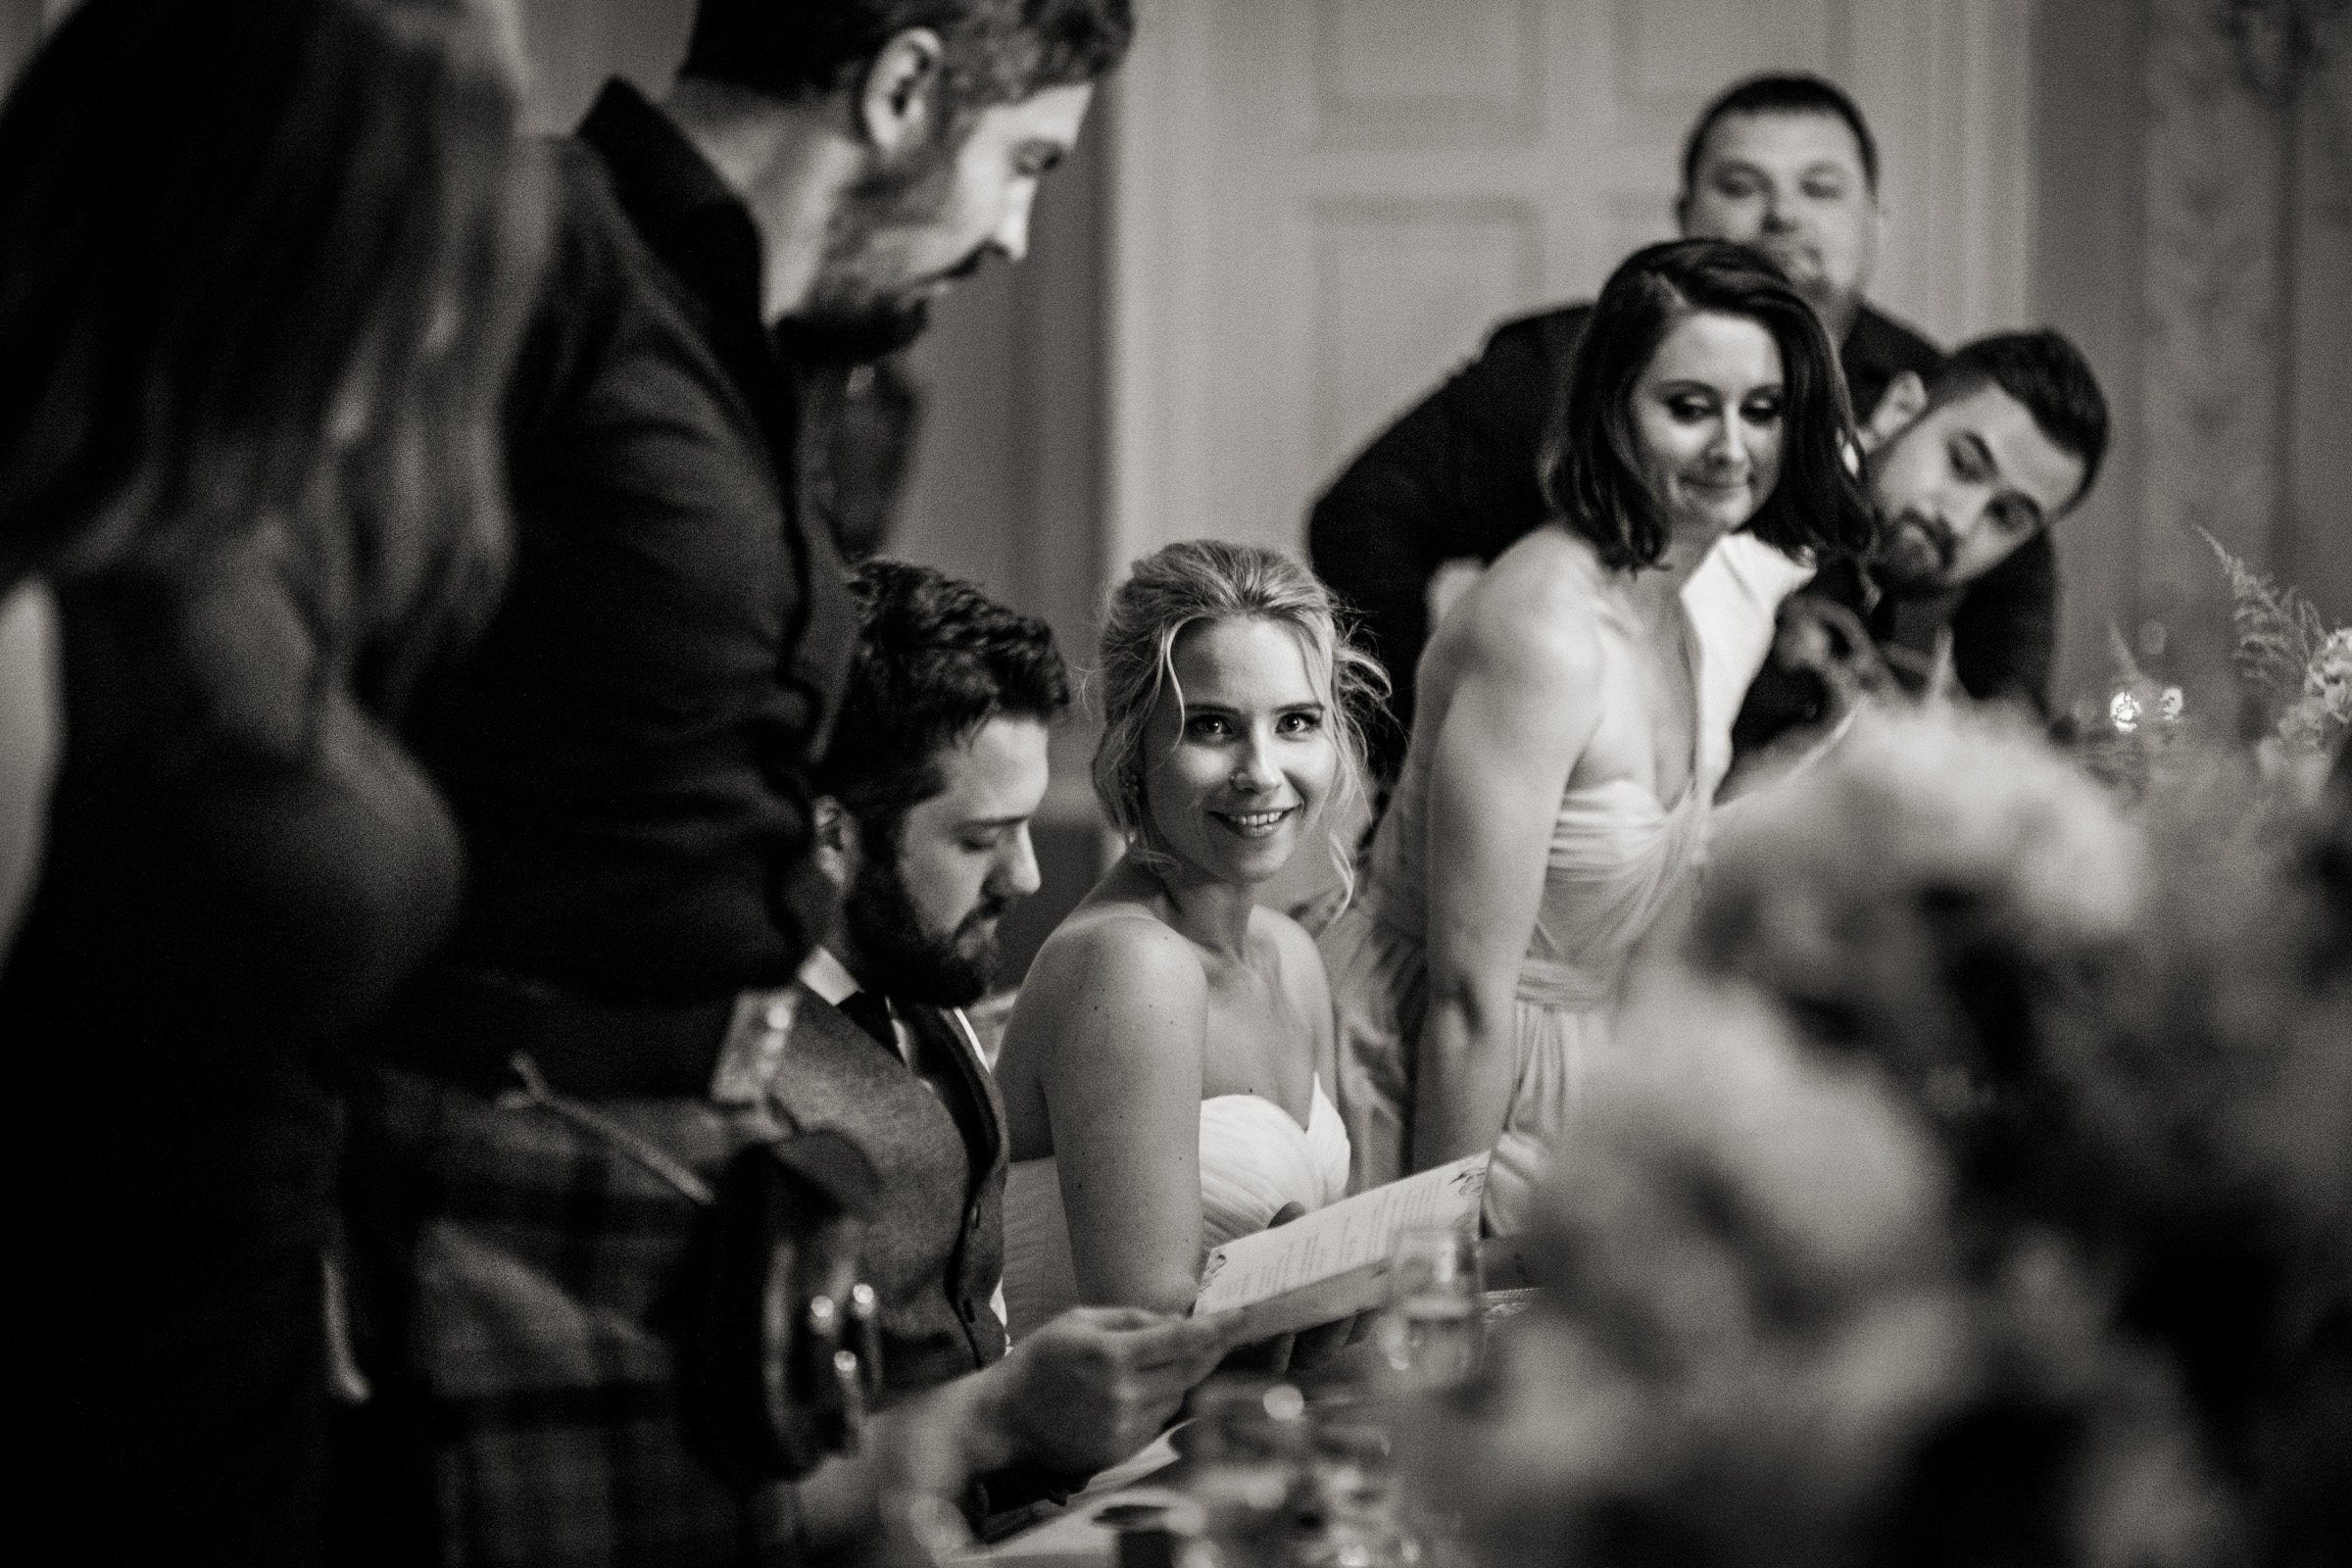
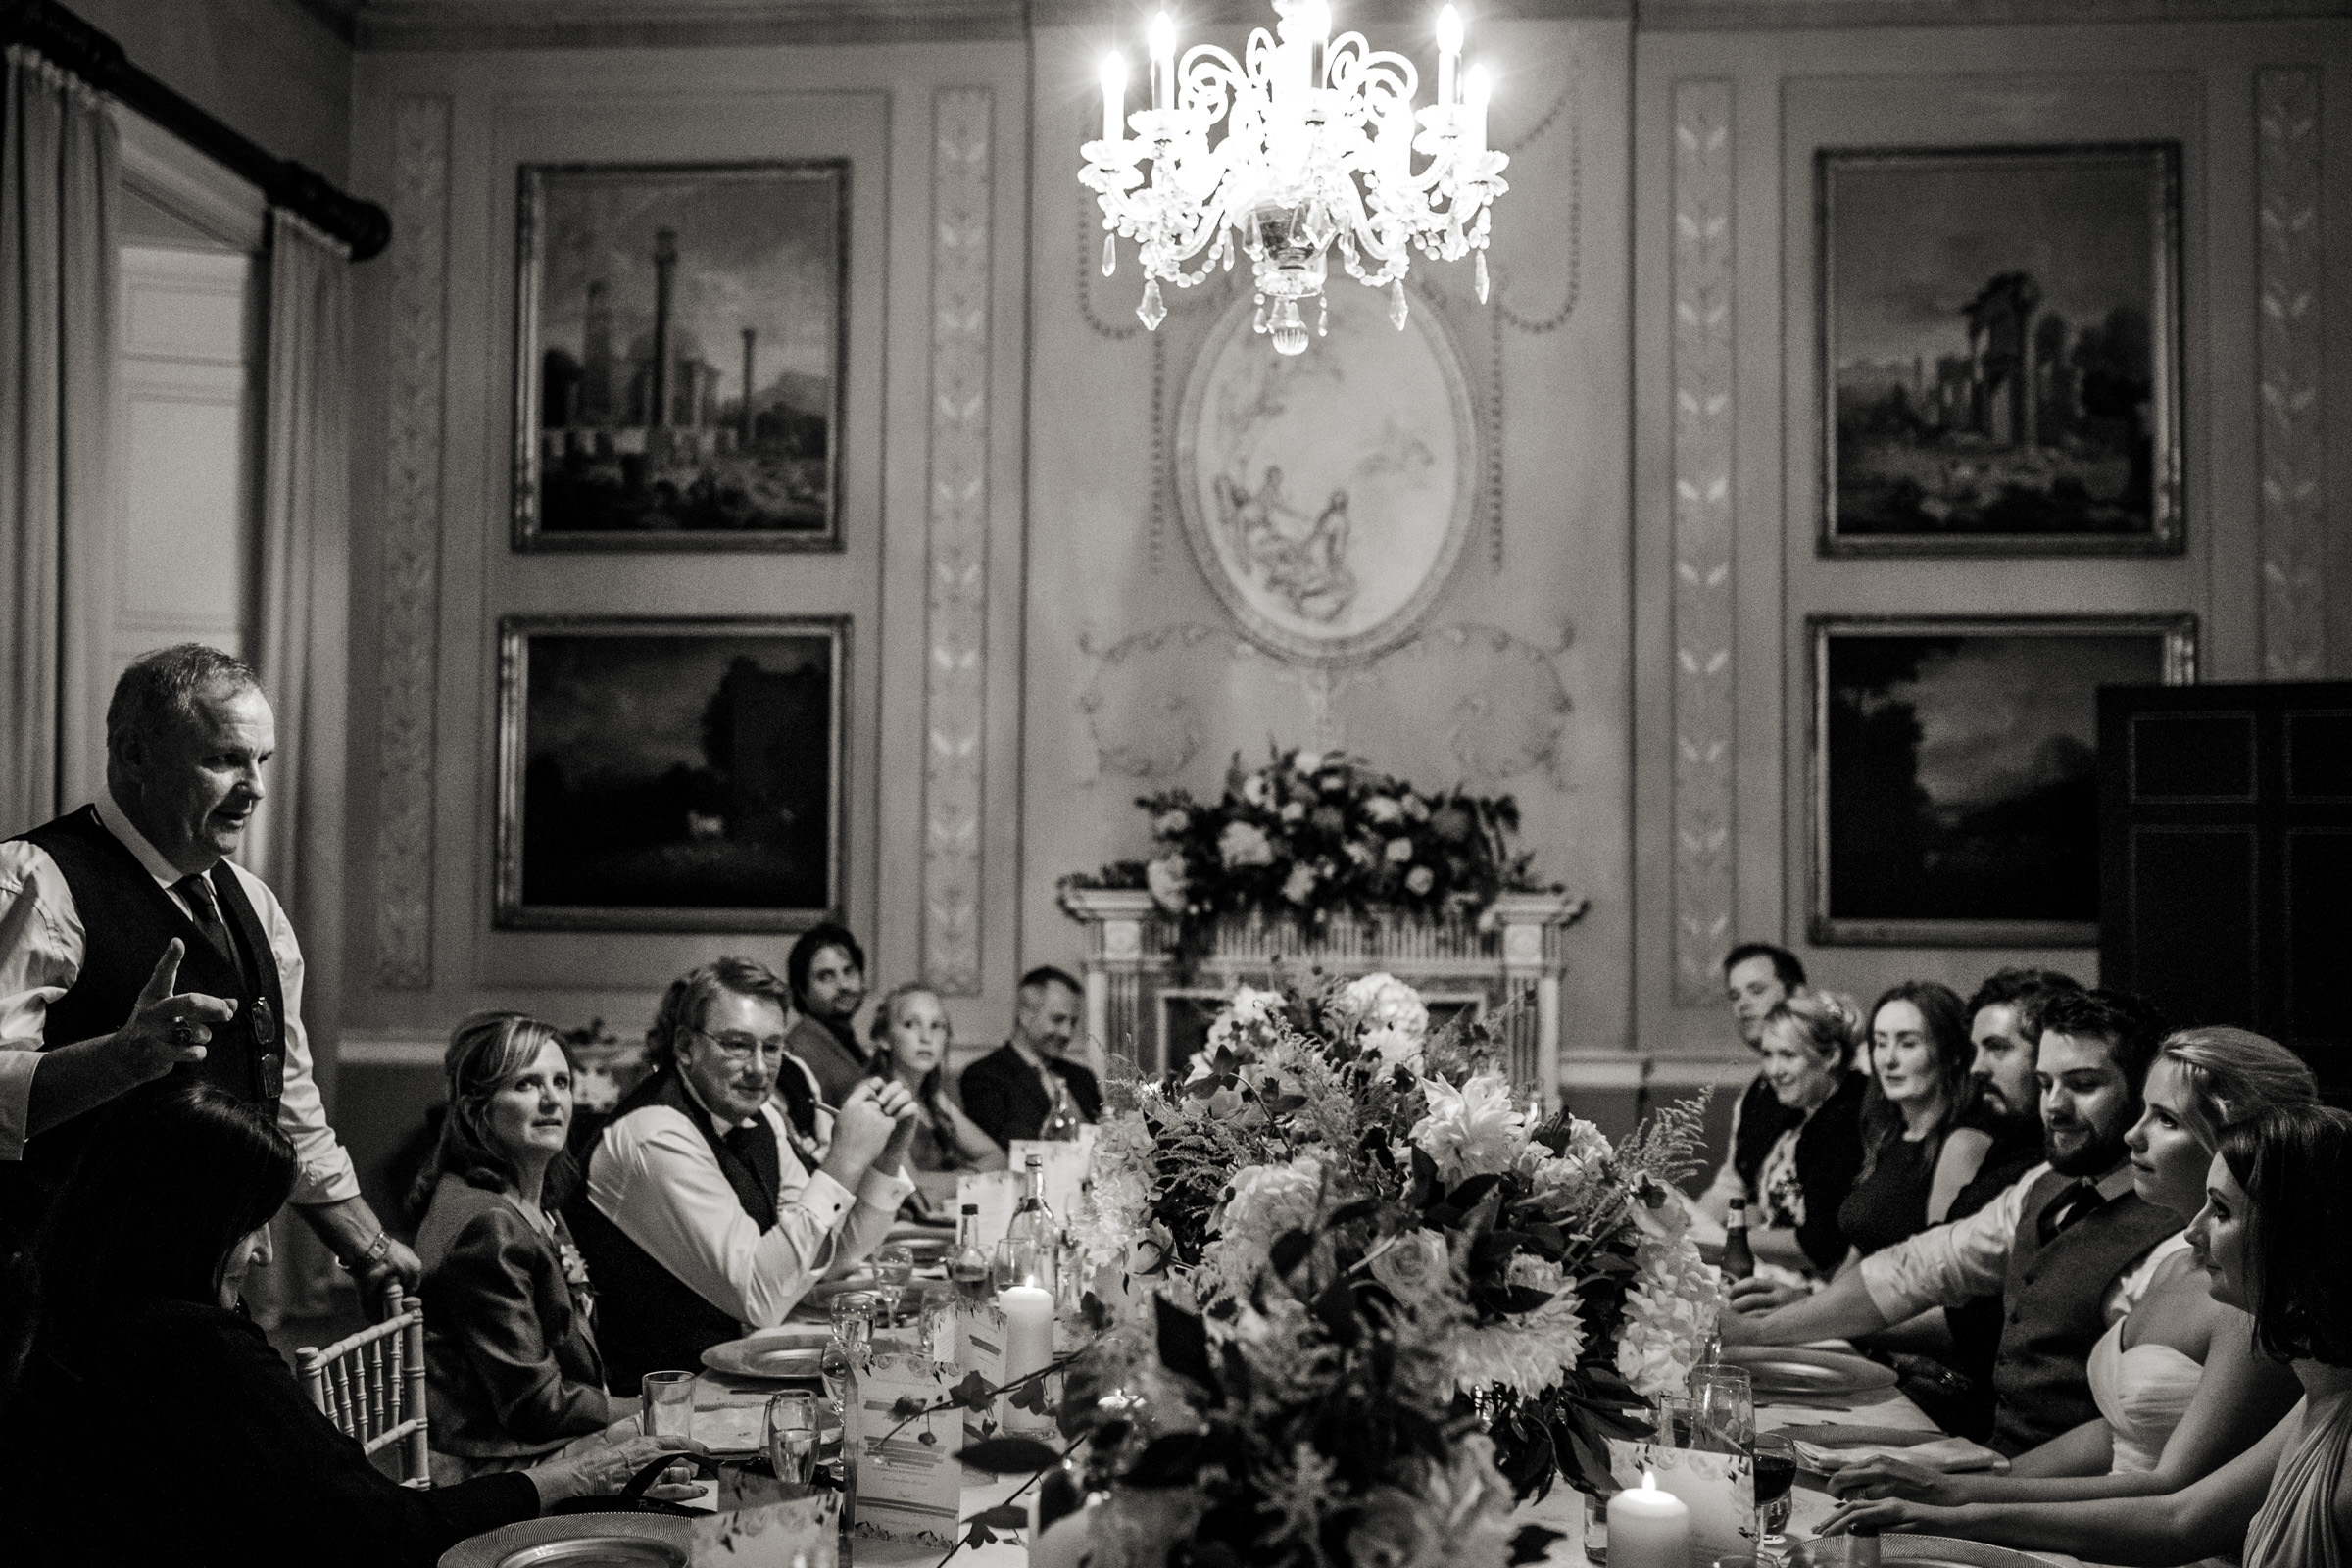
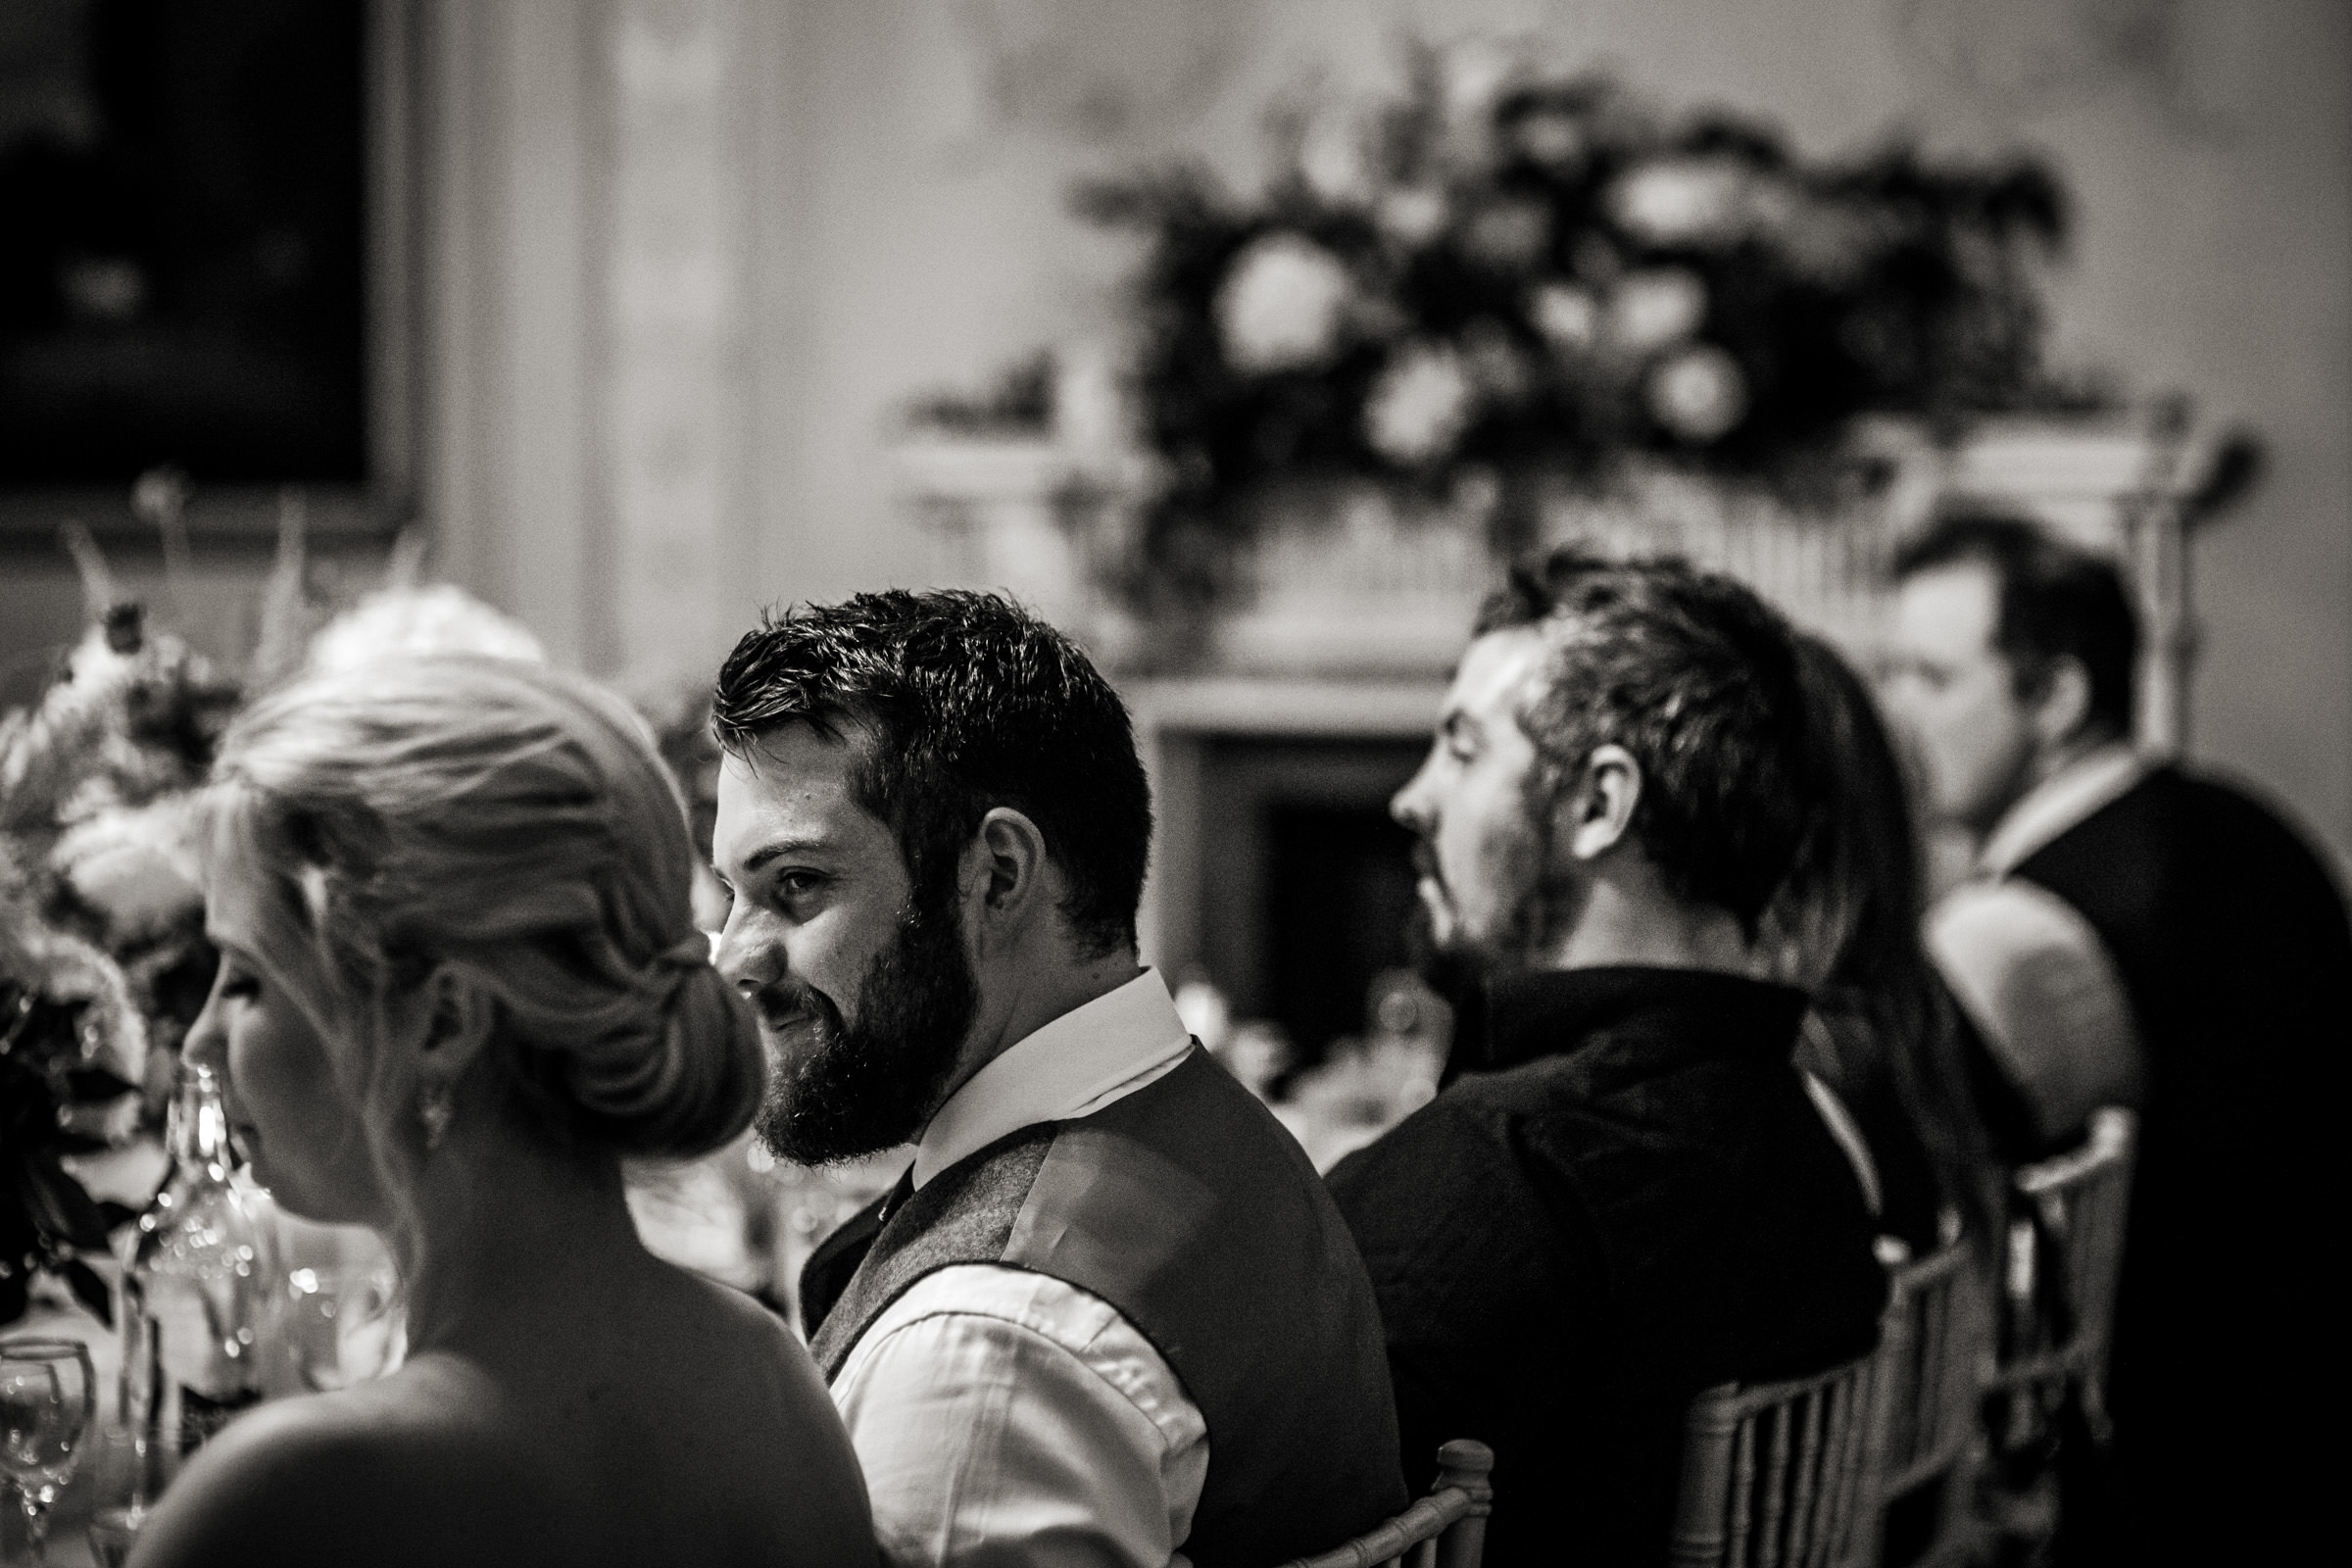
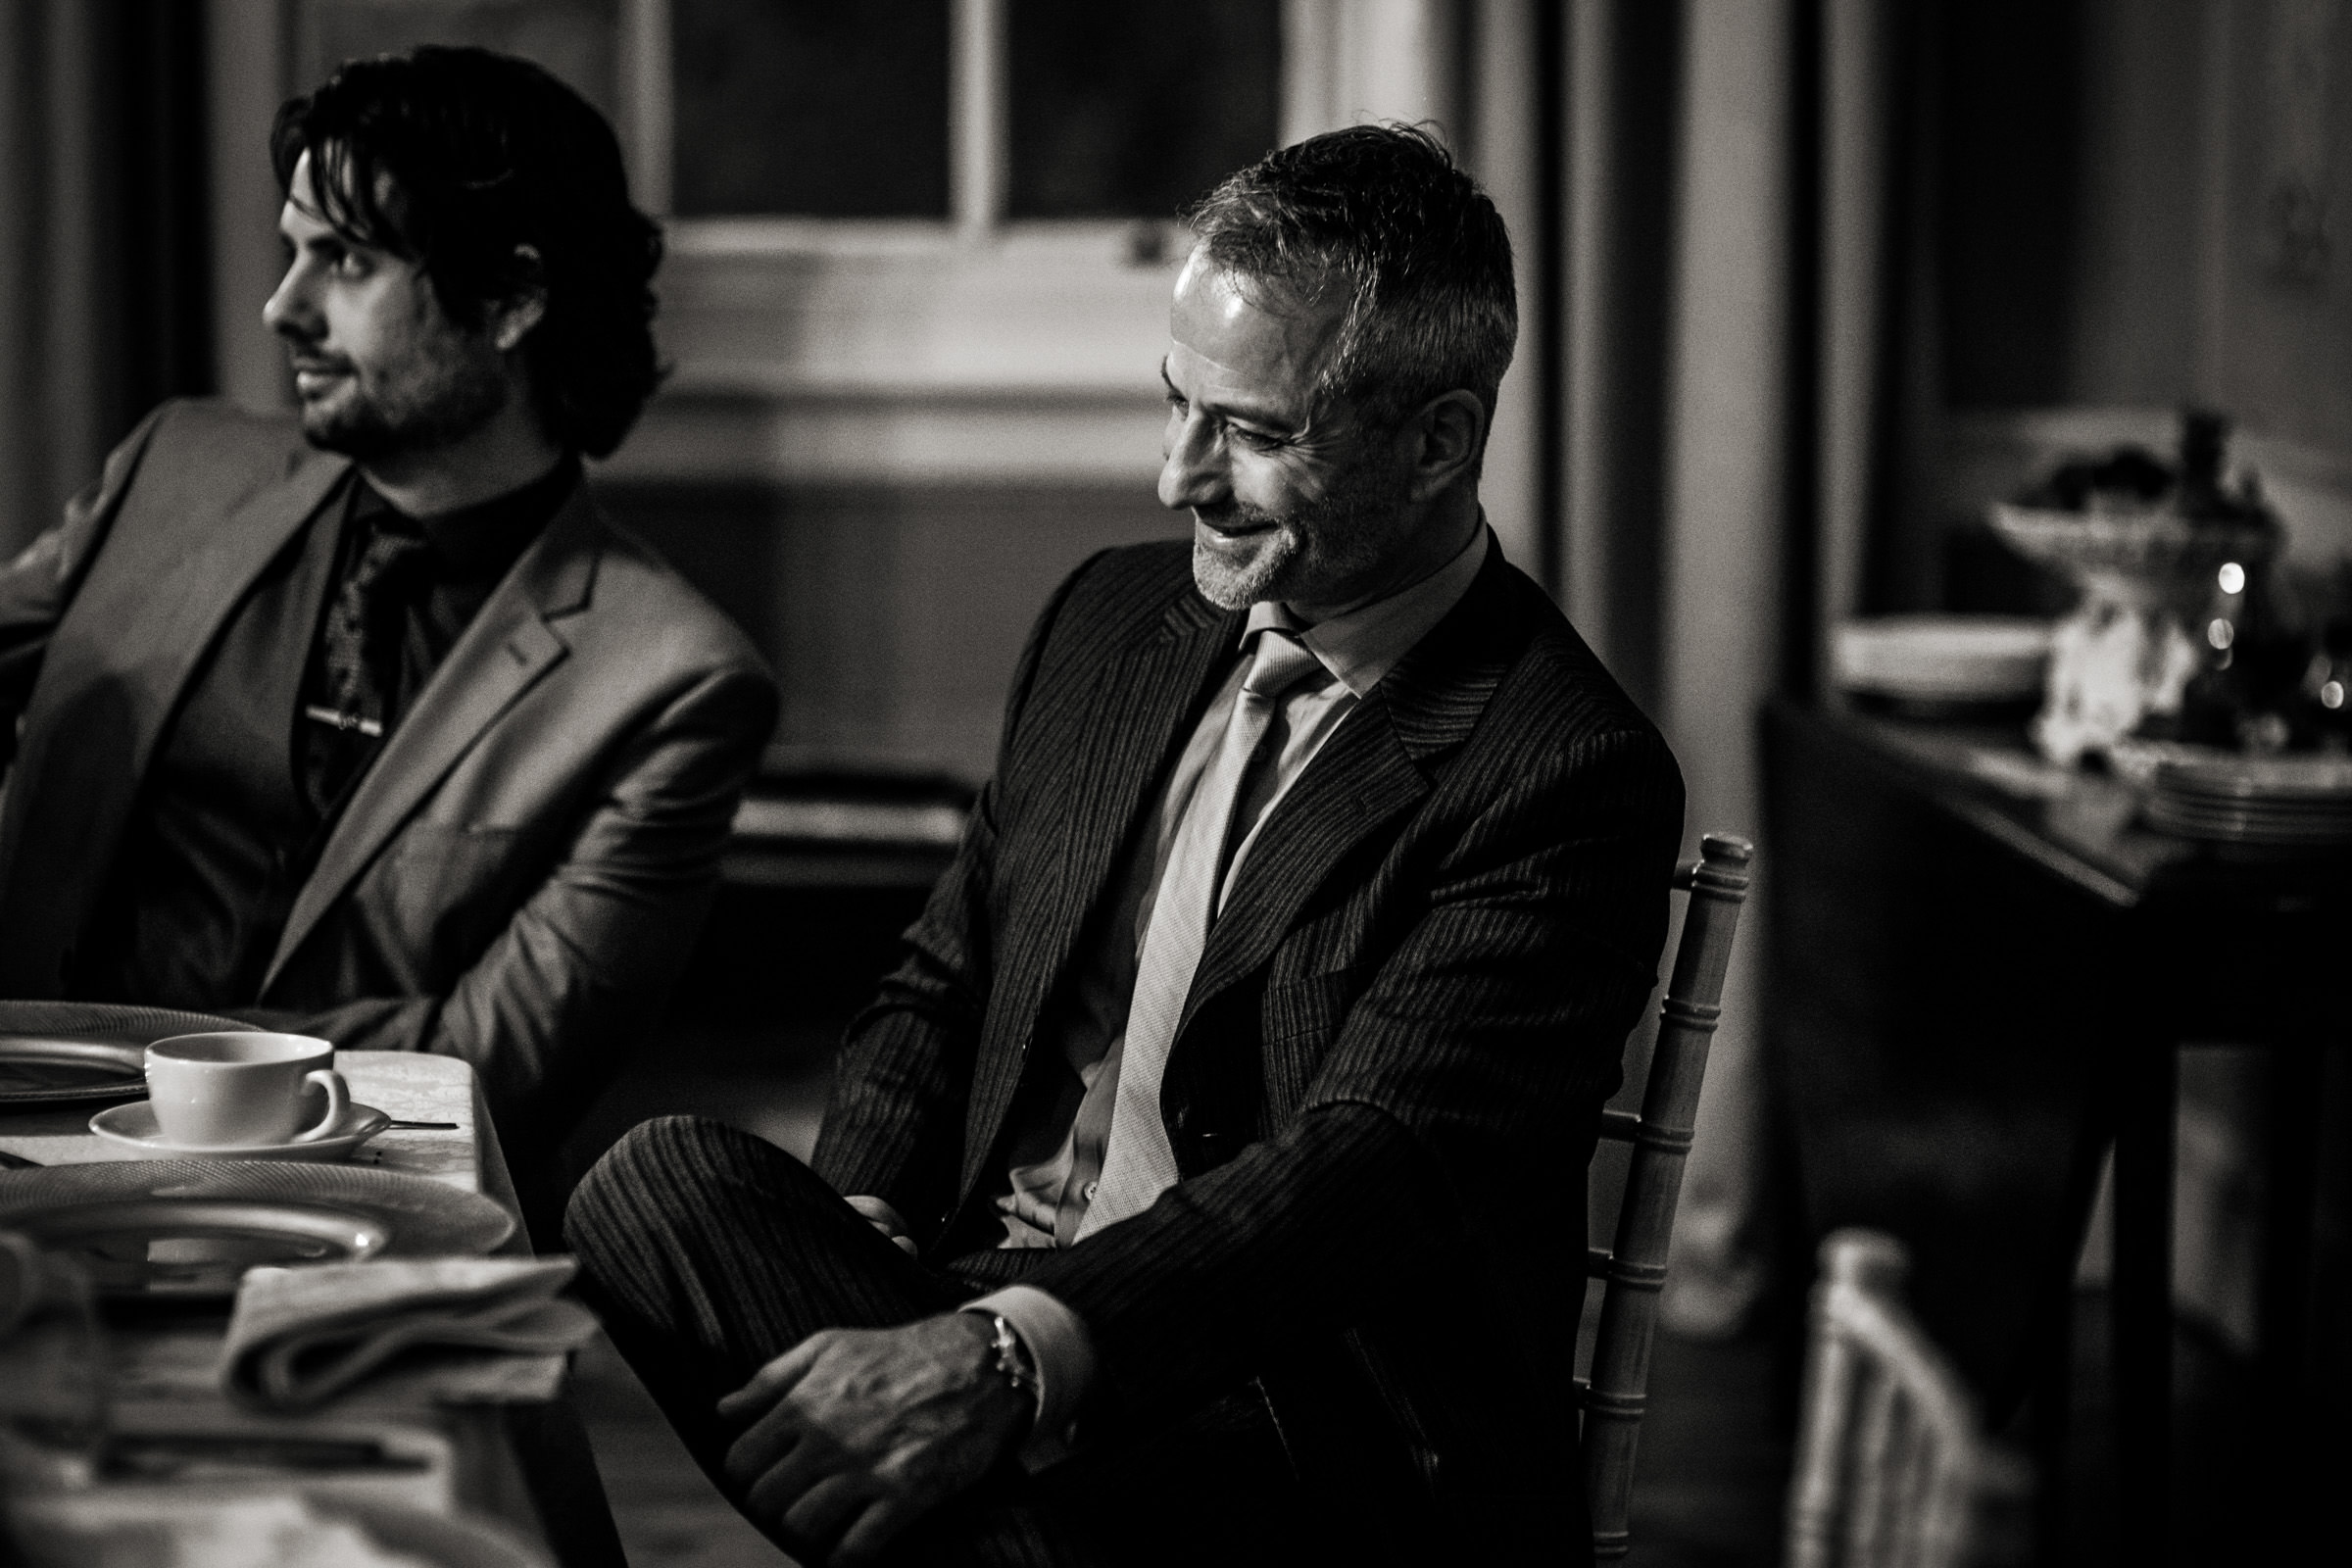
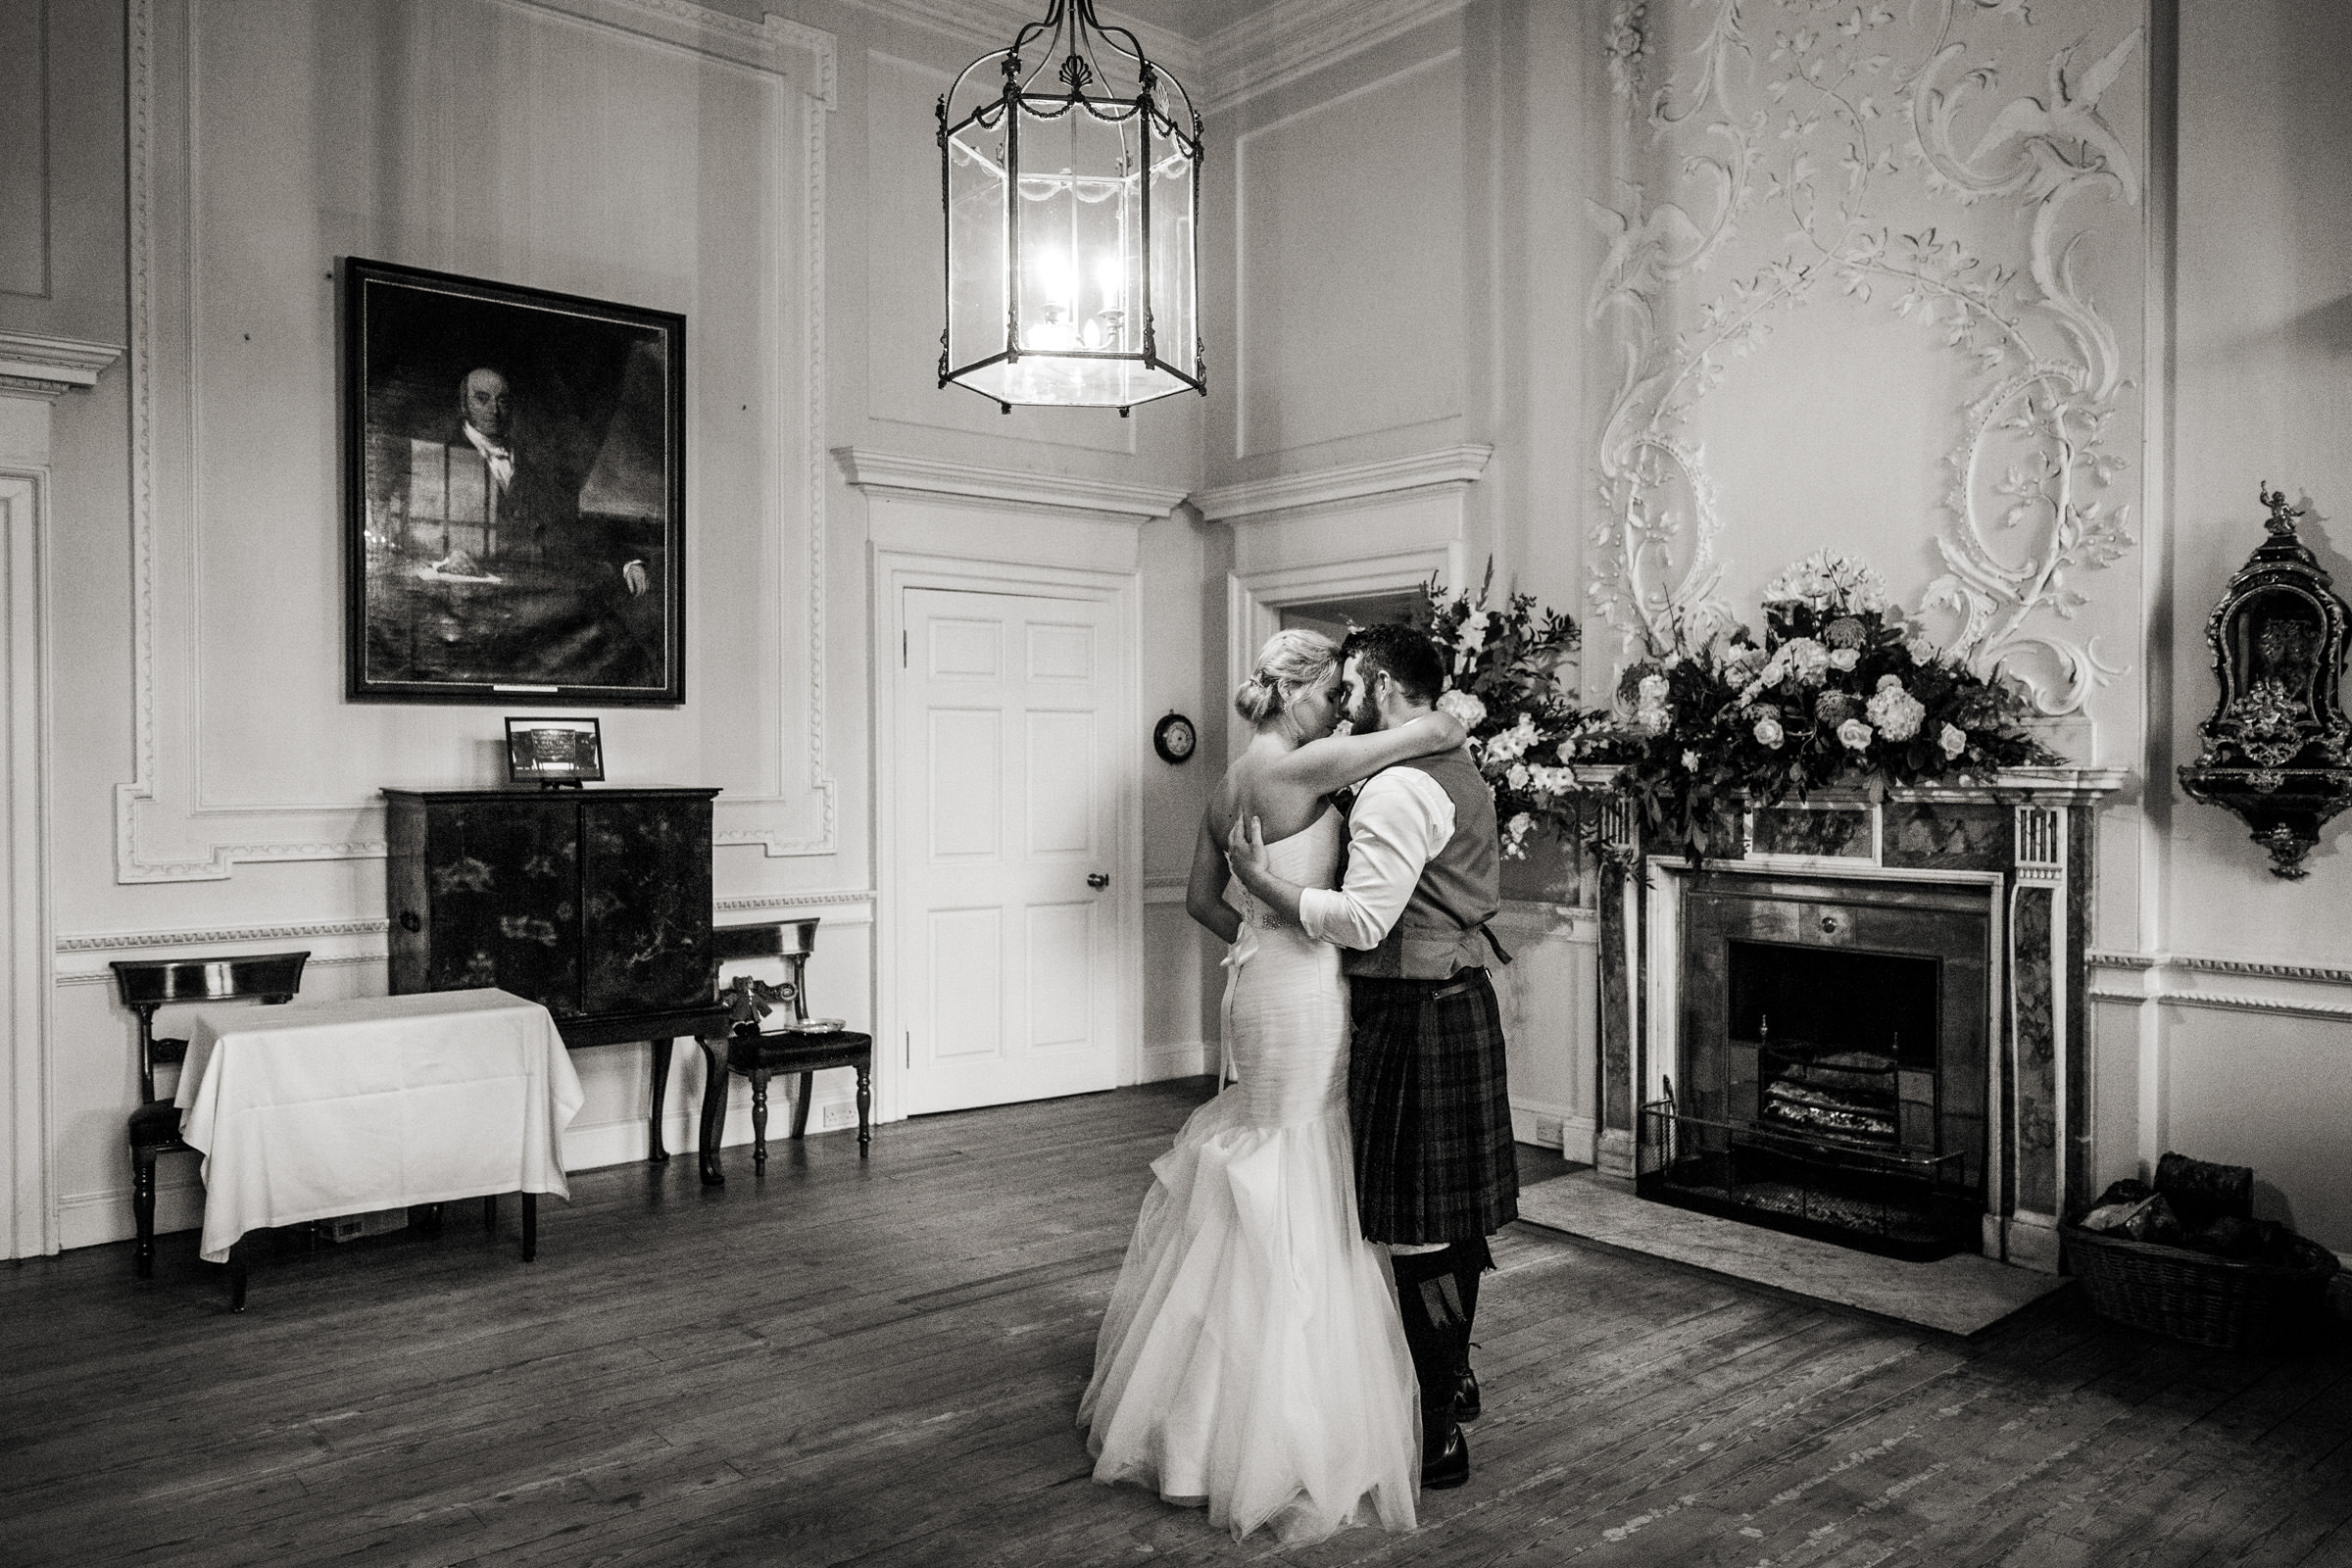
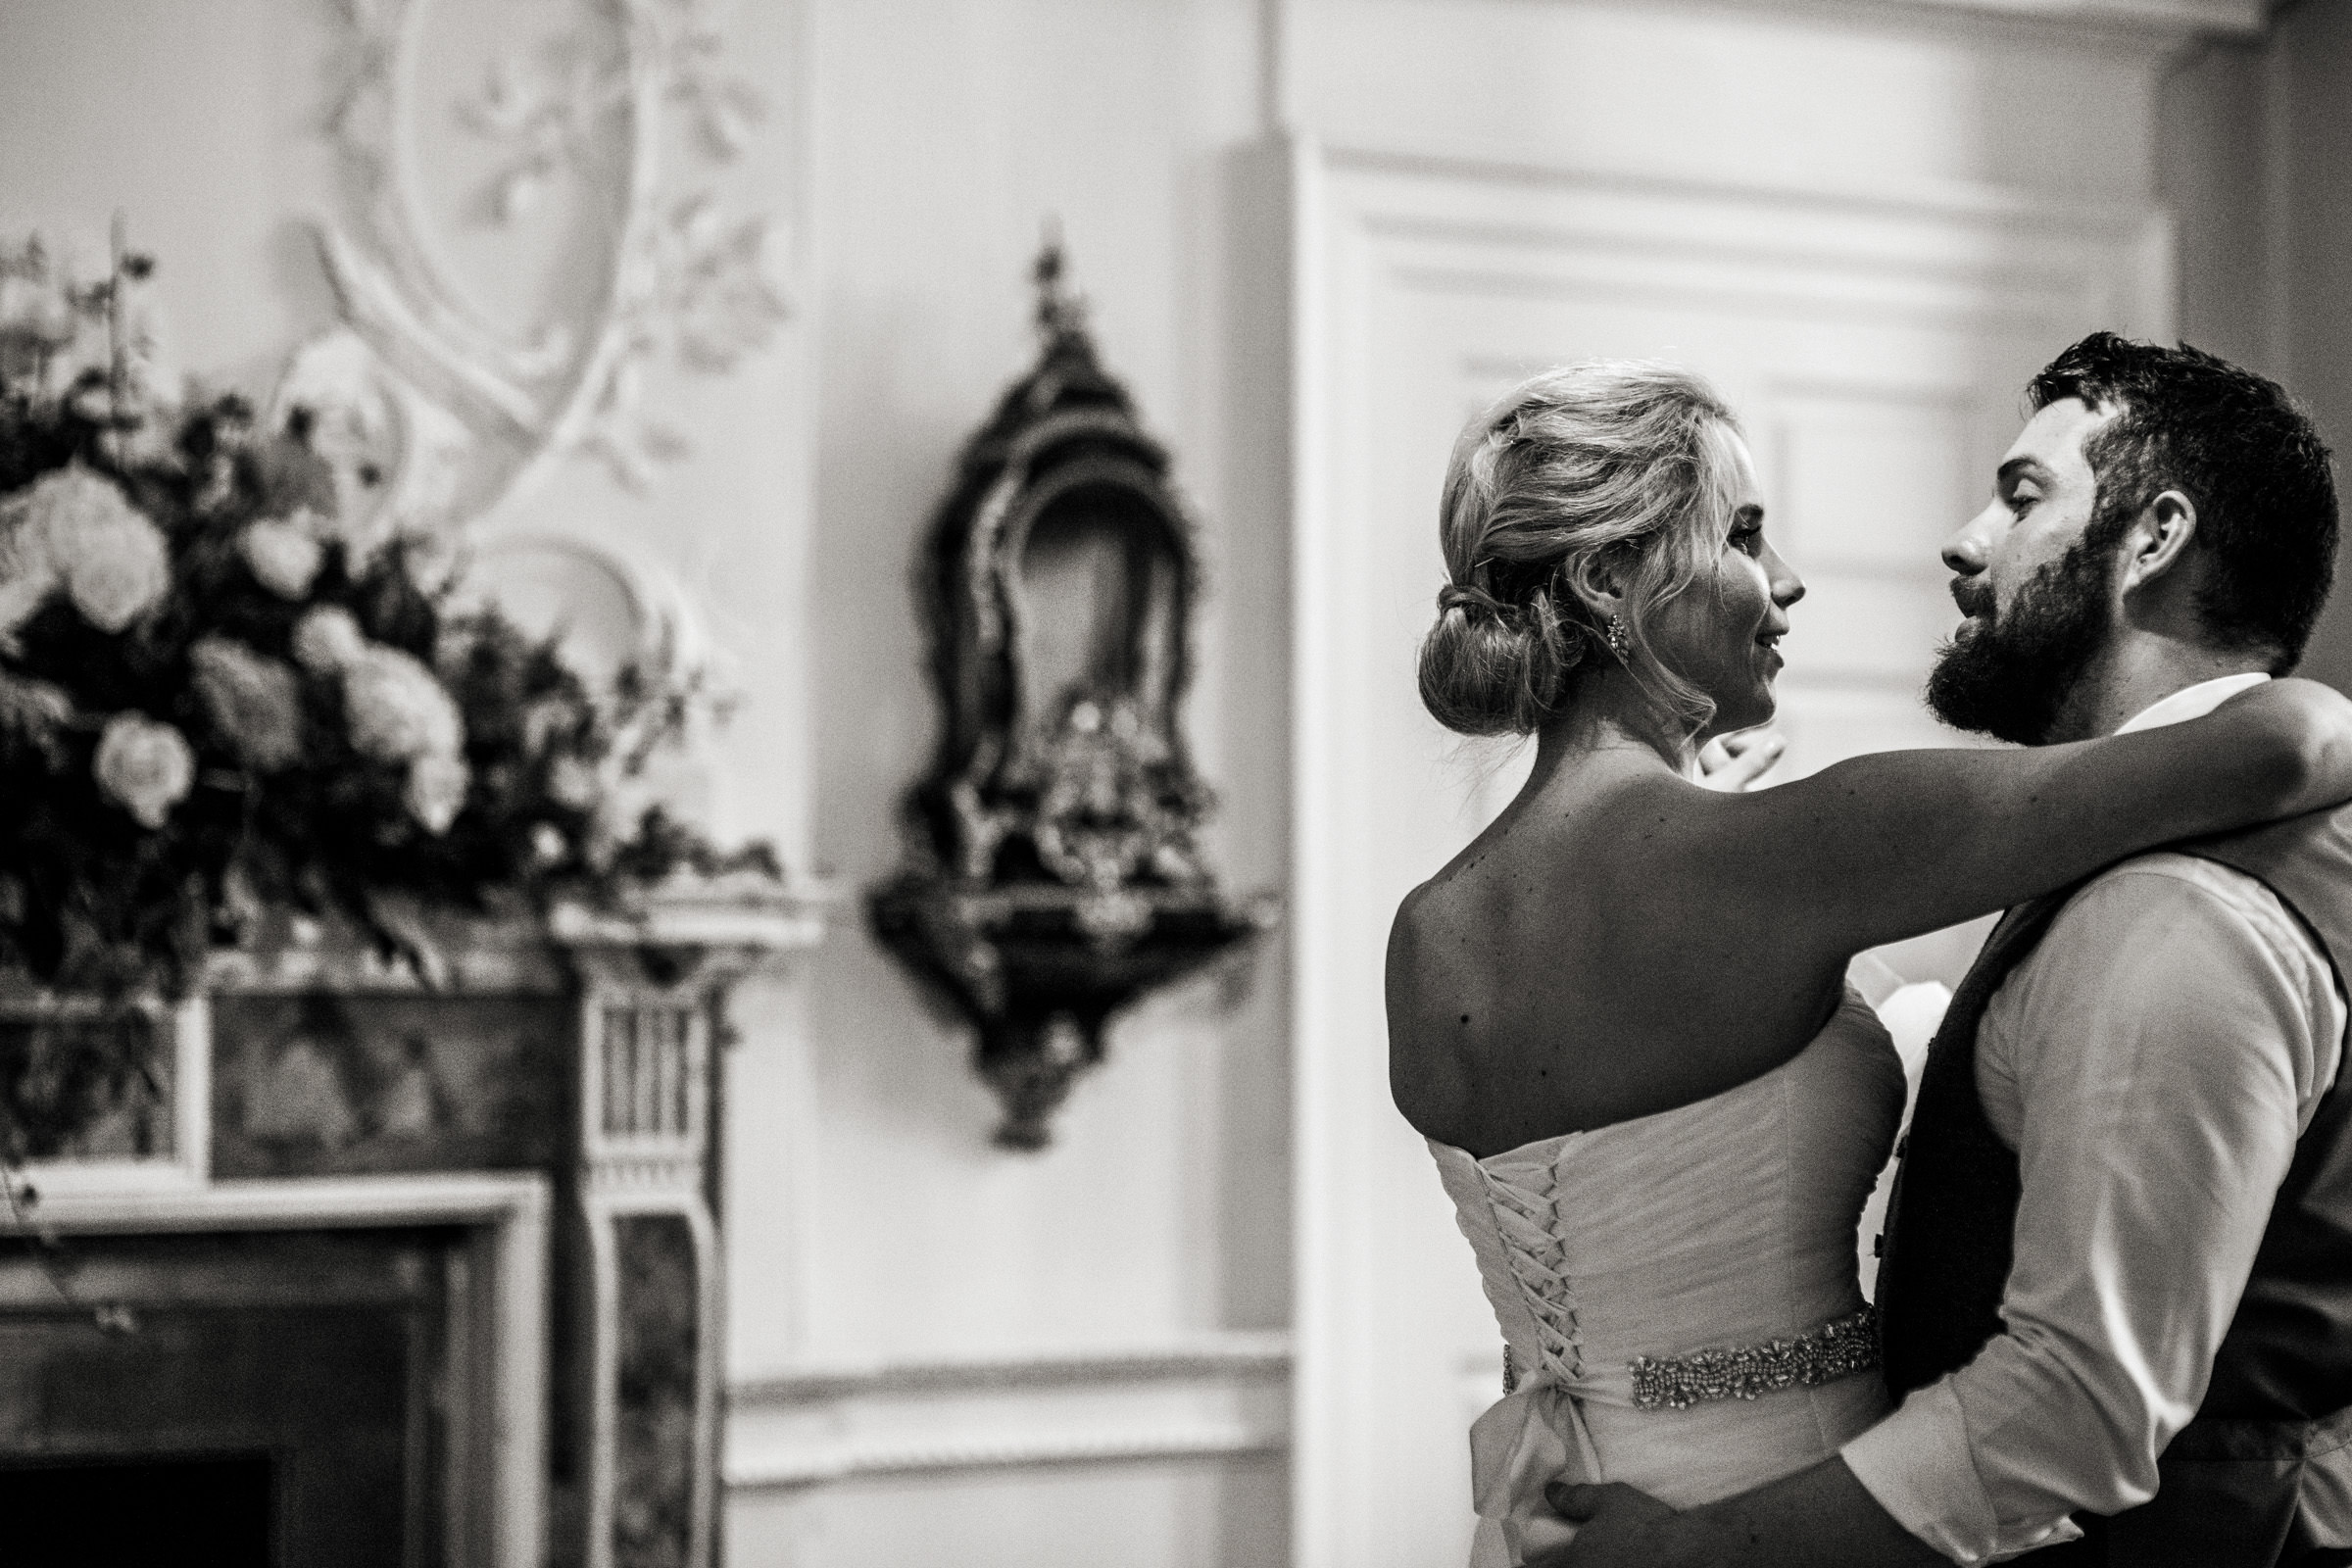
I’m Allister, a Wiltshire wedding photographer working across the UK. I’ve been shooting weddings in a natural style since 2004.  After a few years of creating photography that I really hated, I turned my attention to working in a photography style that I truly believed in.

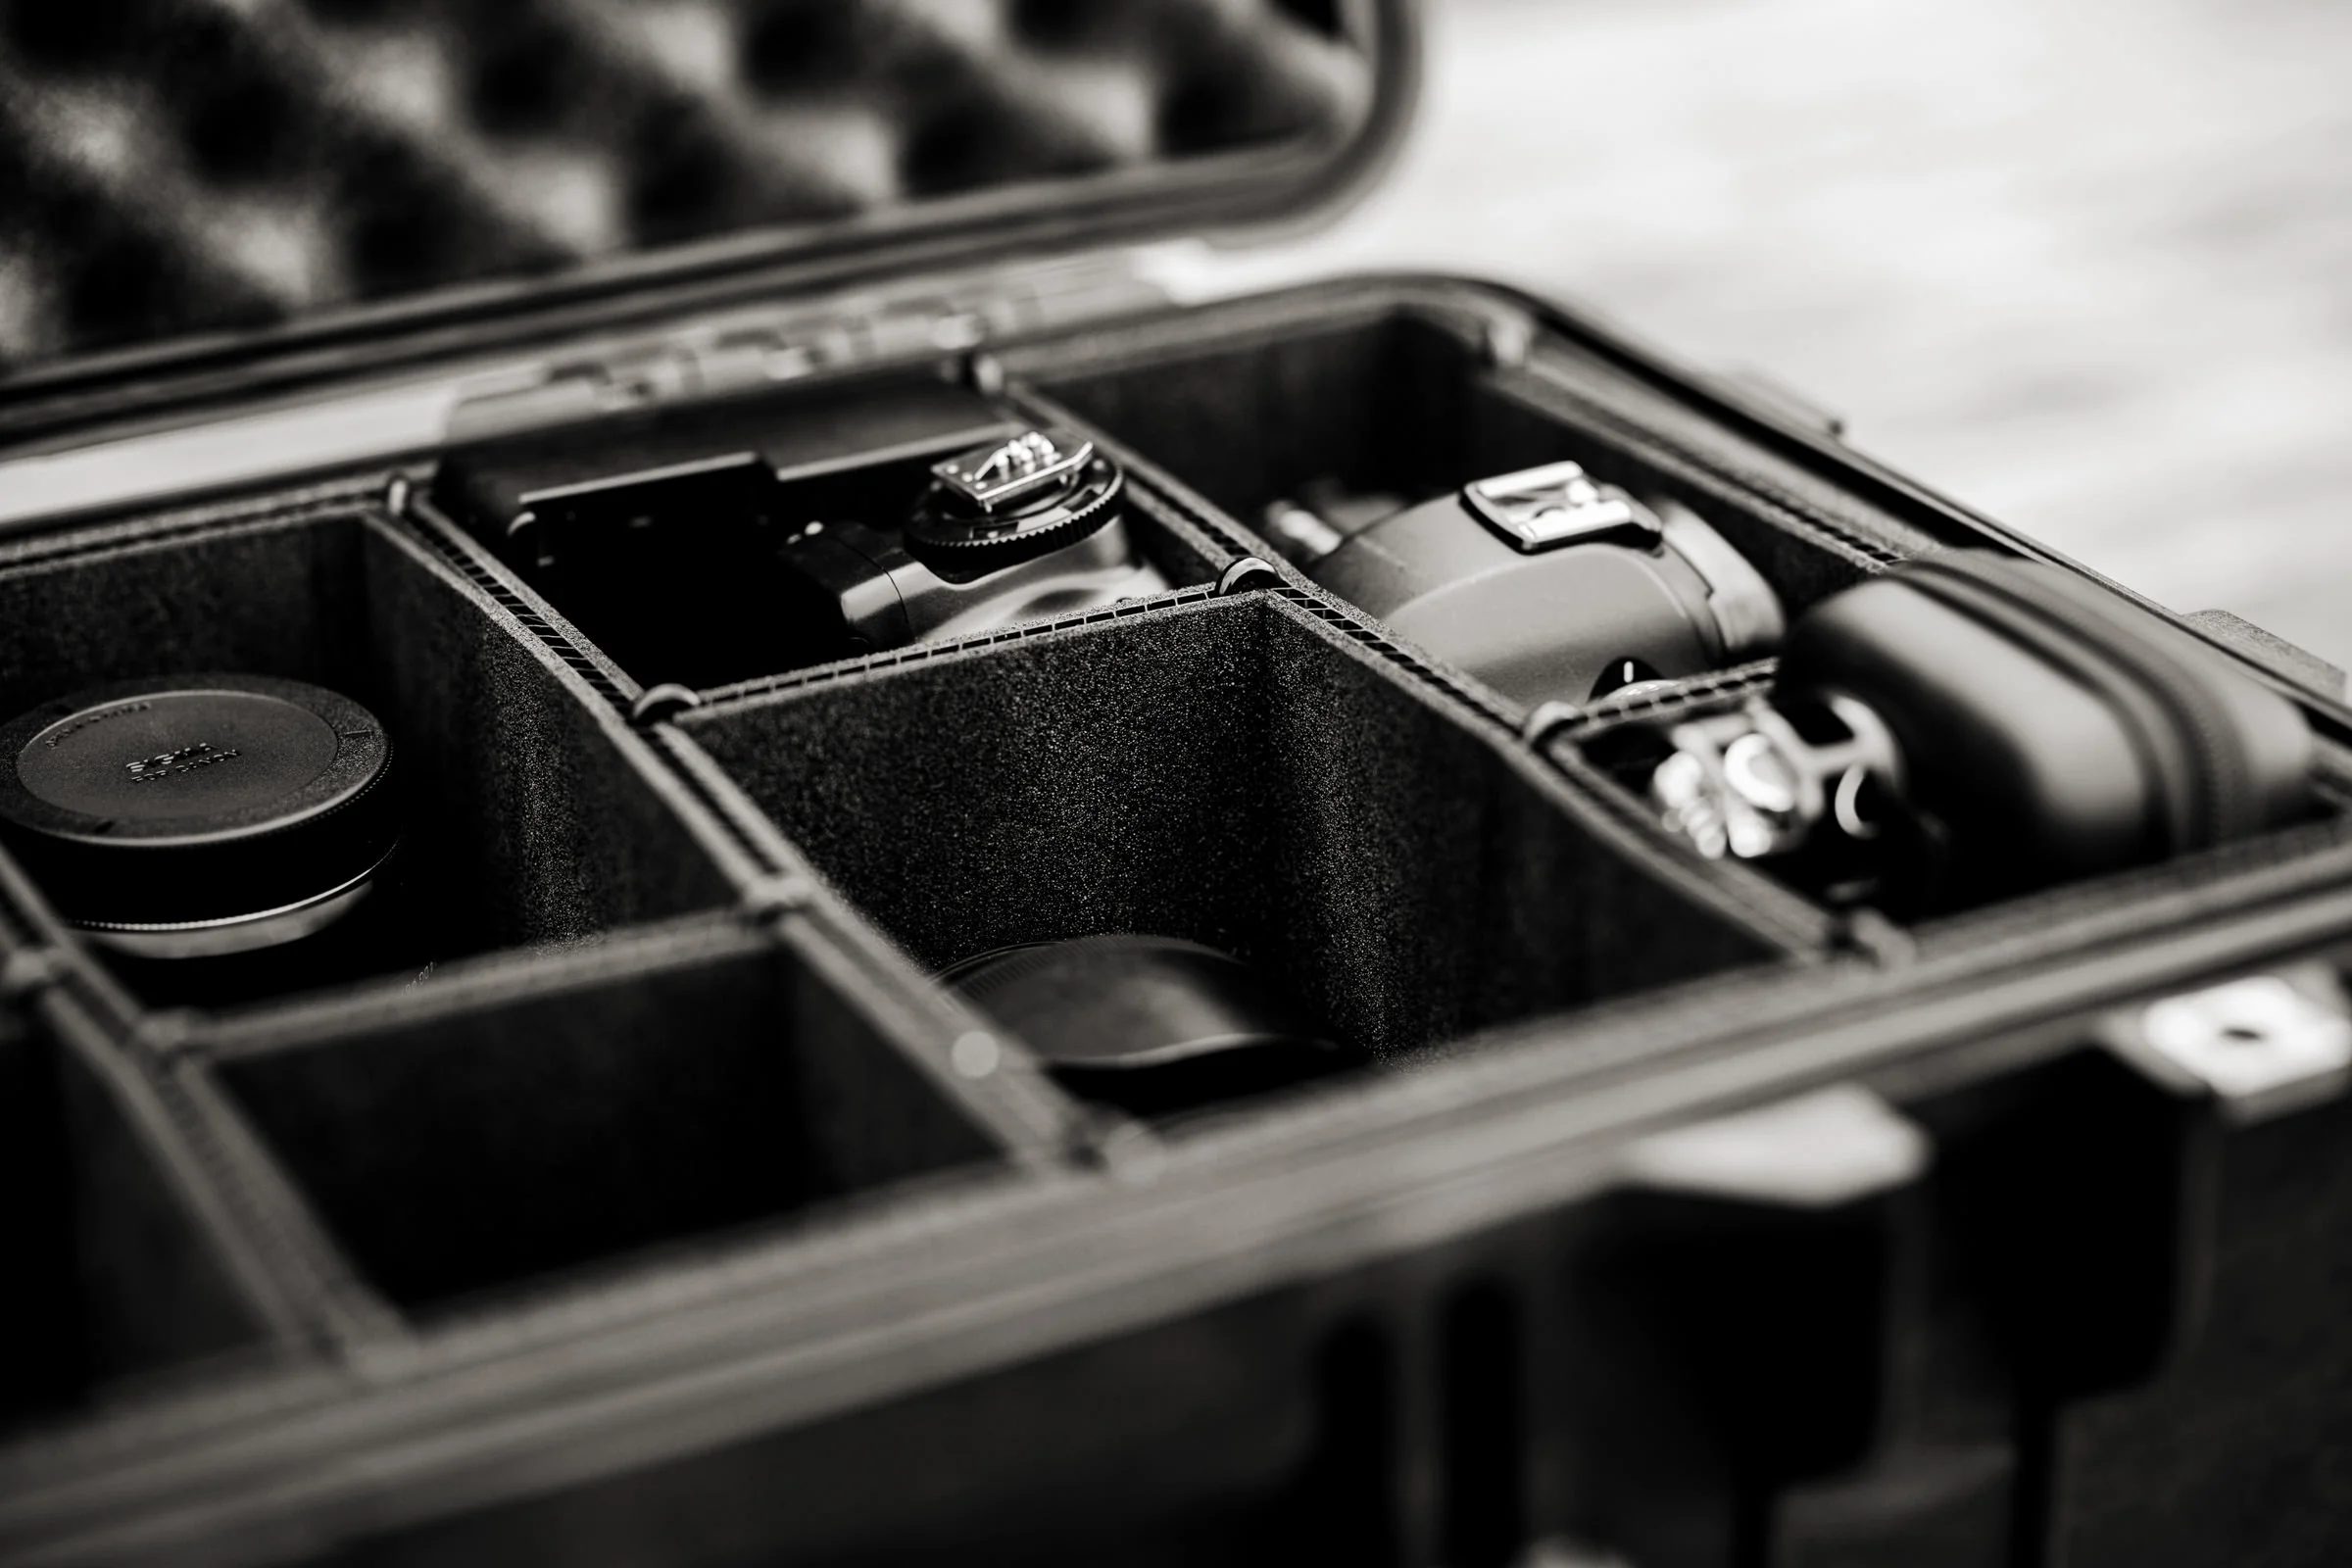
During my career, I’ve shot with all of the main cameras manufactures. I have no brand loyalty and choose the most appropriate tool for my approach. At the moment, that’s the Sony mirrorless system, mainly because of the weight, high ISO capability, and decent auto-focus.

Fairly quickly, I sold a load of film gear to go digital and began creating wedding photography on the Canon 1D series, it was massive! After around 6 months of lugging this huge camera around, I switched to the Canon 5D series and, on and off over the last 15 or so years, have worked with all marks of the 5D.

They’re an amazing camera. However, by the time the Canon 5D Mark IV came out, there were just so many decent mirrorless options, and for a fraction of the price. I dabbled with Fuji for a season, then fully migrated to Sony.

I’ve been shooting on two Sony A7 III cameras for the last couple of years now, they’re amazing – light, quick, and extremely capable right across the board. There’s not really much to fault them on other than the ergonomics take a little getting used to, especially coming from Canon.

Read the full Shotkit article

The Peli 1510 & TrekPak Custom Insert

Over the last few years, I’ve relied quite heavily on Peli products. As a professional wedding photographer, one of my biggest (if not the biggest) financial investments is camera gear.

High-end cameras and lenses are not only seriously expensive to repair and replace but I also need to feel confident they’re going to perform as they should during commissions. Knowing they’re kept in a bullet-proof case at all other times, gives me great peace of mind!

Now, if you’ve read my ‘What’s in the kit bag and why’ blog post from way back in 2011, or regularly read my blog, you may already know I’m not at all keen on excessive and unnecessary equipment - if a piece of kit just sits in my bag or case, not being used for three or four months, it’s sold! 

I’m a firm believer in travelling as light as possible to aid my documentary approach ... a less is more approach. The select cameras, lenses and accessories I do take to commissions perfectly suit my approach. This equipment facilitates my style, nothing more. 

Why I chose the Peli 1510? 

Each year I photograph anywhere between 35 and 60 weddings plus 10 to 20 portraits and a few commercial commissions. Most of my work tends to be within the UK though each year I’ll do a handful of international commissions. The benefit of the Peli 1510 is not just how tough it is but also it’s size - it's designed to fit carry-on requirements with almost any airline. Pretty handy as I would never put my gear in luggage.

These cases are used by the UK military and NATO, I even saw them being thrown into the sea during Bear Gryll’s latest ‘The Island’ series!

What I keep in the case? 

It’s been 6 years since I wrote my last ‘What’s in the kit bag and why' post, so things have evolved a little. Since then, I’ve been Nikon, Canon, Fuji, now Canon again. I have no brand loyalty and see the camera only as a tool, nothing more. 

For the foreseeable future, my gear is…

  • Canon 5d Mark 3 (body 1)

  • Canon 5d Mark 3 (body 2)

  • * Sigma Art 35 1.4

  • * Sigma Art 85 1.4

  • * Sigma Art 24-35 2

  • Yongnuo Speedlight YN565EXII

  • Zoom H2n Audio Recorder

  • Zoom H1 Audio Recorder

  • Chargers

  • Spare batteries

  • Card Readers

First impressions of the TrekPak Custom Insert

My first Peli came with foam inserts and netted pockets under the lid, whilst it kept everything adequately safe, it was pretty messy! I ended up keeping unnecessary items in there, lots of pointless crap. Furthermore, as it aged the gear became loose in the inserts - increasing the chances of damage during travel. So, time for an upgrade...

The TrekPak Custom Insert is available in all shapes and sizes. For Peli cases, there's a custom insert available for every model and additional dividers are available for separate purchase. For me, I got the Peli 1510 kit, without any additional accessories. 

In terms of pricing, the custom insert is actually slightly more expensive than the foam version previously mentioned. However, for the enhanced protection it offers, for gear often worth thousands (and thousands) of pounds, it’s worth every penny. In fact, you can get the Peli 1510 plus TrekPak insert for around £270. 

The kit comes with everything you need to assemble the exact insert you need for your specific gear. It may sound quite complicated at first but there's a great video about how to get started with the TrekPak on YouTube, just Google.

Making your Own Custom Insert

It’s vital to stress the importance of planning your design before cutting the dividers. Measure twice, cut once! In my case, I needed around 40 minutes to complete things… 

Don’t only think about worst case scenarios when building the protection (dropping the case from a massive height, car crash etc) but also how balanced the case will be when carrying it around. Good lenses are HEAVY, heavier than cameras, so distribute the weight evenly. 

Keep things snug. The last thing you want is for there to be movement inside the case, ensure each piece of equipment is secured in tight. If you want each section of foam to be perfectly straight i.e not like mine, then leave a few mm either side, I'd rather things were snug. 

I created a total of 10 different compartments for my gear, everything looks neat, tidy and secured, exactly as it should. 


I hope you've found this little review useful, check out the full range of products and accessories: 

www.peliproducts.co.uk/trekpak


Best Lenses For Wedding Photography | The Sigma 24-35 F2 Art

When it comes to selecting the best lenses for wedding photography, there are a plethora of options. It’s really quite confusing for anyone looking to either get into wedding photography or perhaps refine their documentary approach. In this little article, I’ll explain my current set up. I say ‘current’ as I’m always looking to evolve my style and approach in a positive way, I hate the idea of getting stale.

For any couples reading my blog, you might wish to skip straight to the images! Kristy and Adam’s beautiful wedding, with a humanist ceremony in a boathouse overlooking a lake in Berwick upon Tweed. That said, it’s not going to be particularly techy or nerdy and does explain a little more about the way I approach wedding photography, so you might actually enjoy reading it!

bridal portrait

I’ve been (almost) exclusively using fixed-focal ranges / prime lenses to produce my style of documentary wedding photography over the last decade. Personally, the obvious benefits of having a wider aperture to allow in more light and the smaller, more lightweight approach far outweigh any benefit of having more ‘flexibility’ with a zoom - an ill-perceived point of view.

People like to overcomplicate. With a prime lens, there is no zooming - other than using your feet. This simplification allows you to master specific focal ranges and develop a signature style, faster. Check out more simple photography tips.

Being able to see an image, without bringing the camera to your eye, is an invaluable step in producing a consistent reportage wedding photography product for couples.

couple portrait

Alongside the consistency that the prime-approach instills in a photographer’s work ethic, the technical aspects also outweigh that of a zoom. The most obvious of these aspects is the lens speed, or aperture. I’ve worked in cave-like conditions over the years, perhaps a ceremony in a crypt or very old chapel where flash is just not an option. With primes, I’ve still been able to produce professional, printable image files. Yes, the camera’s high ISO capability plays a significant role in the success of low-light wedding photography, but having a high quality prime lens which can be used ‘wide open’, allowing significantly more light in, is vital.

guest portrait

All of my lenses are Sigma. Their range of prime lenses is exceptional and what’s more, in recent years they’ve introduced the ‘Art’ series which features high-end build quality, lightening fast focussing and sensational image quality. For me, the Sigma Art range is far superior to current Canon alternatives - lenses I’ve always felt could be a little hit and miss in terms of build quality and focus in relation to their price tag.

My approach as a documentary wedding photographer has almost always involved a two-camera setup, one with a 24mm or 35mm prime lens (responsible for roughly 75% of images in my final collections) and on the other side, a medium telephoto, a 50mm or 85mm. 

first dance photography

My natural style has evolved within these four focal lengths, switching between a 24/50 and a 35/85 set up. Whilst I’ve always been satisfied with the upper, more telephoto end of these setups, I’ve always felt a little compromised with the wider end with the 24mm often feeling too wide for certain scenes and the 35, a little too tight. For years this was a compromise I was willing to make in return for the faster aperture of the prime. The only zoom lens close to helping the issue was Canon’s 16-35mm however, with a slower F2.8 aperture it just wasn’t the solution, especially during the darker months.

So when Sigma released the 24-35mm F2 Art this year, which boasts an F2 aperture, I jumped at the opportunity to have the best of both worlds. Now, I not only have both the 24 and 35 range on one camera but also prime-like speed and image quality.

I’ve now been using the 24-35mm + 85mm two camera setup exclusively for the last 8 weddings and I’m so pleased I made the switch. 

Here are a few of my very favourites from Kristy and Adams lovely wedding at Paxton house in Berwick upon Tweed. This place is just stunning.

All Sigma:

- 24 - 35mm F2 Art

- 85mm 1.4

- 35mm 1.4 Art